 This is part 5 of the vSphere 6.0 Basics, detailing the installation of vSphere Update Manager on Windows Server 2012 R2.
This is a 6 part series, describing the installation basics of vSphere 6.0:
- vSphere 6.0 Basics – Part 1 – ESXi Install
- vSphere 6.0 Basics – Part 2 – vSphere Client Install
- vSphere 6.0 Basics – Part 3 – vCenter Server Appliance Install
- vSphere 6.0 Basics – Part 4 – vCenter Server Install with Windows Server 2012 R2
- vSphere 6.0 Basics – Part 5 – vSphere Update Manager
- vSphere 6.0 Basics – Part 6 – vSphere Authentication Proxy
This post has been constructed using the vSphere 6.0 Release Candidate (RC – Build 2172336)
vSphere Update Manager has become more complicated from an installation perspective, you have to install the vUM Server, Download Service (optional – UMDS – previously not listed in the GUI) and Client as separate binaries. If deployed, the Server and Download Service instances must be on separate servers.
The RC version of the vSphere Client does not support vSphere Update Manager, you must use the vSphere Update Manager Client to configure vUM.
As in previous versions, the optional vUM Download Service is used to provide a central repository for multiple vCenter Servers with vSphere Update Manager Server.
If you use vCSA and want vUM, you will have to install the vUM service on Windows Server 2012 R2 infrastructure and specify the vCSA details during the vUM install.
Prerequisites
- Functioning vCenter Server 6.0 (Windows Server 2012 R2 install or vCSA)
- Two Customised Windows Server 2012 R2 server Operating System (for vSphere 5.5, but applicable to vSphere 6.0 also)
- You have the vSphere Infrastructure Management Release Candidate (RC – Build 2172336) or the General Availability (GA – March 2015) ISO image.
Install the vSphere Update Manager Server
- Mount or extract the VIM 6.0 ISO image to the Microsoft Windows Server 2012 R2 system.
- Execute the “autorun.exe” file.
- In the “VMware vCenter Installer” window, select the “Server” object under the “vSphere Update Manager” option. Tick the “Embedded Database Option” and press the “Install” button.
- Select your language (default “English (United States)”) and press “OK”.
- In the “VMware vSphere Update Manager” window, press “Next”.
- Accept the licence agreement and select “Next”.
- In the “Support Information” window, deselect the “Download updates” option and press “Next”.
- In the “vCenter Server Information” window, enter the vCenter server “Name”, “HTTP Port”, “Username”, “Password” and then press “Next”.
- In the “VMware vSphere Update Manager Port Settings” window, select the vUM identity, ports, proxy settings and then press “Next”.
- In the “Destination Folder” window, change the destination folders if required and then press “Next”.
- Press “OK” to the “Free space on the selected drive is less than 120GB” message.
- In the “Ready to Install the Program” window, press “Install”.
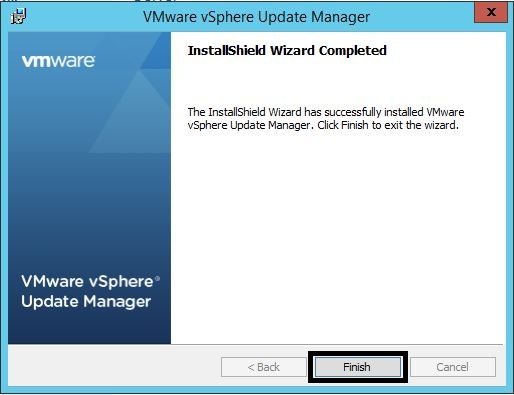
- In the “InstallShield Wizard Completed” window, press “Finish”.


Install the vSphere Update Manager Download Service (UMDS)
- Mount or extract the VIM 6.0 ISO image to the Microsoft Windows Server 2012 R2 system that will be used for the “Download Service”. Note: the Microsoft .NET Framework 3.5 SP1 is required to be installed before you begin, there is an install option built-in, but it requires access to the Internet.
- Execute the “autorun.exe” file.
- In the “VMware vCenter Installer” window, select the “Download Service” object under the “vSphere Update Manager” option. Tick the “Embedded Database Option” and press the “Install” button.
- Wait for the automated “SQL Server 2012 Setup” to complete.
- Select your language (default “English (United States)”) and press “OK”.
- In the “License Agreement” window, accept the licence agreement and select “Next”.
- In the “Proxy Settings” window, configure the proxy settings if necessary and select “Next”.
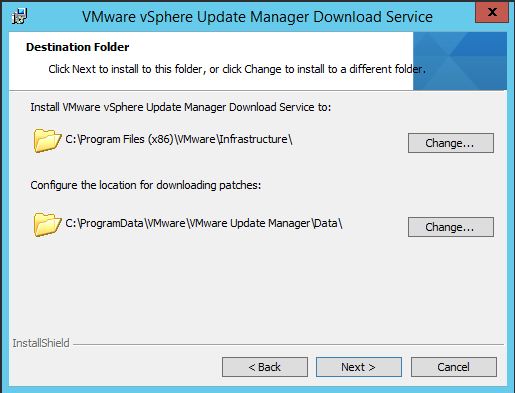
- In the “Destination Folder” window, change the destination folders if required and then press “Next”.
- Press “OK” to the “Free space on the selected drive is less than 120GB” message.
- In the “Ready to Install the Program” window, press “Install”.
- In the “InstallShield Wizard Completed” window, press “Finish”.
- Open a Windows Command Prompt and change directory to “<Install Drive>/Program Files x86/VMware/Infrastructure/Update Manager” and run the “vmware-umds.exe” command with options to configure the repository and URL (this URL will be used in the next section). Test the URL from the UMDS server IE browser to ensure that it functions.


Install the vSphere Update Manager Client
- Mount or extract the VIM 6.0 ISO image to the Microsoft Windows Server 2012 R2 system that will be used for the “Client”.
- Execute the “autorun.exe” file.
- In the “VMware vCenter Installer” window, select the “Client” object under the “vSphere Update Manager” option and press the “Install” button.
- Select your language (default “English (United States)”) and press “OK”.
- In the “Welcome to the installation wizard for vSphere Update Manager Client” window, press “Next”.
- In the “End User License Agreement” window, accept the licence agreement and select “Next”.
- In the “Destination Folder” window, change the destination folders if required and then press “Next”.
- In the “Ready to Install the Program” window, press “Install”.
- In the “Installation Completed” window, press “Finish”.
- From the Desktop, double-click on the “VMware vSphere Update Manager Client” icon.
- In the “VUM Client” login window, enter the vCenter Server details, username and password and press “Login”.
- If the vCenter Server has the vUM service configured, the main VUM Client window will have an “Update Manager” tab. If there is no vUM service configured, the main VUM Client window will only have the “Permissions” and “Tasks & Events” tabs.
- Select the “Admin View”, then select the “Configuration” tab and the “Download Settings” object.
- Use the “Download Sources” “Direct Connection to Internet” for non-UMDS topologies. Select “Use a shared repository” if the vSphere Update Manager Download Service (UMDS) has been configured. Enter the UMDS URL configured in the previous section, press the “Validate URL” button and then press “Apply”. Do this for each individual vCenter Server that has the vUM Server installed.


Great walkthrough. Have you been able to get VUM to show up in the web client? It shows up for me in the thick client, but even though it claims the plug-in was successfully added I don’t get it in the web client.
Somehow I did not get a ‘Client’ option in the Autorun window, so I installed it using the VMware-UMClient.exe binary from the updateManager folder on the CD.