 This is part 4 of the vSphere 6.0 Basics, detailing the installation of vCenter Server on Windows Server 2012 R2.
This is a 6 part series, describing the installation basics of vSphere 6.0:
- vSphere 6.0 Basics – Part 1 – ESXi Install
- vSphere 6.0 Basics – Part 2 – vSphere Client Install
- vSphere 6.0 Basics – Part 3 – vCenter Server Appliance Install
- vSphere 6.0 Basics – Part 4 – vCenter Server Install with Windows Server 2012 R2
- vSphere 6.0 Basics – Part 5 – vSphere Update Manager
- vSphere 6.0 Basics – Part 6 – vSphere Authentication Proxy
This post has been constructed using the vSphere 6.0 Release Candidate (RC – Build 2172336)
The vCenter Server installation process is now much simpler compared to previous versions:
- Web Client, SSO, Inventory Service, Auto Deploy and ESXi Dump Collector are now rolled into the single, embedded Platform Services Controller (PSC) with vCenter Server.
- Design decision – PSC and vCenter server need to decide if your deployment will be embedded or separate (this post assumes embedded).
- Default database is now vPostgres for vCenter, VUM uses MS-SQL Server 2012 Express.
Prerequisites
- Customised Windows Server 2012 R2 server Operating System (for vSphere 5.5, but applicable to vSphere 6.0 also)
- Install this patch: support.microsoft.com/kb/2897602 (otherwise the installation will fail with the message “Error in appending hostname/ip <name> to Cert.”)
- Ensure that the Windows Server VM has 8GB of RAM allocated.
- Ensure that the Windows Server C Drive has 17GB of space free (the common application data directory requires 11GB if you are installing to a separate application drive).
- Ensure that the System Name is a FQDN and that the Server IP Address is static (if you use DHCP, make sure the IP Address is reserved).
- You have the vSphere Infrastructure Management Release Candidate (RC – Build 2172336) or the General Availability (GA – March 2015) ISO image.
Install the vCenter Server
- Mount or extract the VIM 6.0 ISO image to the Microsoft Windows Server 2012 R2 system.
- Execute the “autorun.exe” file.
- In the “VMware vCenter Installer” window, select the “vCenter Server for Windows” object under the “VMware vCenter Server” option. Press the “Install” button.
- In the “VMware vCenter Server 6.0.0” window, press “Next”.
- Accept the licence agreement and select “Next”.
- Select the “Embedded Platform Services Controller” “Deployment Type” and press “Next”.
- Verify the “System Name” is a valid FQDN and press “Next”.
- In the “Single Sign-On Configuration” window, select “Create a new Single Sign-On domain” and enter the “Domain Name”, “Password” and “Site Name”. Then press “Next”.
- In the “vCenter Service Account” window, select “Use Windows Local System Account” and press “Next”.
- In the “Database Settings” window, select “Use an embedded database (vPostgres)” and press “Next”.
- In the “Configure Ports” window, verify the default ports and press “Next”.
- In the “Destination Folder” window, change the destination folder if necessary and select “Next”. vCenter Server can only be installed to a location where the directory names consist of alphanumeric characters and spaces. Make sure the volumes support short names, otherwise “spaces” in the folder names will not be supported.
- In the “Ready to install” window, verify the settings and then press “Install”.
- In the “Setup Completed” window, press the “Launch vSphere Web Client” button and then select “Finish”.
- Open the Services application and verify that the VMware “VirtualCenter Server” service and associated other services are installed and running.
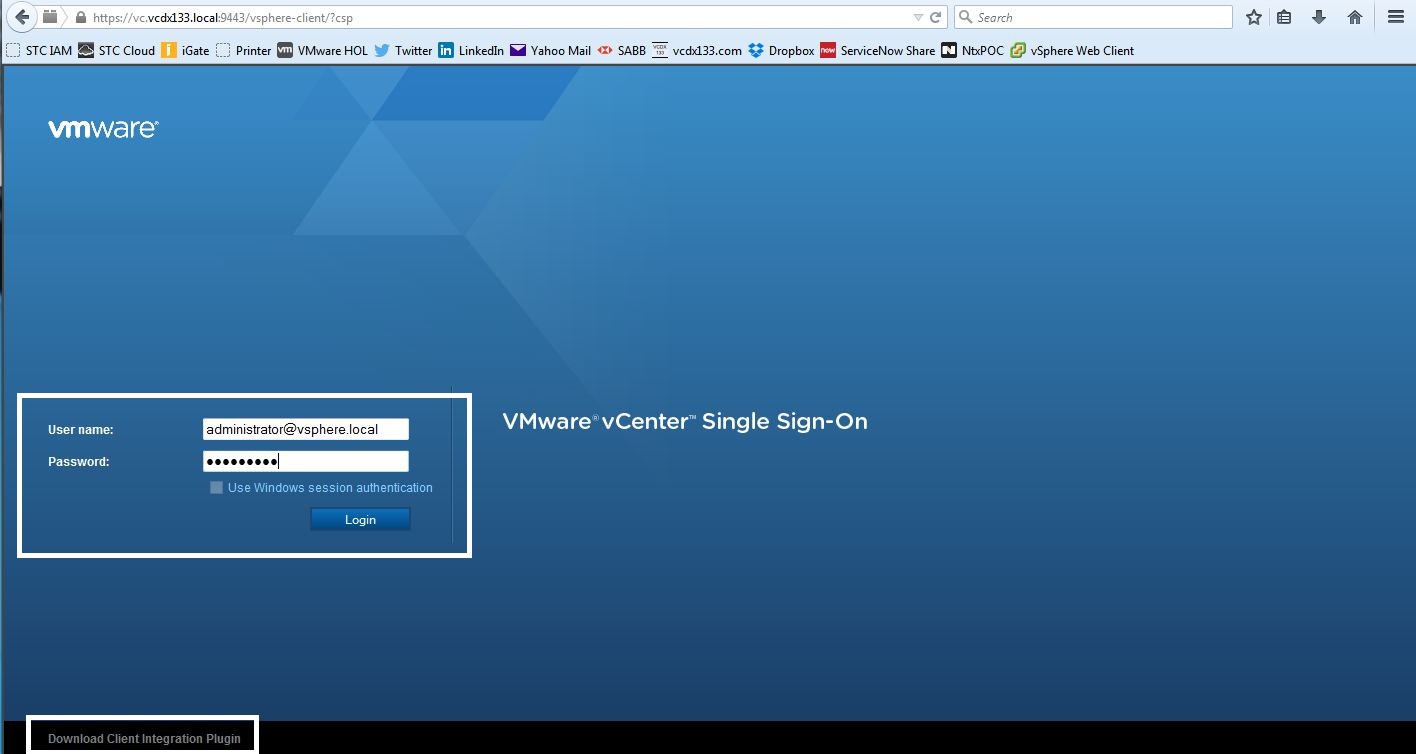
- Enter the Administrator credentials defined earlier and press “Login”. Note that you may have changed the default “administrator@vsphere.local” to something different. If you want to use “Windows session authentication”, you must install the “Client Integration Plugin” (link at bottom left of screen).
- The vSphere Web Client will open to the “Home” screen.


One thought on “vSphere 6.0 Basics – Part 4 – Installing vCenter Server with Windows Server 2012 R2”
Comments are closed.