This is part 1 of the vSphere 6.7 Basics, detailing the installation and initial configuration of ESXi 6.7.
This is a 4 part series, describing the installation basics of vSphere 6.7:
- vSphere 6.7 Basics – Part 1 – ESXi Install
- vSphere 6.7 Basics – Part 2 – vCenter Server Appliance Install
- vSphere 6.7 Basics – Part 3 – Upgrade vCSA 6.5 to vCSA 6.7
- vSphere 6.7 Basics – Part 4 – Build a vCenter HA cluster
This post has been constructed using the ESXi 6.7.0 U1 (Build 10302608) release.
Prerequisites
- You have host hardware that is listed in the VMware Compatibility Guide for vSphere 6.7.
- You have the ESXi 6.7.0 U1 (Build 10302608) ISO image.
- You are booting from DAS, SAN or USB.
Install ESXi 6.7
- Mount the ESXi 6.7.0 U1 ISO image to the host.
- Connect to the DCUI console of the host.
- Power-On the host hardware and allow the host to boot from the ISO image.
- The boot process will begin with the Boot Menu and progress to the Loading ESXi screen.
- Wait for the “Welcome to VMware ESXi 6.7.0 Installation” message to appear. Press “Enter” to continue.
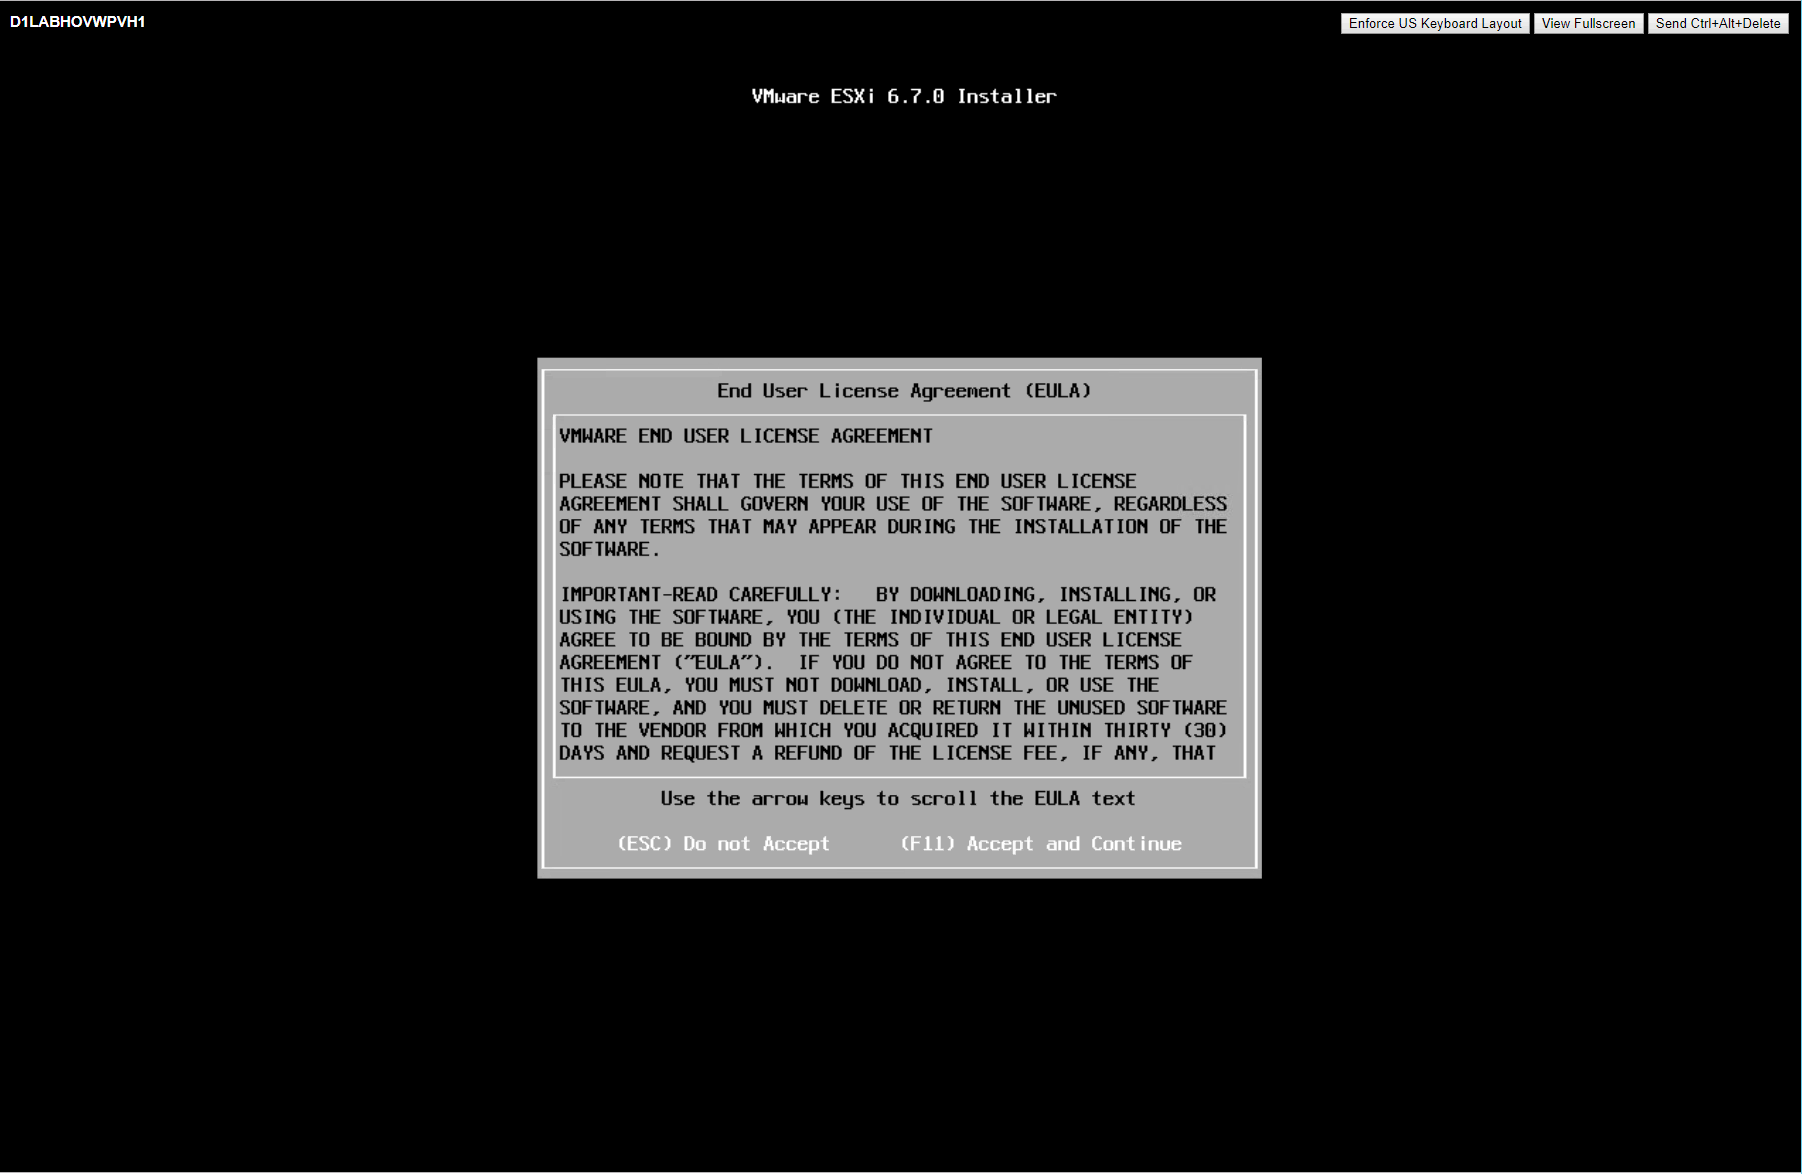
- Press “F11” to accept the EULA.
- NOTE: For Mac OS X users with nested ESXi, use the Fn+Command+F11 key sequence to send F11 to the DCUI.
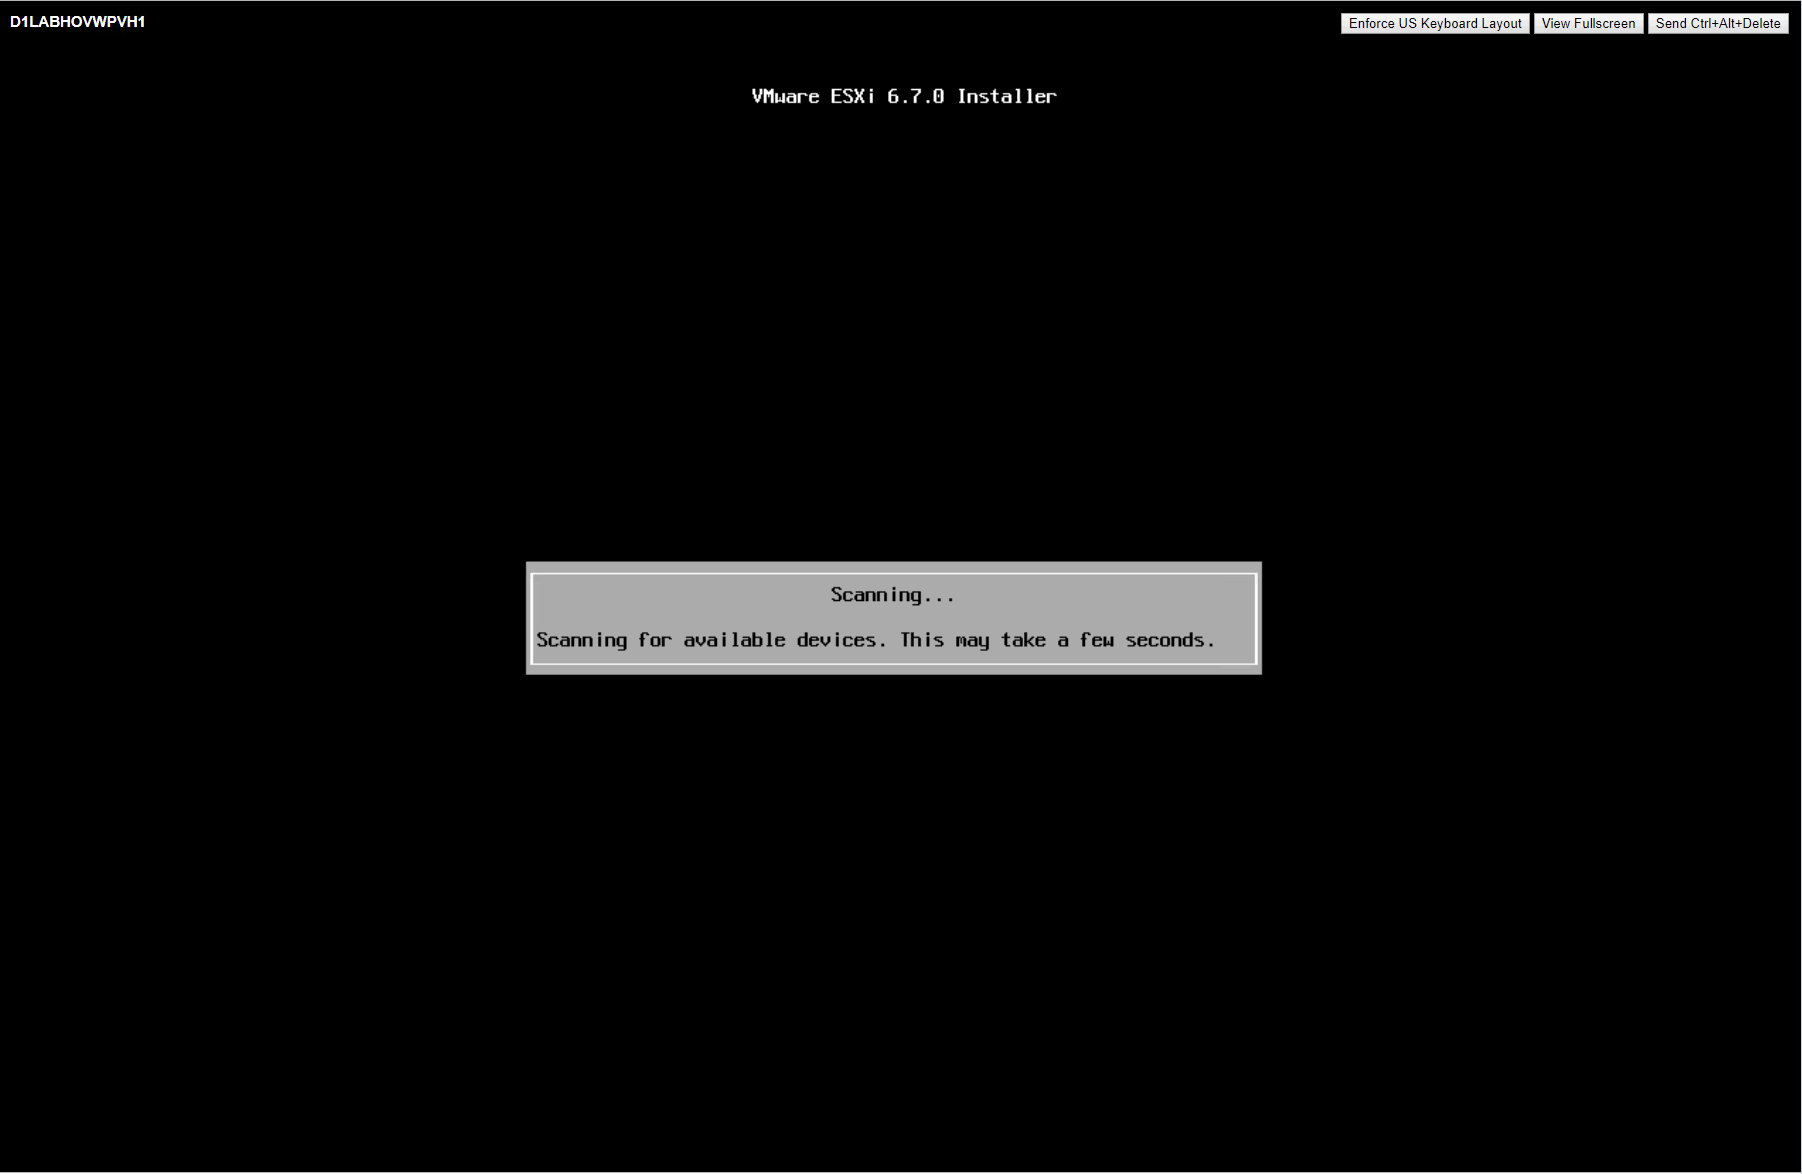
- Select your boot “Storage Device” and press “Enter” to continue.
- Select the Keyboard Input layout and press “Enter” to continue.
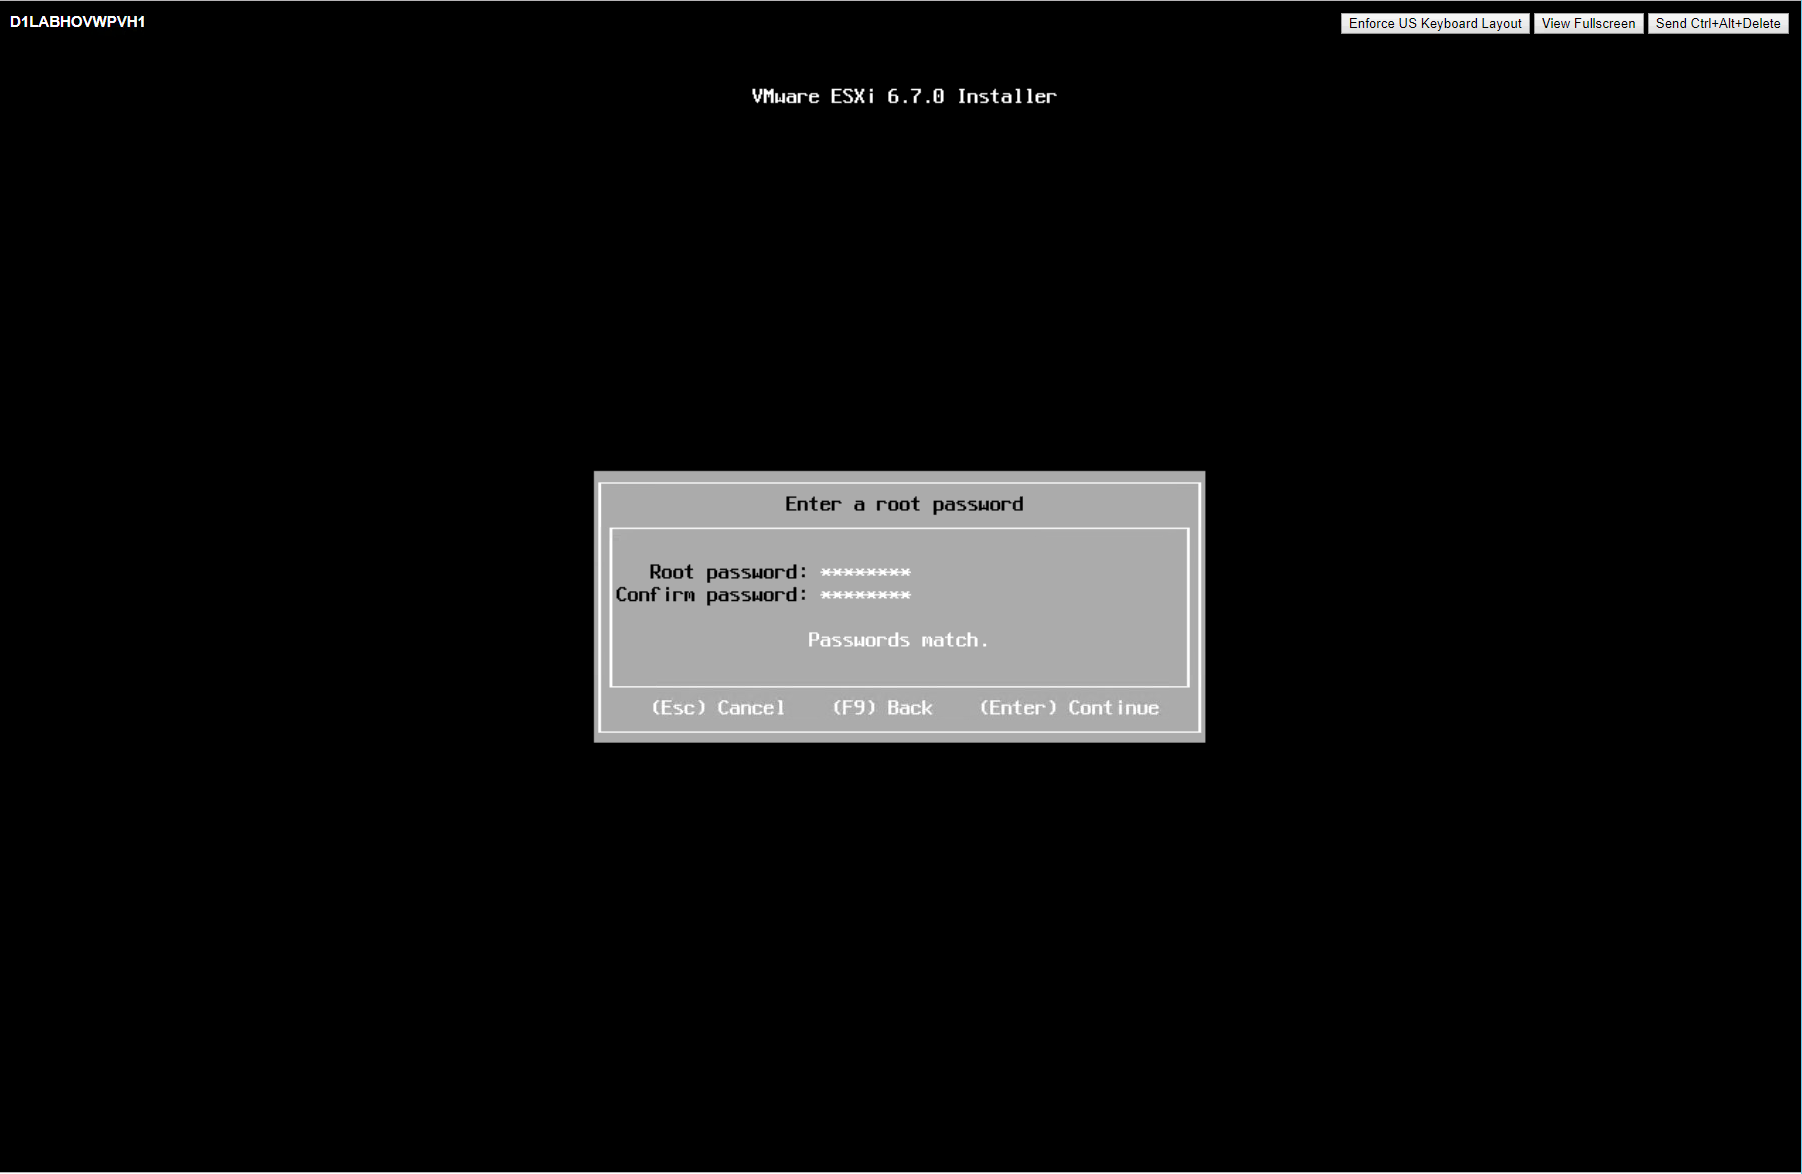
- Enter the “root” password and press “Enter” to continue.
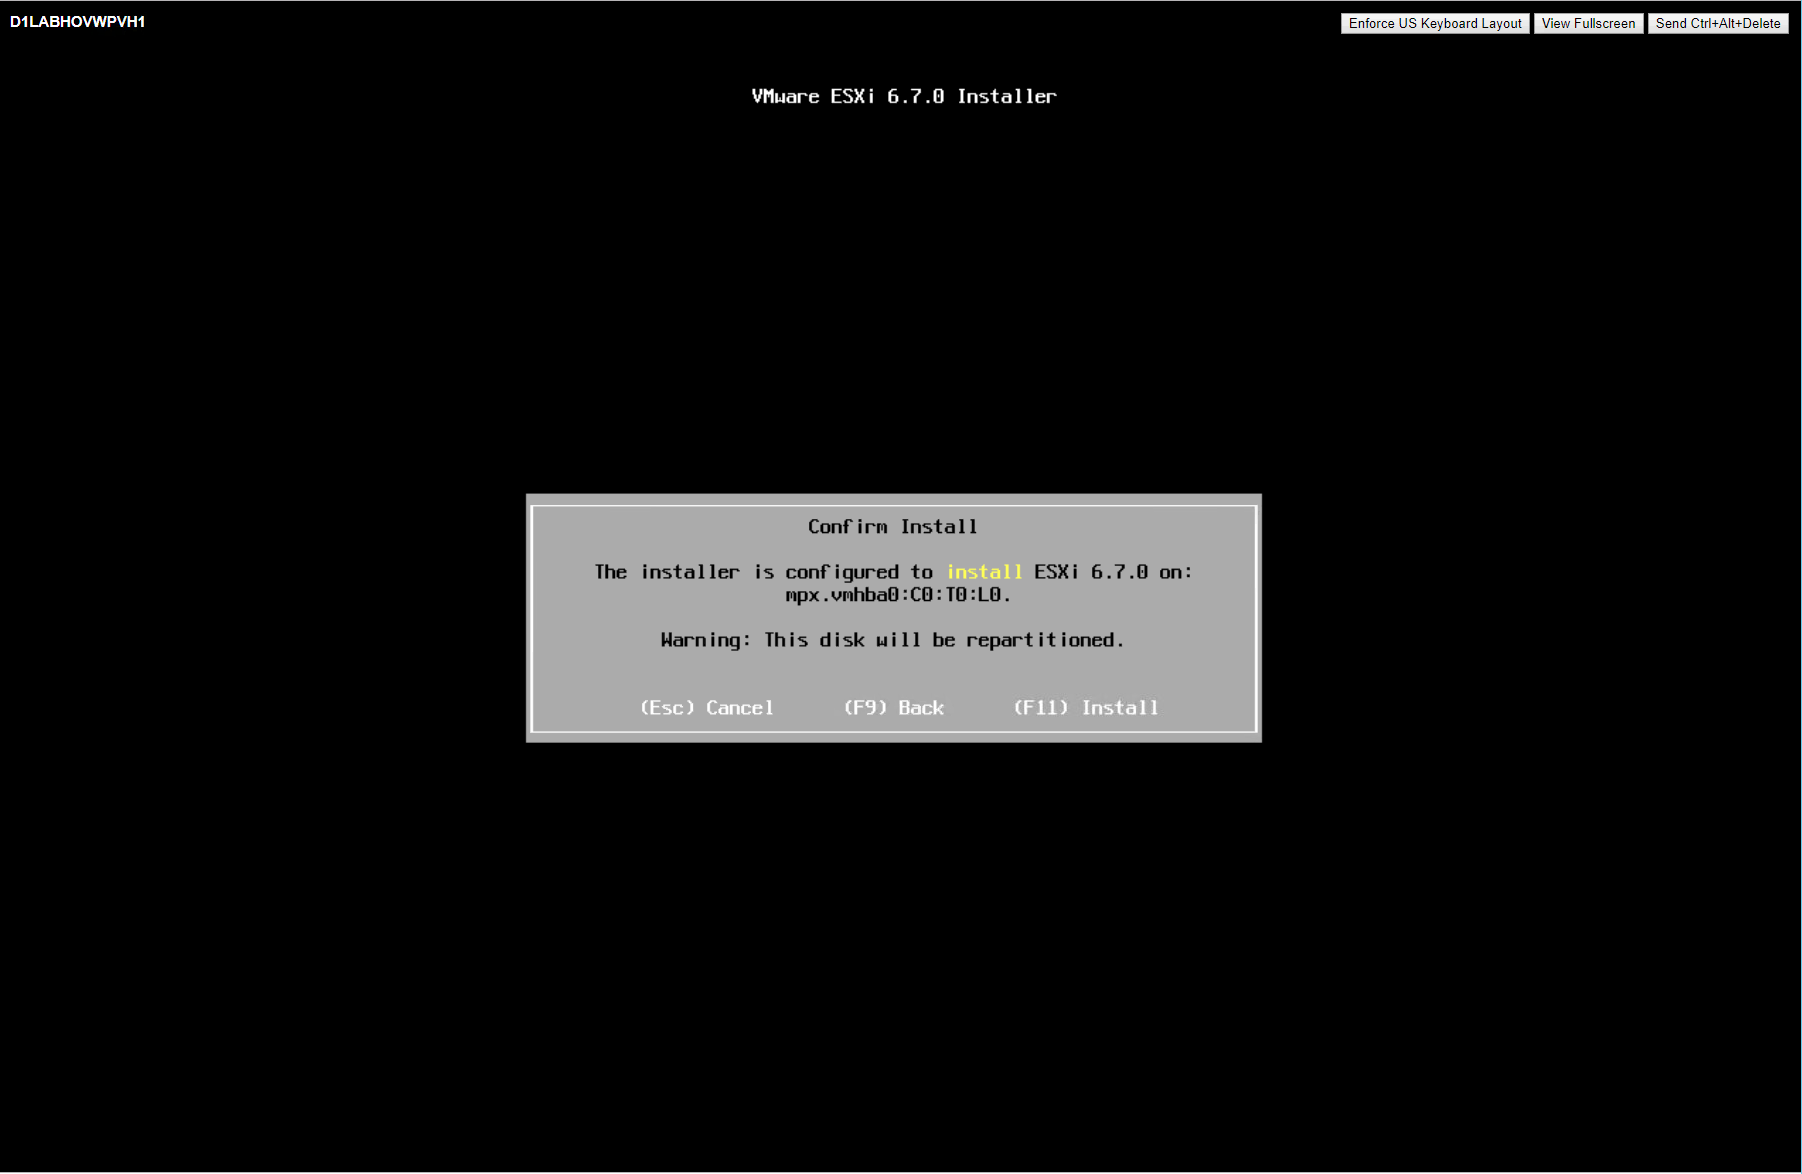
- Press “F11” to Confirm the Install.
- Wait for the “Installation Complete” message and then press “Enter” to reboot the ESXi host.
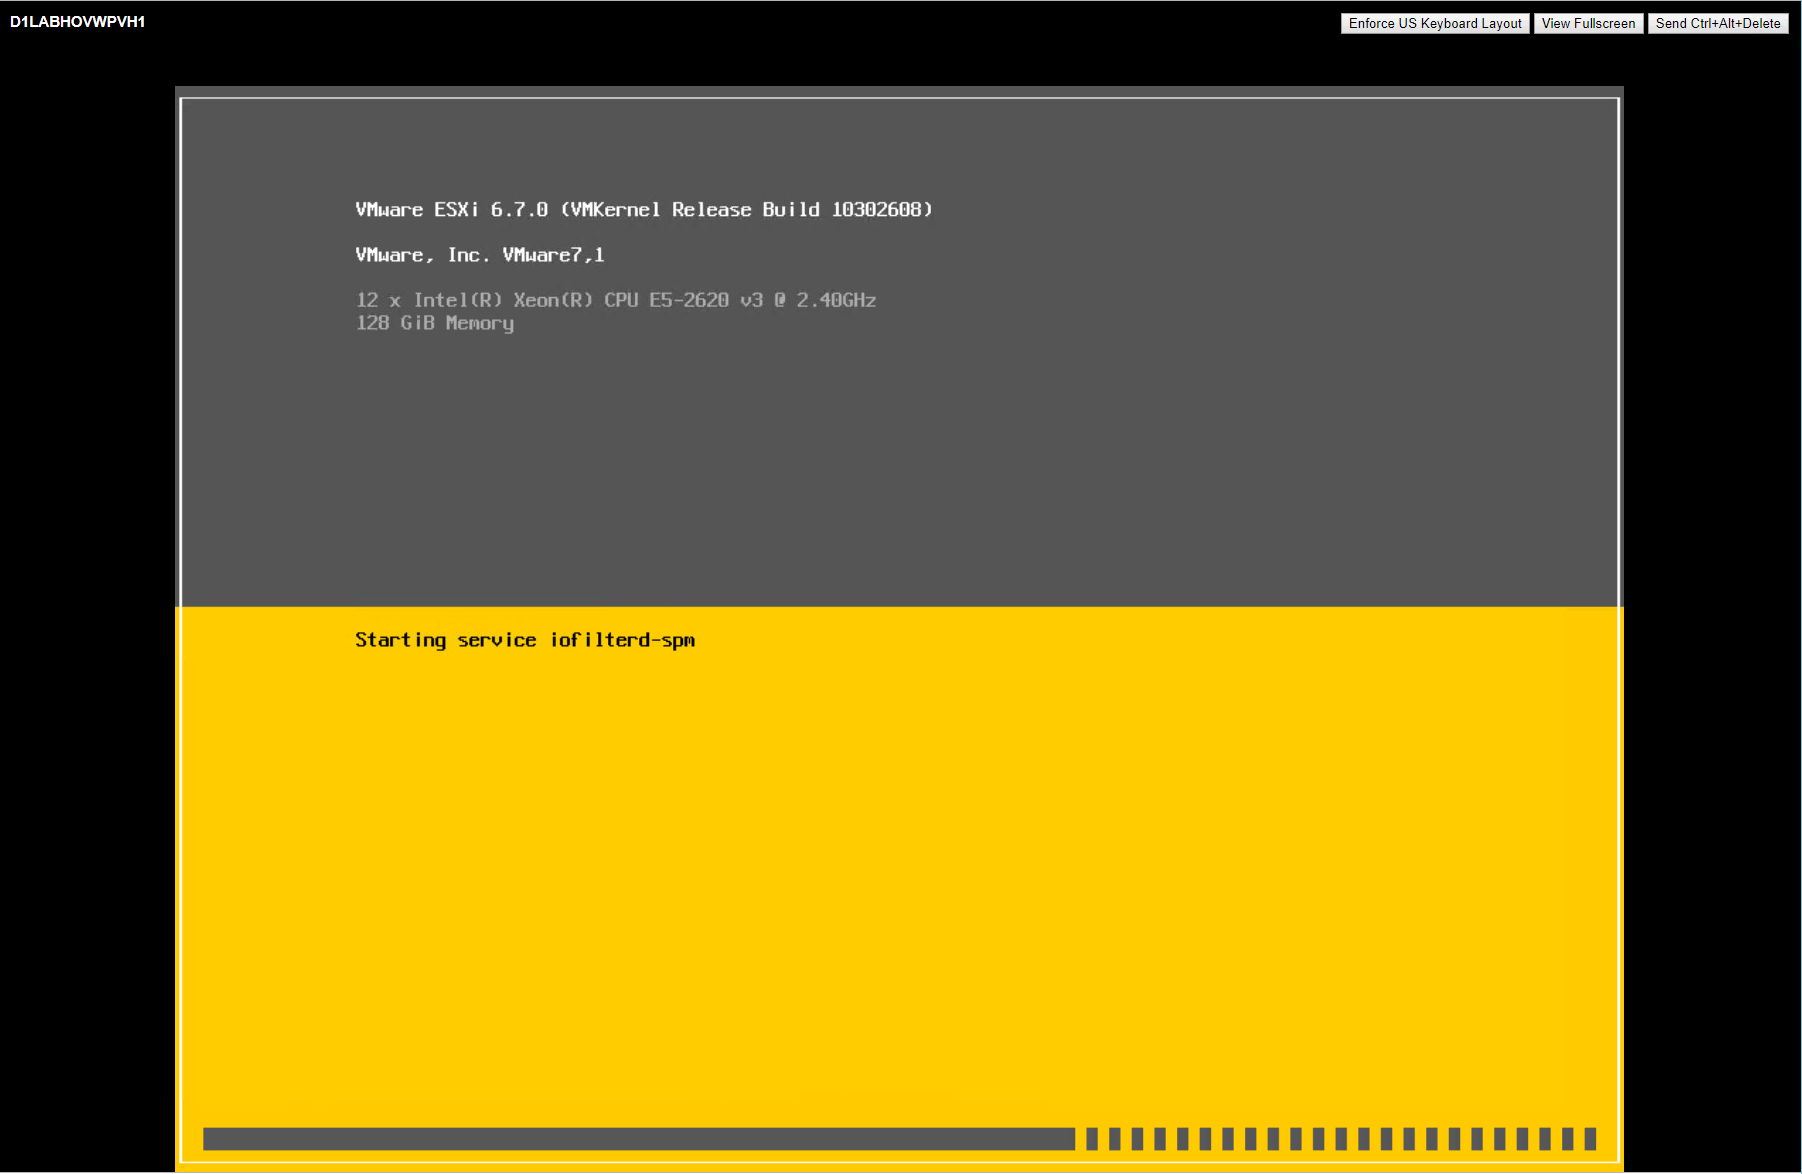
- After the ESXi host has booted, verify that the message “VMware ESXi 6.7.0 (VMKernel Release Build 10302608)” appears on the DCUI Console.


Configure ESXi 6.7
- Connect to the DCUI console of the host.
- Press “F2”, enter the root credentials and press “Enter” to login.
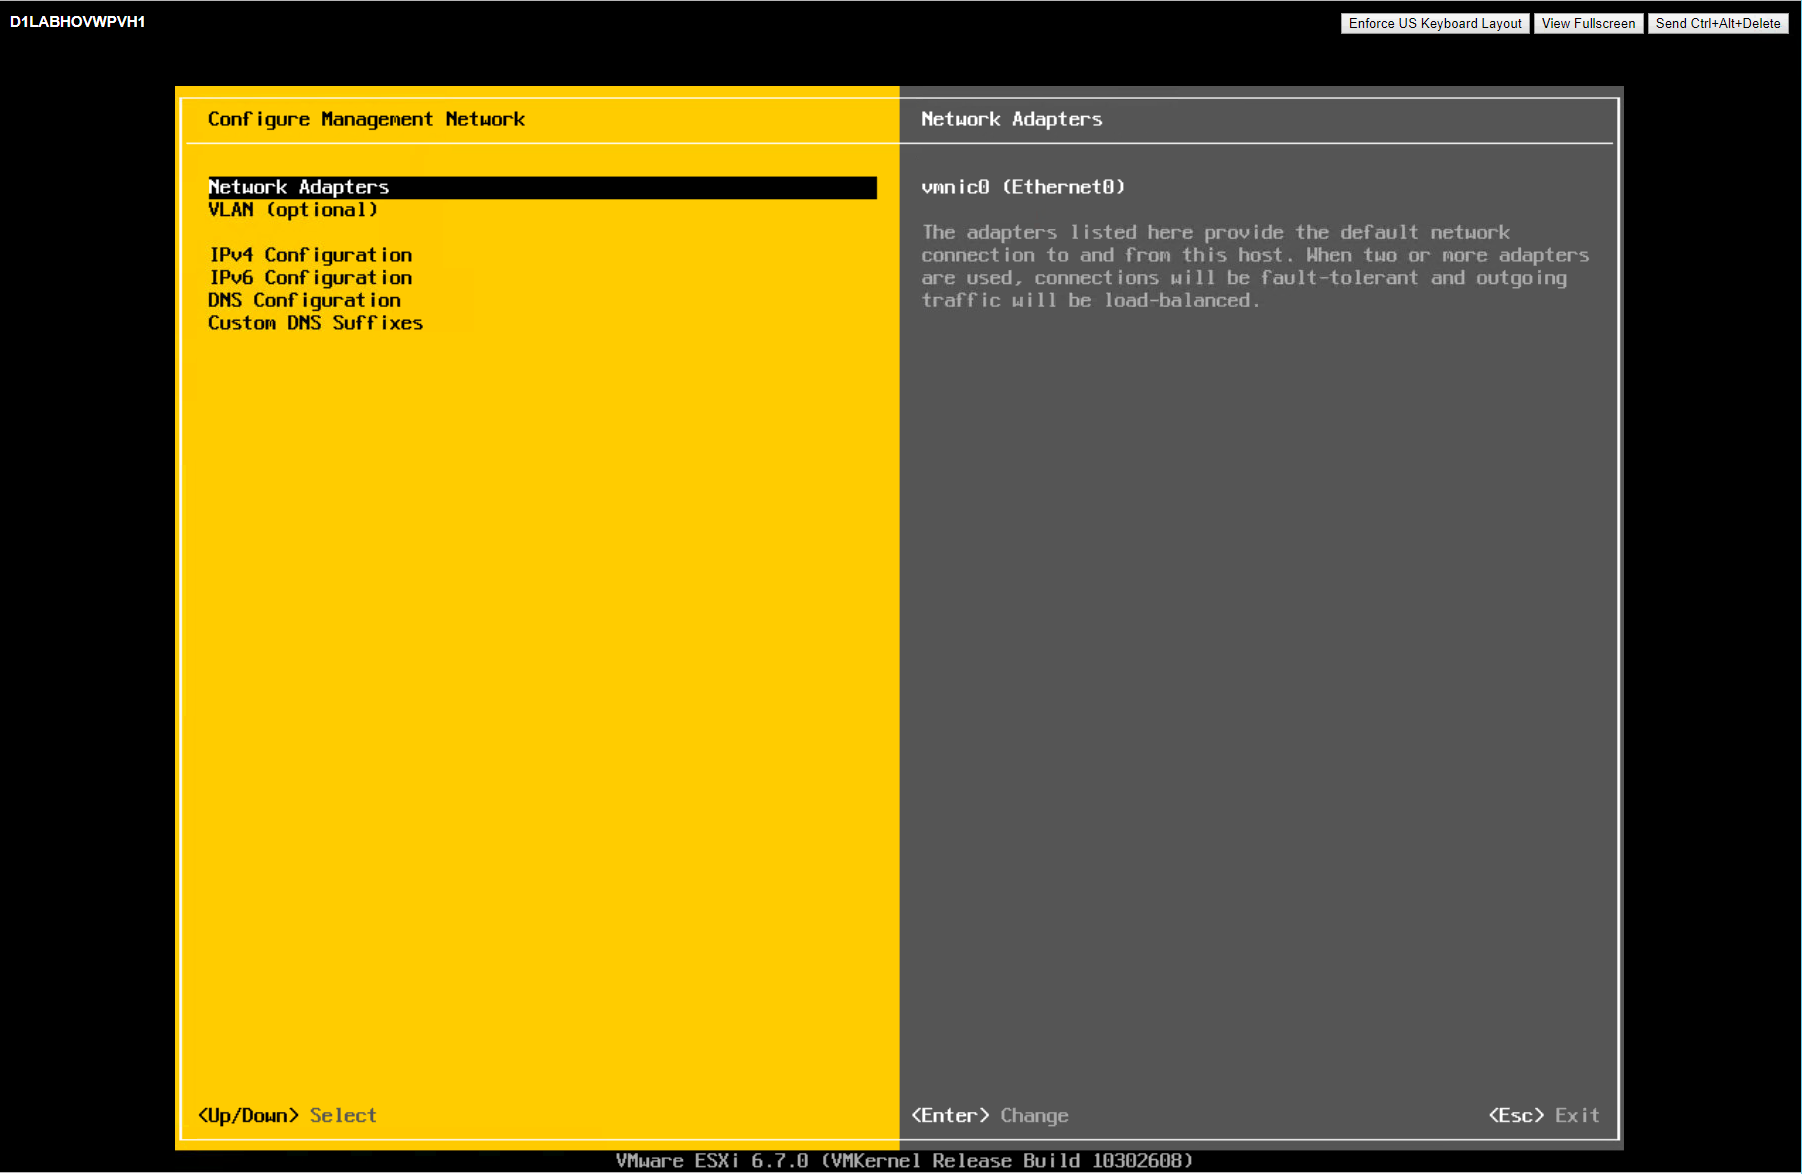
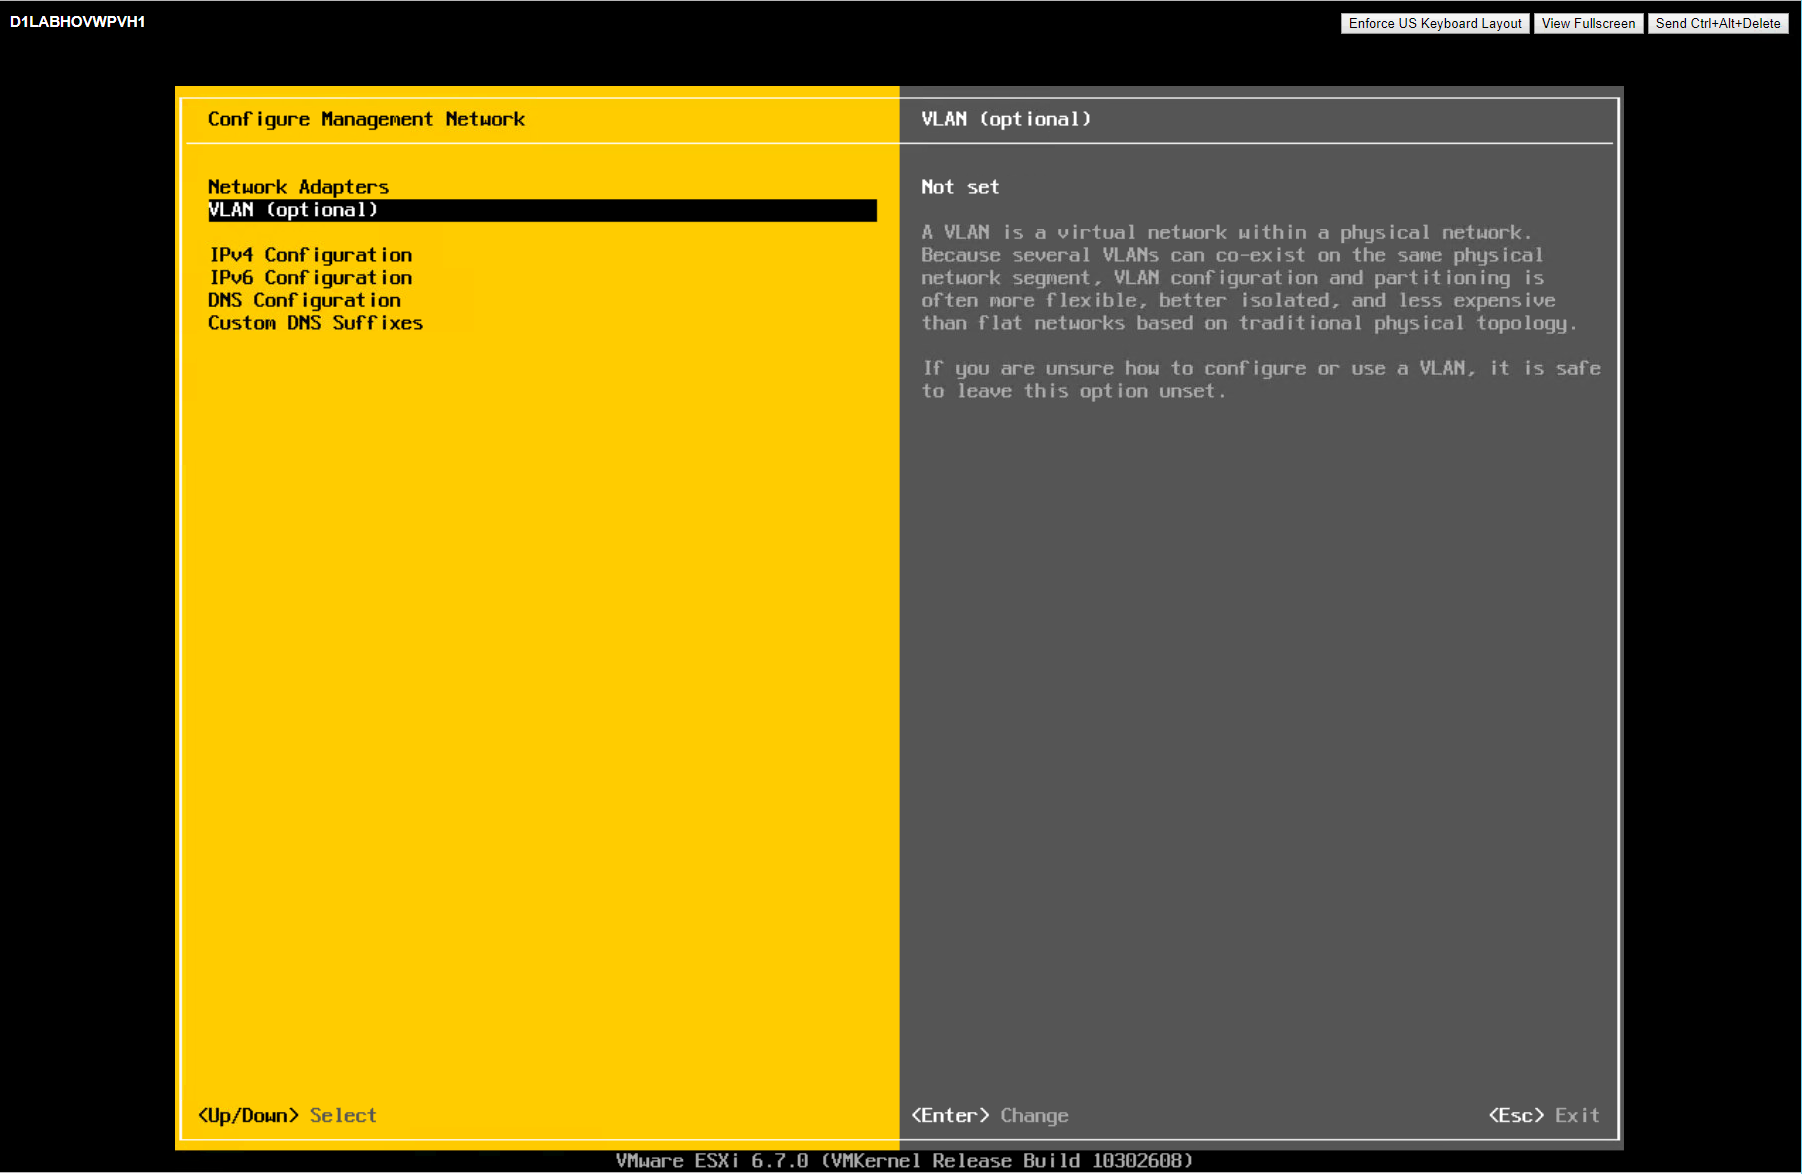
- Select “Configure Management Network” and press “Enter”.
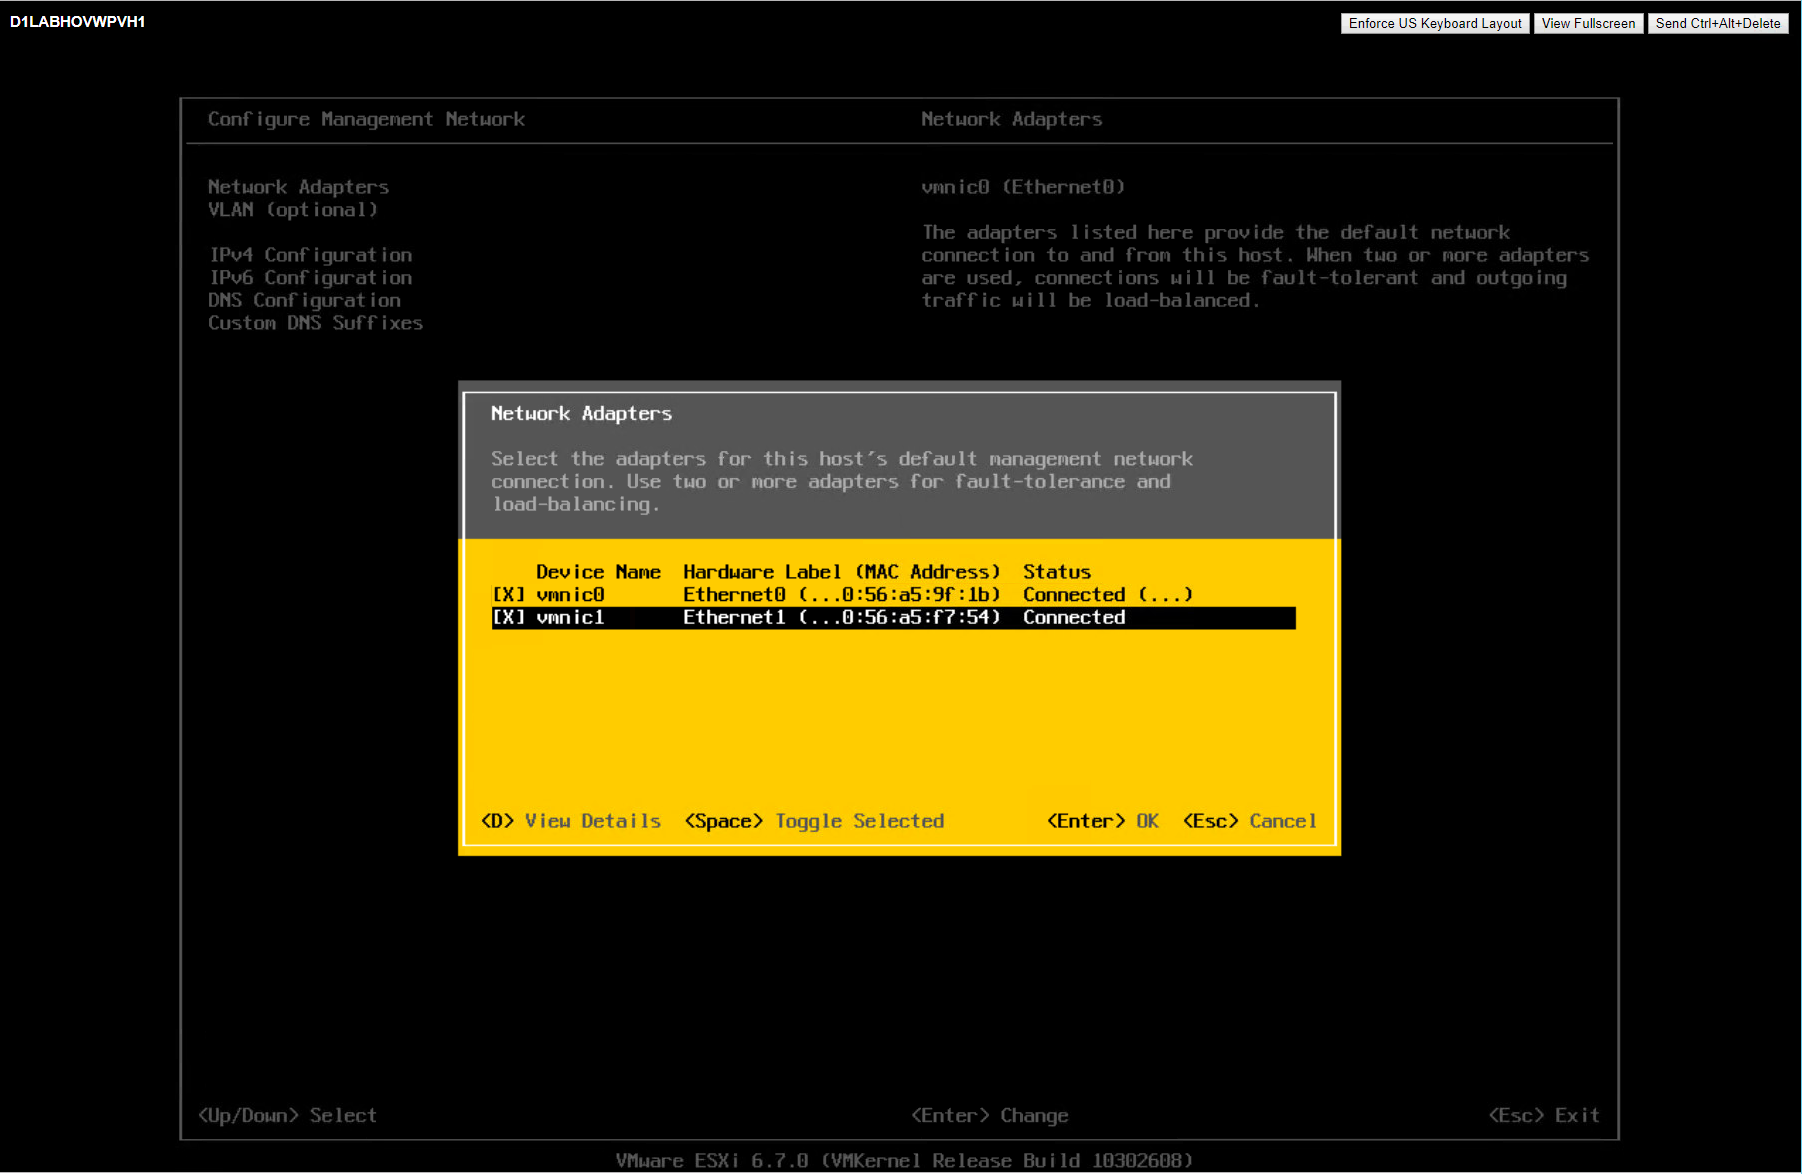
- Select “Network Adapters” to select additional “vmnics” for the Management vSphere Standard Switch.
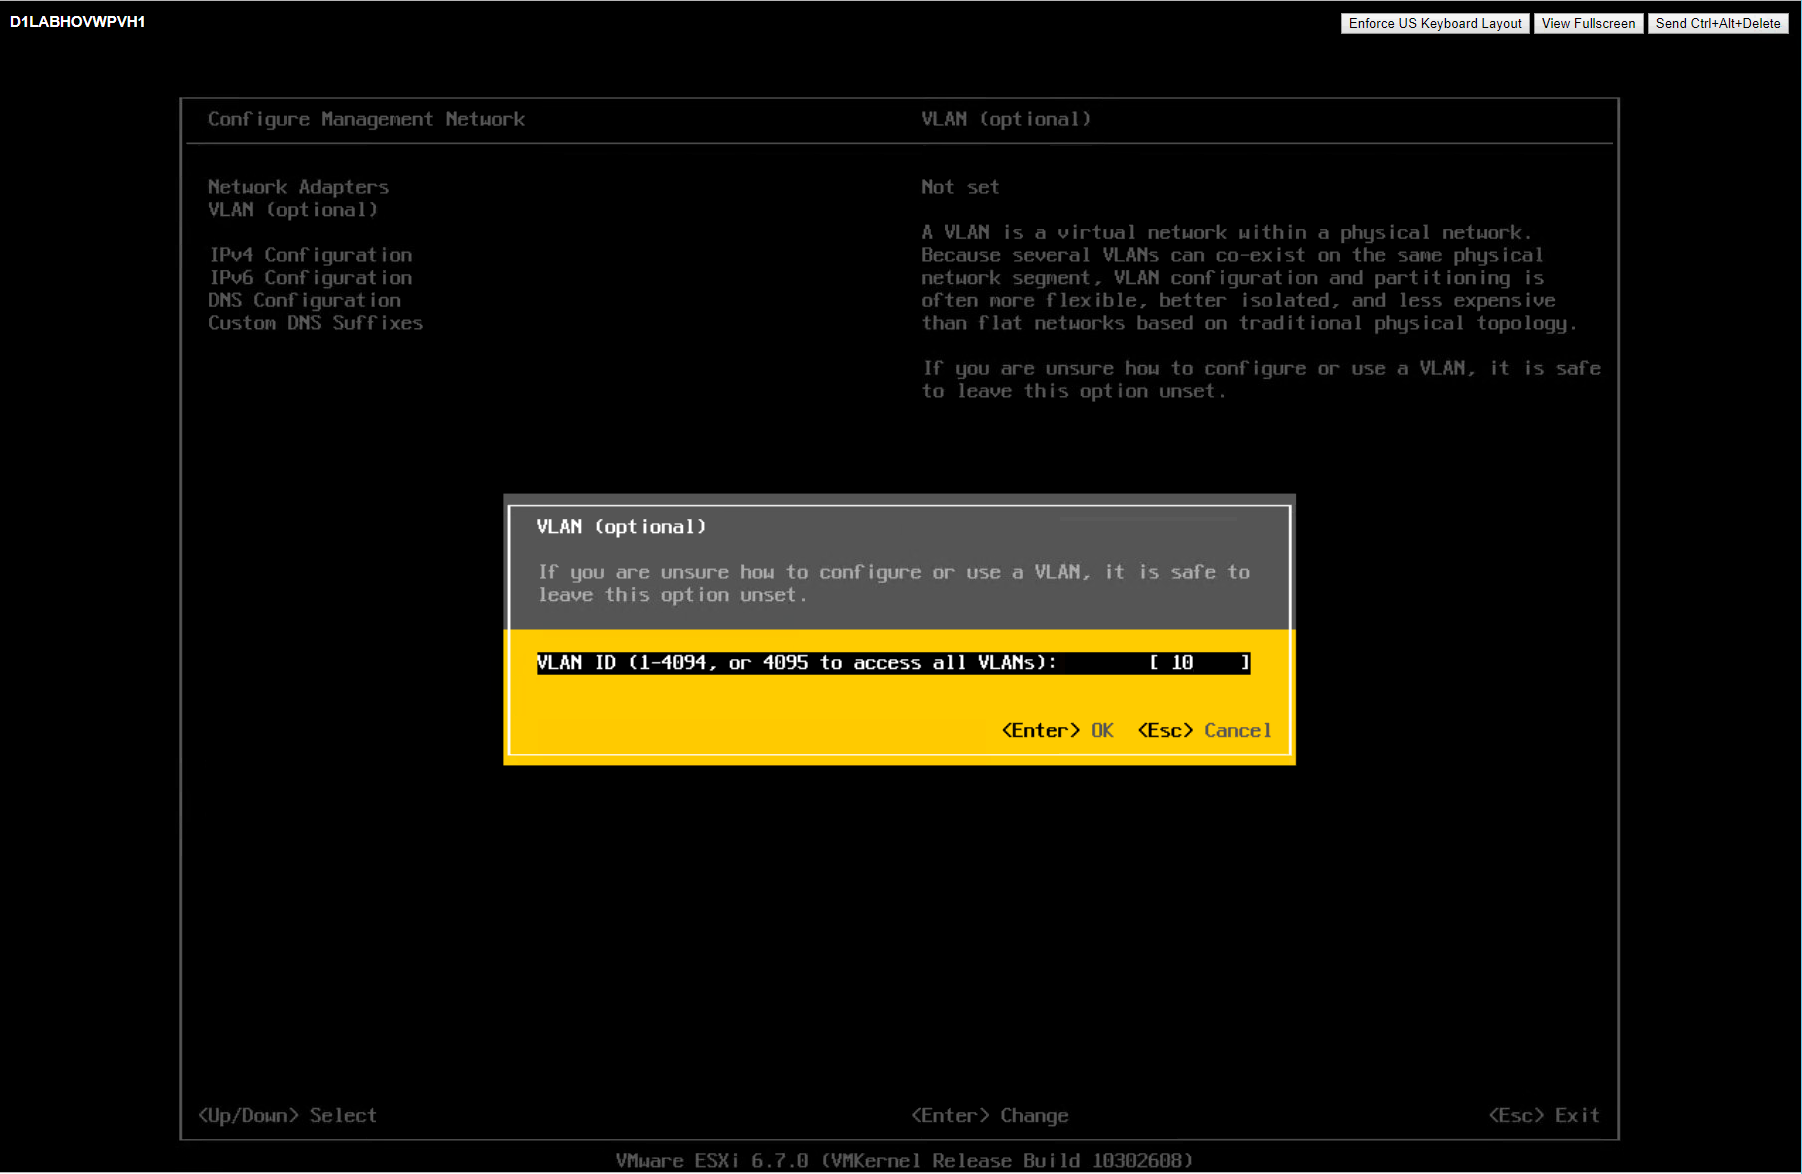
- Select “VLAN (optional)” to configure a VLAN for the Management VMkernel.
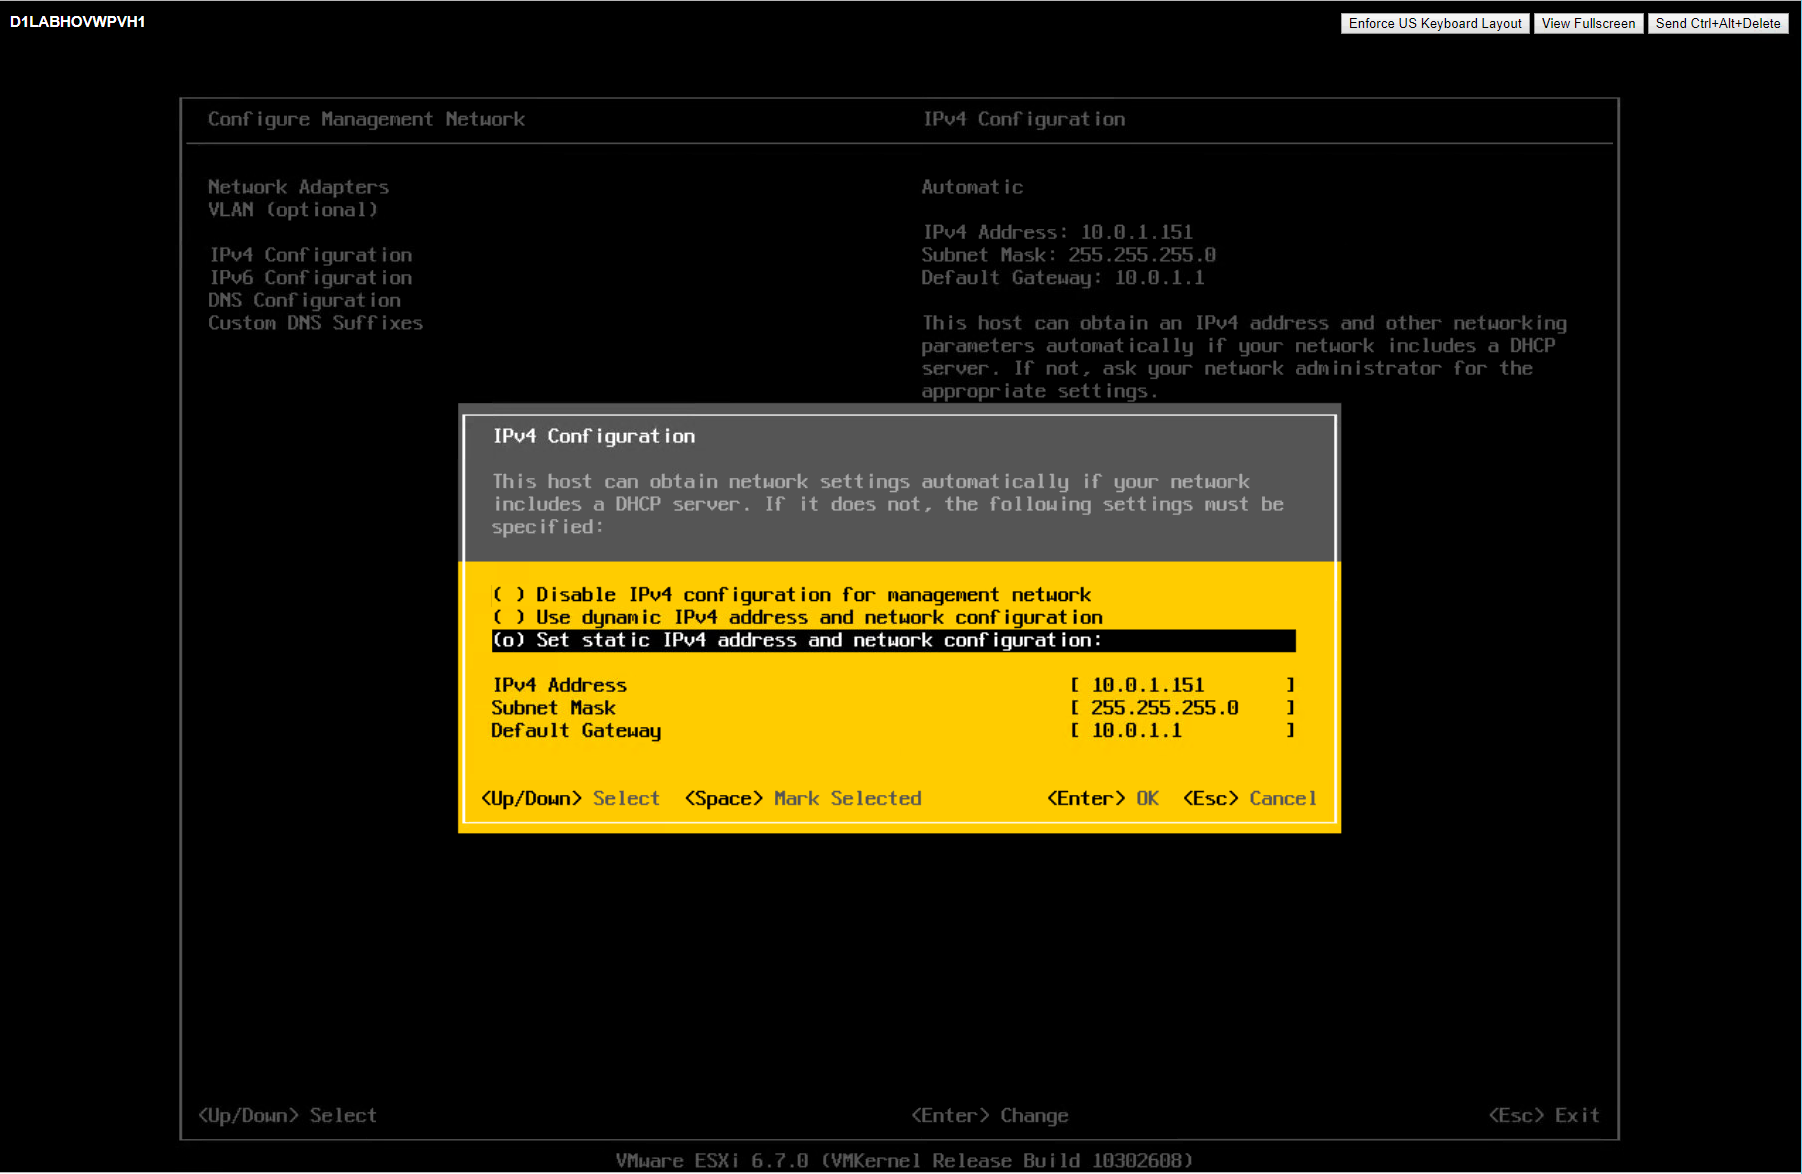
- Select “IPv4 Configuration” to configure DHCPv4, IPv4 Static or IPv4 Disabled.
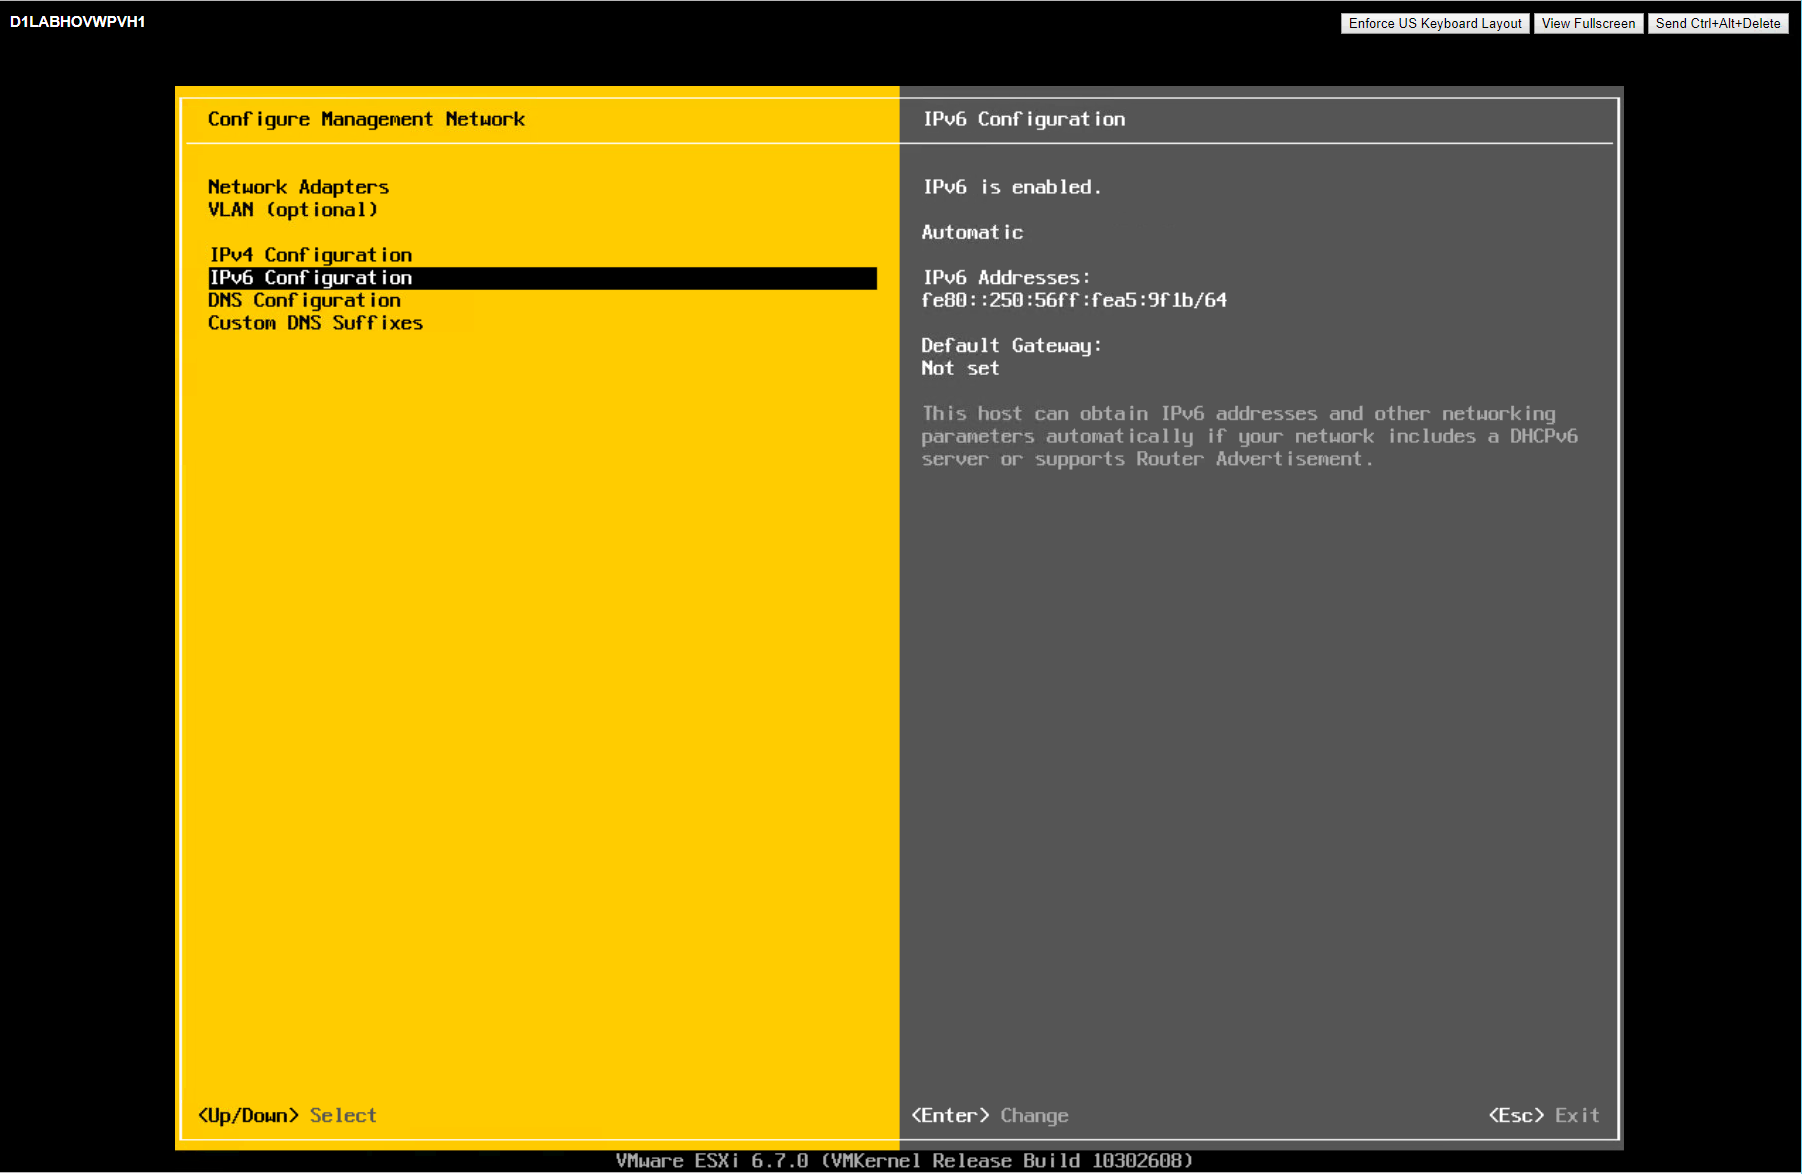
- Select “IPv6 Configuration” to configure DHCPv6, IPv6 Static or IPv6 Disabled.
- Select “DNS Configuration” to configure DNS.
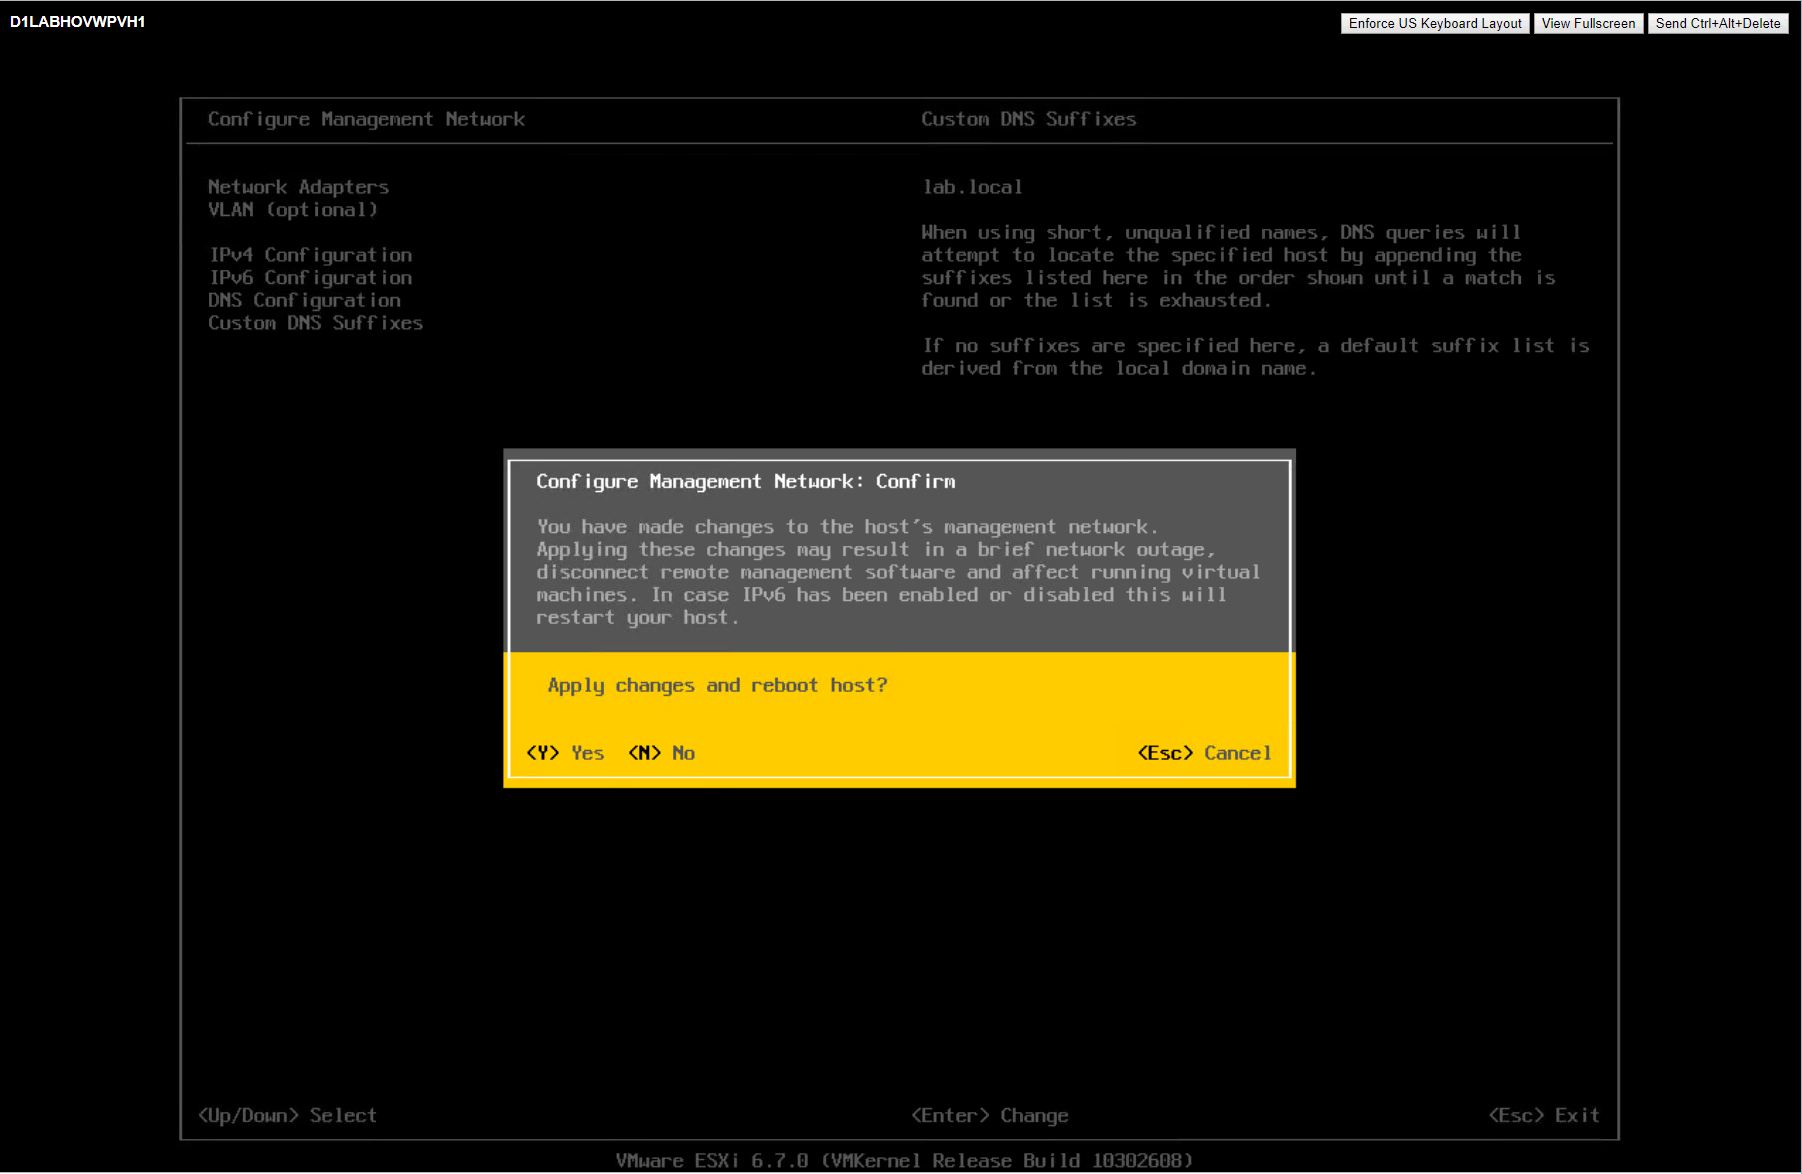
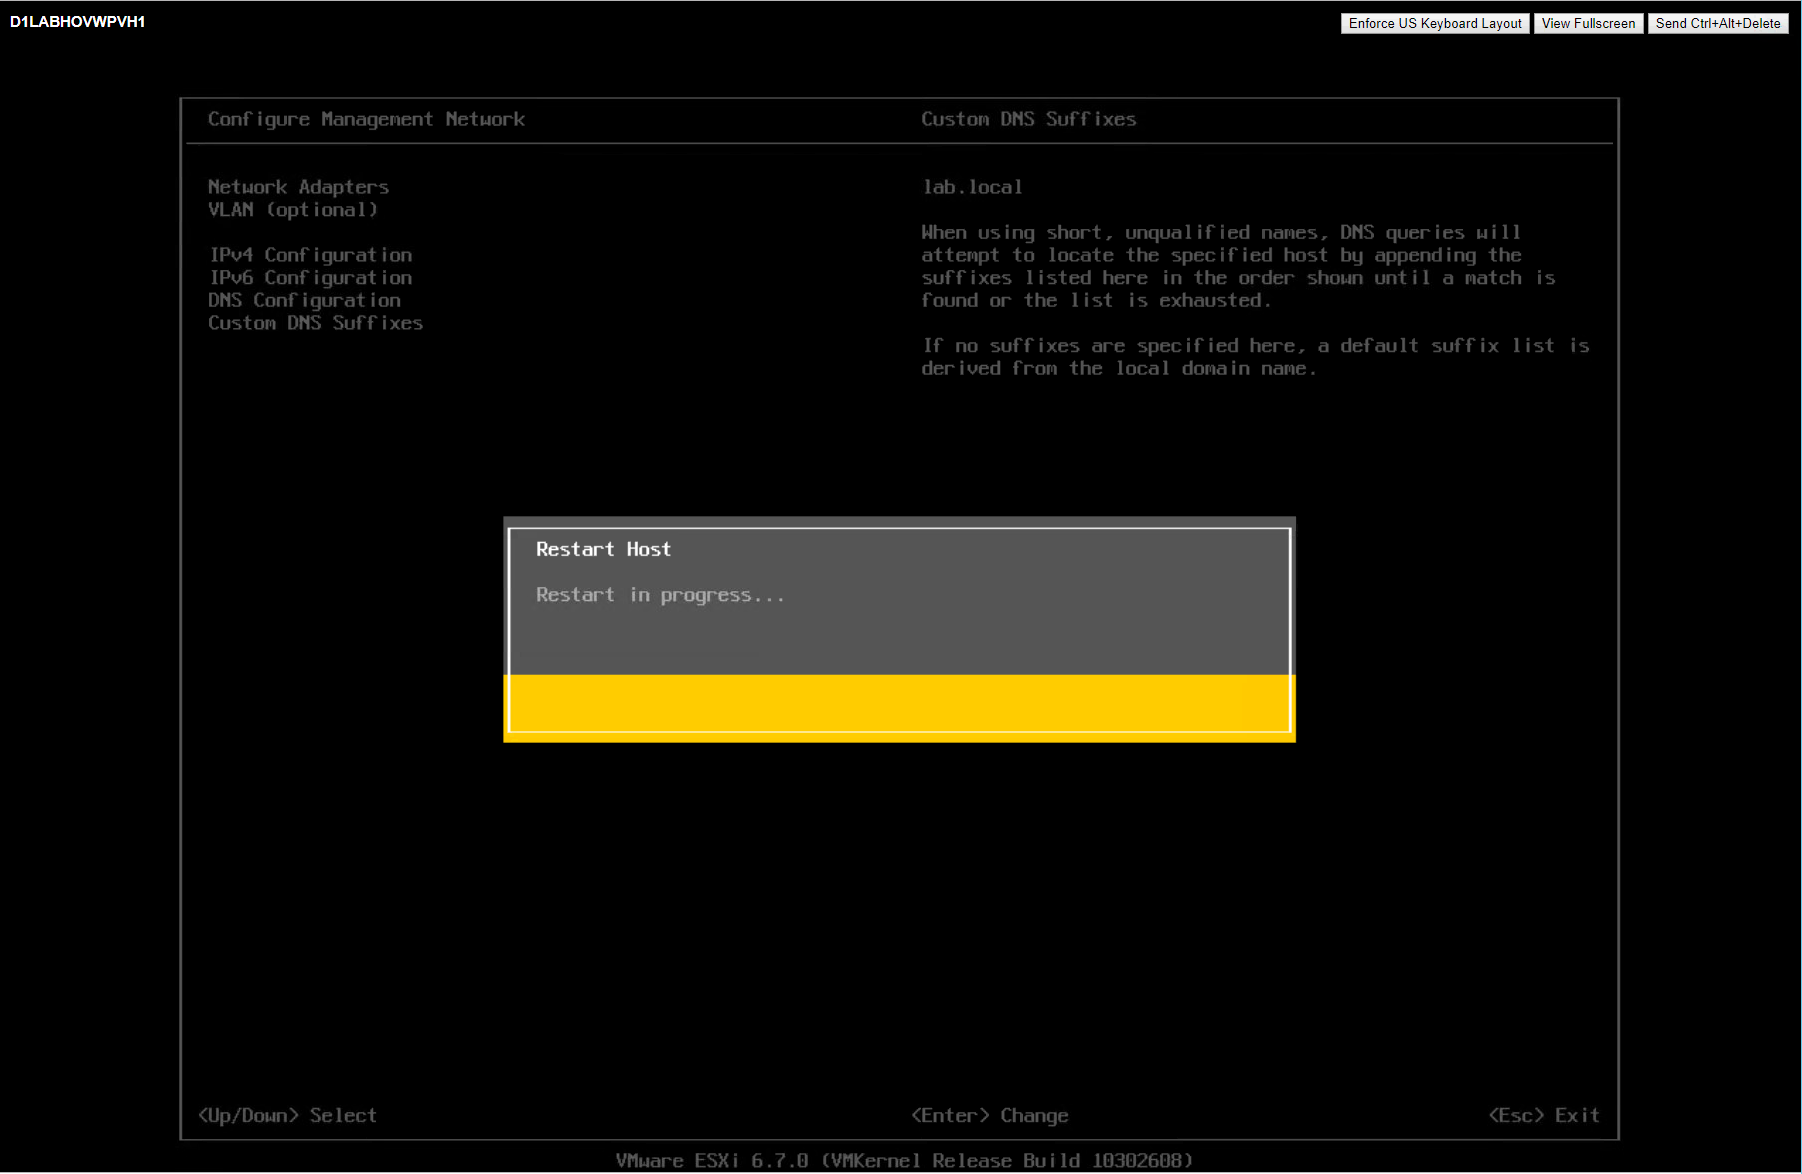
- In the “Configure Management Network” screen, press “Escape” to exit and accept your changes. A restart may be required.
- A browser can now be used to connect to the ESXi Embedded Host Client for additional configuration or the ESXi host can be added to an existing vCenter Server 6.5 instance.


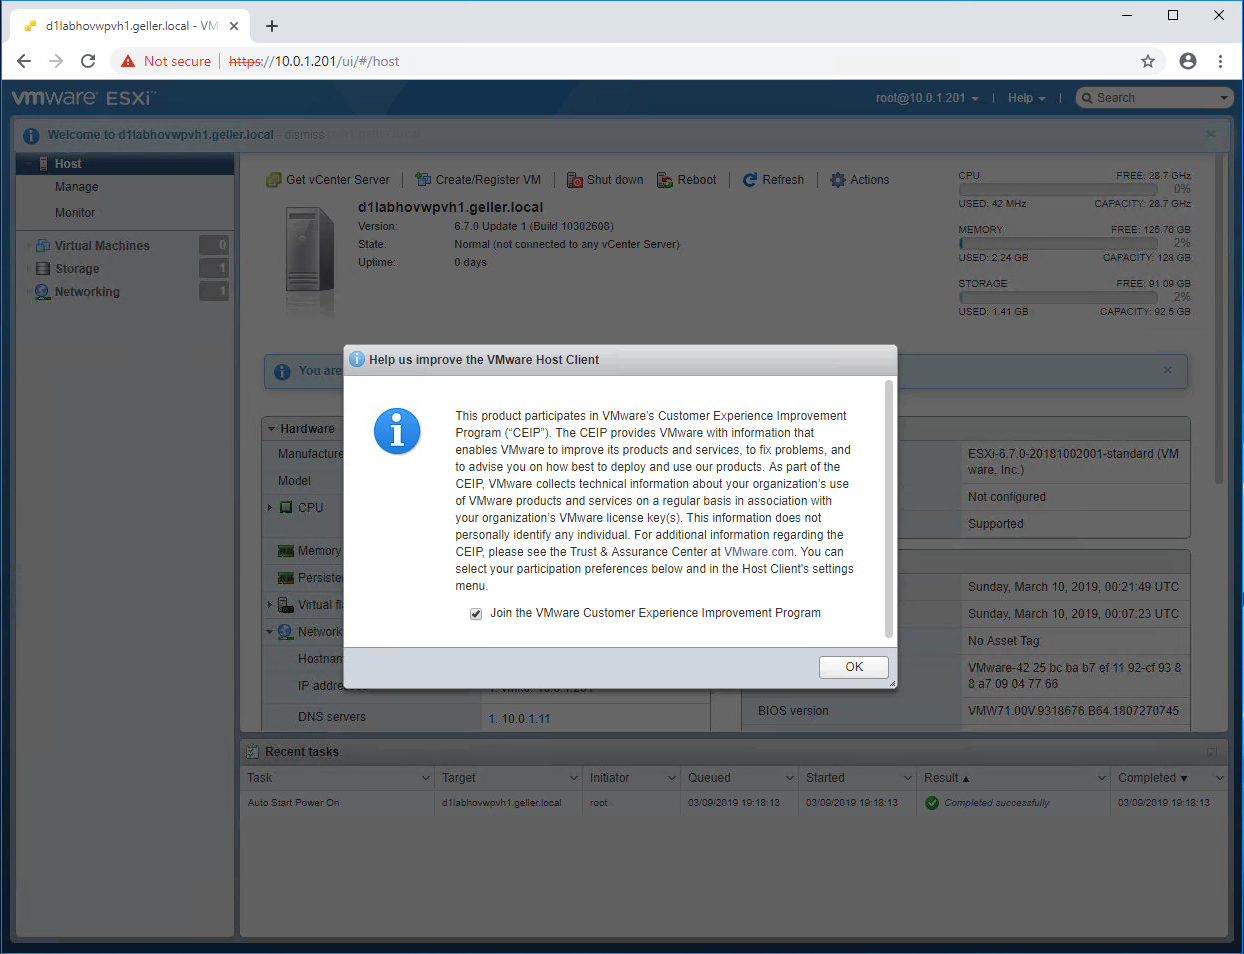
Connect to the ESXi 6.7 Embedded Host Client
- Open a browser and enter the URL of the ESXi host (https://<IP Address>/).
- Accept any SSL Certificate exceptions.
- Enter the credentials (username “root” and the password configured during the installation process).
- Enter your CEIP preferences and press OK.
- The Navigator screen should be presented with the Host, Manage and Monitor options.