This is part 7 of the vCenter 5.1 to 5.5 Update 1c upgrade, detailing the reintegration of vCenter Infrastructure Navigator with vCenter 5.5.
This is an eleven part series, describing how to upgrade from vCenter 5.1 to vCenter 5.5:
- vCenter 5.5 Upgrade with Windows Server 2012 R2 – Part 1 – Preparation
- vCenter 5.5 Upgrade with Windows Server 2012 R2 – Part 2 – OS Build
- vCenter 5.5 Upgrade with Windows Server 2012 R2 – Part 3 – vCenter Install
- vCenter 5.5 Upgrade with Windows Server 2012 R2 – Part 4 – Cleanup
- vCenter 5.5 Upgrade with Windows Server 2012 R2 – Part 5 – Integrating vUM and Syslog
- vCenter 5.5 Upgrade with Windows Server 2012 R2 – Part 6 – Integrating vC Ops
- vCenter 5.5 Upgrade with Windows Server 2012 R2 – Part 7 – Integrating vIN
- vCenter 5.5 Upgrade with Windows Server 2012 R2 – Part 8 – Upgrading and Integrating vCM
- vCenter 5.5 Upgrade with Windows Server 2012 R2 – Part 9 – Upgrading and Integrating vCO Appliance
- vCenter 5.5 Upgrade with Windows Server 2012 R2 – Part 10 – Upgrading and Integrating CBM
- vCenter 5.5 Upgrade with Windows Server 2012 R2 – Part 11 – Upgrading ESXi
Prerequisites
- You have completed steps 1 to 6.
- You have administrator access to vCenter.
- You have downloaded the vIN ova for vCenter 5.5 Update 1c.
Unregister the vCenter 5.1 vIN extension
I tried to reregister the original vIN instance with no success, I am sure there is some procedure for this, but I could not find it. So redeploy was the only option left.
- Open a Web browser and connect to the vCenter extension manager: “https://<vCenter IP Address>/mob”
- Login as an administrator and select “UnregisterExtension”.
- Enter “com.vmware.vadm.ngc51” and press “Unregister”.
- Then enter “com.vmware.vadm” and press “Unregister”.
- Refresh the “ExtensionManager” screen and verify the “vadm” entries are gone.
- Within vCenter, power off and delete the vCenter 5.1 Virtual Appliance.
- This process is also describe in VMware KB 1025360.


Redeploy the vIN Virtual Appliance for vCenter 5.5
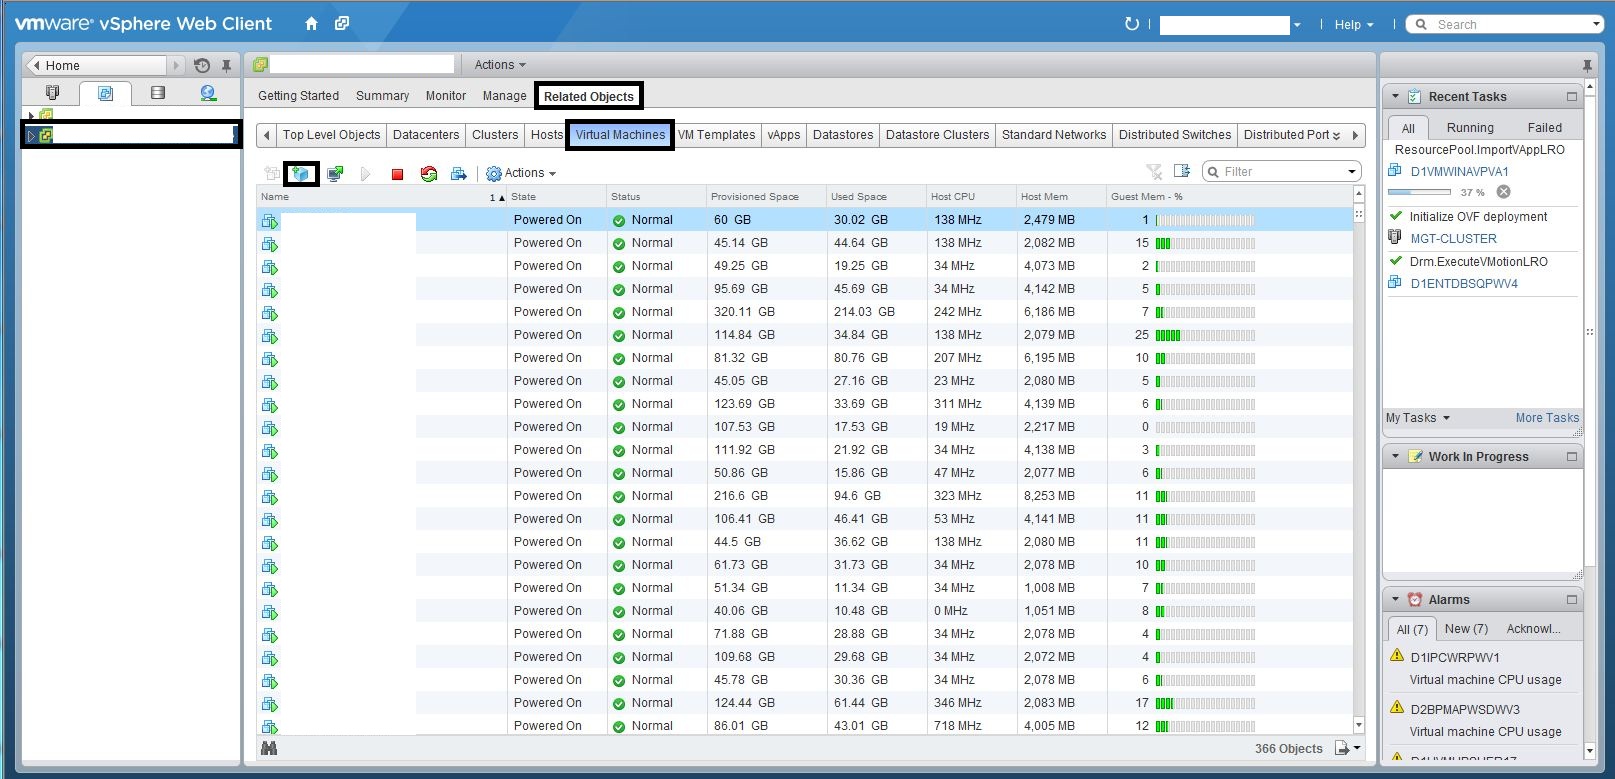
- Connect to the Web Client and select the vCenter 5.5 instance that requires vIN.
- Select “Related Objects”, “Virtual Machines” and then select the “Add OVA icon”.
- Browse to the file “VMware_vCenter_Infrastructure_Navigator-xxxx.ova” and press “Next”.
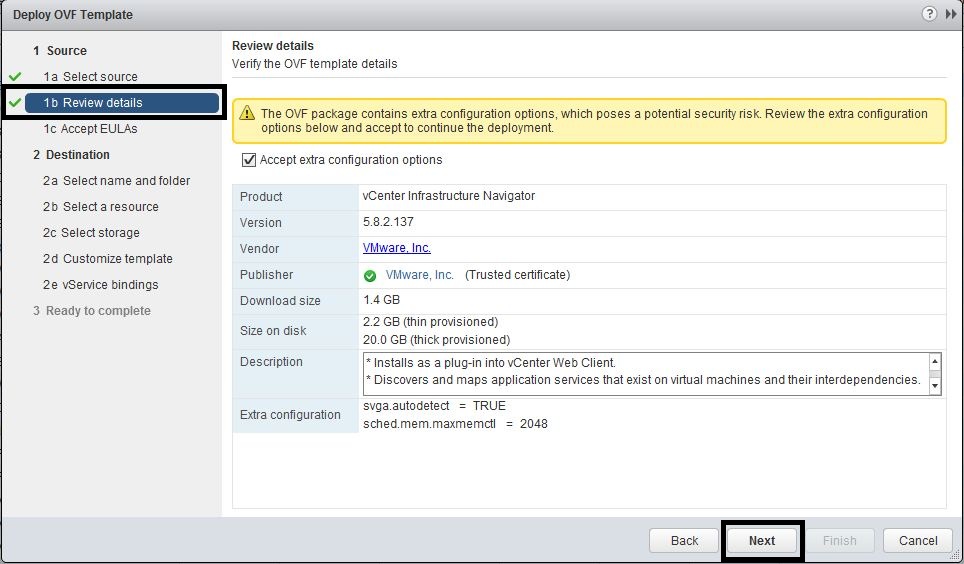
- Press “Next”.
- Accept the EULA and press “Next”.
- Enter the “Name”, select the “Datacenter” object and press “Next”.
- Select the Cluster and then press “Next”.
- Select the “virtual disk format”, “VM storage policy”, “Storage DRS cluster” and then press “Next”.
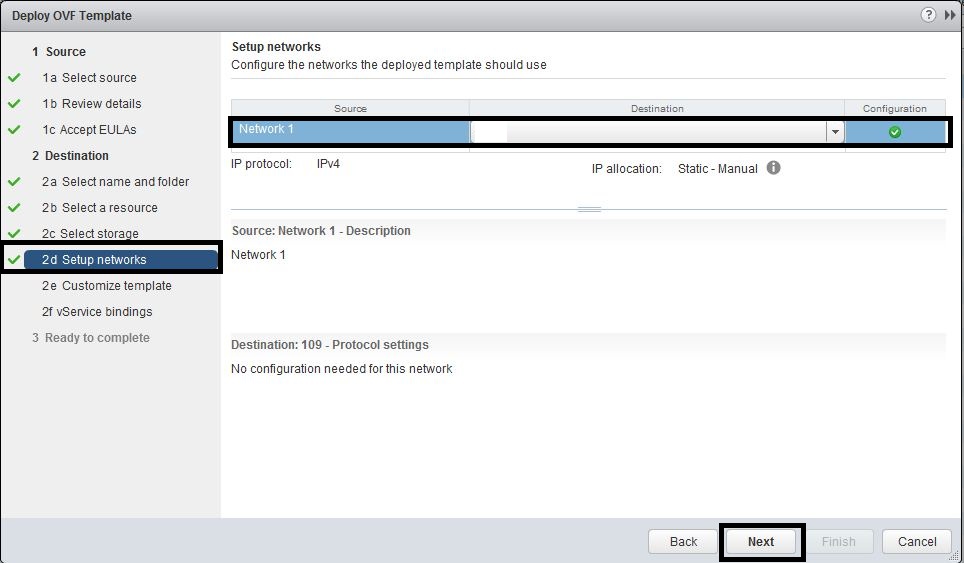
- Select the “Portgroup” network and press “Next”.
- Enter the “root” password, “Default Gateway”, “DNS” entries, “IP Address” and “Netmask”. Then press “Next”.
- Press “Next”. Note if the vCenter extension service is not running, then access the Windows Server “Services” window and make sure the “vCenter Web Service” is running.
- Select “Power on after deployement” and then press “Finish”.
- After the vIN deployment has completed and powered on, browse to the Licence Management screen by selecting “Home”, “Administration”, “Licenses” and then the “Solutions” object.
- Ensure that “vCenter Infrastructure Navigator” has a valid licence key assigned. If not, assign one using the “Assign License Key” button.
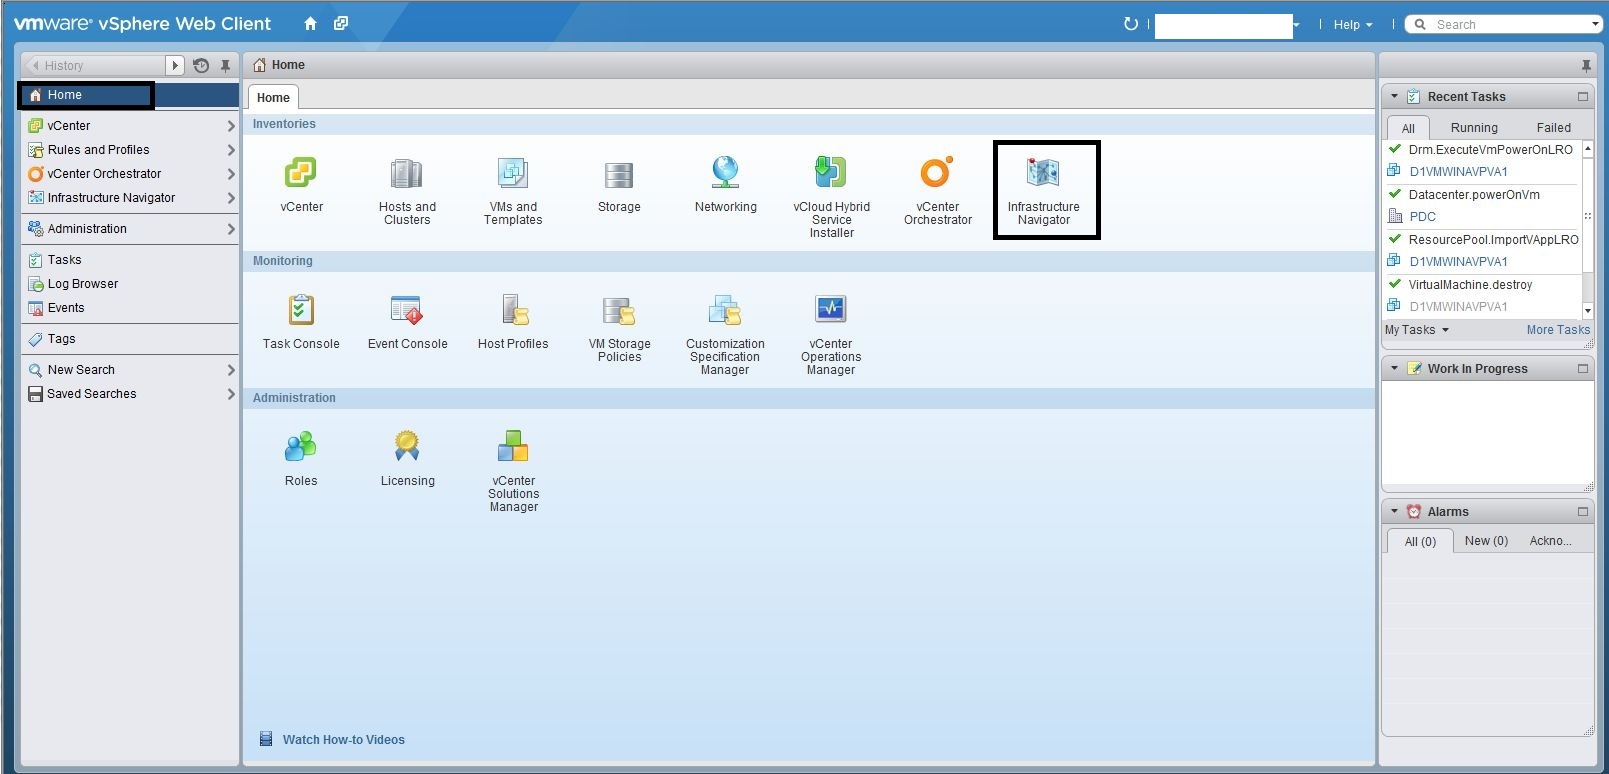
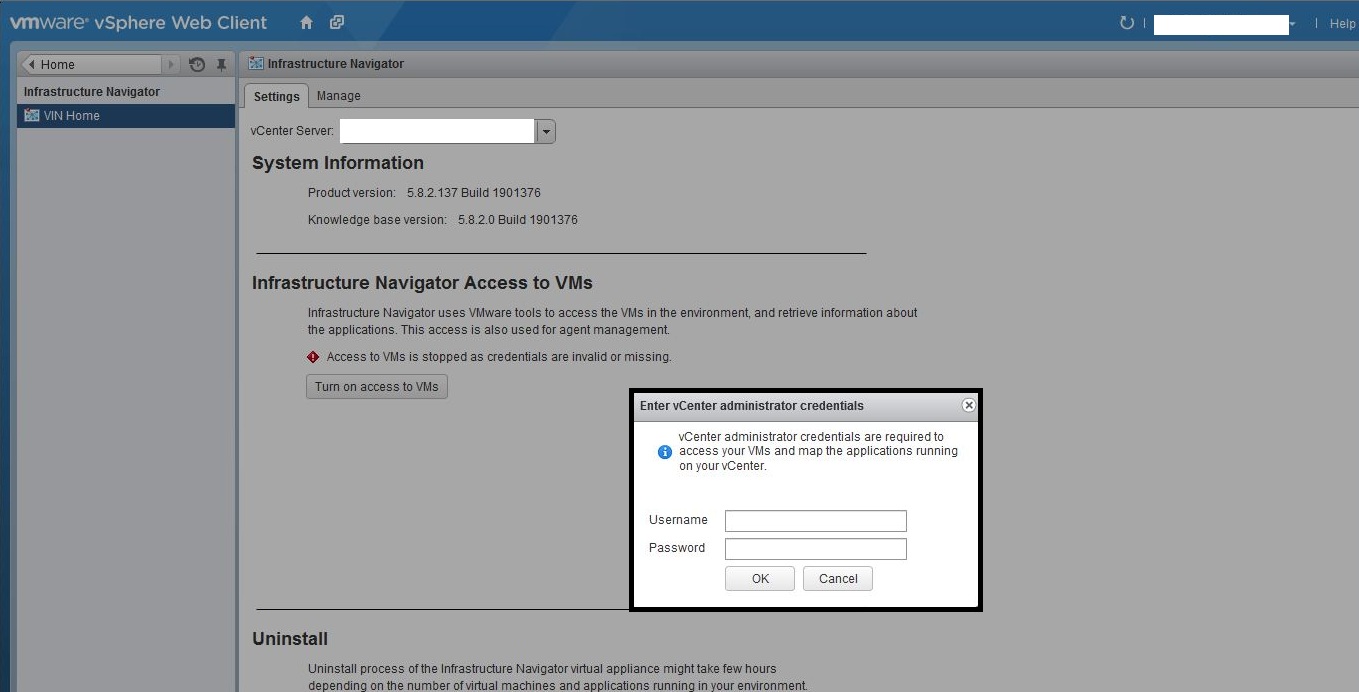
- Press “Home” and then “Infrastructure Navigator”.
- Press the “Turn on access to VMs” button and enter the administrator service account credentials and then press “OK”.
- After some time (depending upon the size of your environment), select any VM and press “Manage” and then “Application Dependencies”. Verify that an “Application Dependencies” map is present.