This is part 10 of the vCenter 5.1 to 5.5 Update 1c upgrade, detailing the upgrade and re-integration of vCenter Chargeback Manger.
This is an eleven part series, describing how to upgrade from vCenter 5.1 to vCenter 5.5:
- vCenter 5.5 Upgrade with Windows Server 2012 R2 – Part 1 – Preparation
- vCenter 5.5 Upgrade with Windows Server 2012 R2 – Part 2 – OS Build
- vCenter 5.5 Upgrade with Windows Server 2012 R2 – Part 3 – vCenter Install
- vCenter 5.5 Upgrade with Windows Server 2012 R2 – Part 4 – Cleanup
- vCenter 5.5 Upgrade with Windows Server 2012 R2 – Part 5 – Integrating vUM and Syslog
- vCenter 5.5 Upgrade with Windows Server 2012 R2 – Part 6 – Integrating vC Ops
- vCenter 5.5 Upgrade with Windows Server 2012 R2 – Part 7 – Integrating vIN
- vCenter 5.5 Upgrade with Windows Server 2012 R2 – Part 8 – Upgrading and Integrating vCM
- vCenter 5.5 Upgrade with Windows Server 2012 R2 – Part 9 – Upgrading and Integrating vCO Appliance
- vCenter 5.5 Upgrade with Windows Server 2012 R2 – Part 10 – Upgrading and Integrating CBM
- vCenter 5.5 Upgrade with Windows Server 2012 R2 – Part 11 – Upgrading ESXi
Prerequisites
- You have a licenced, fully configured and functioning version of vCenter Chargeback Manager.
- You have administrator access to vCenter and vCenter Chargeback Manager.
- You have have the CBM 2.5.1.0 binaries (Build 1131433).
- Backup the CBM server (image level and DB consistent).
Upgrade CBM to Version 2.5.1.0
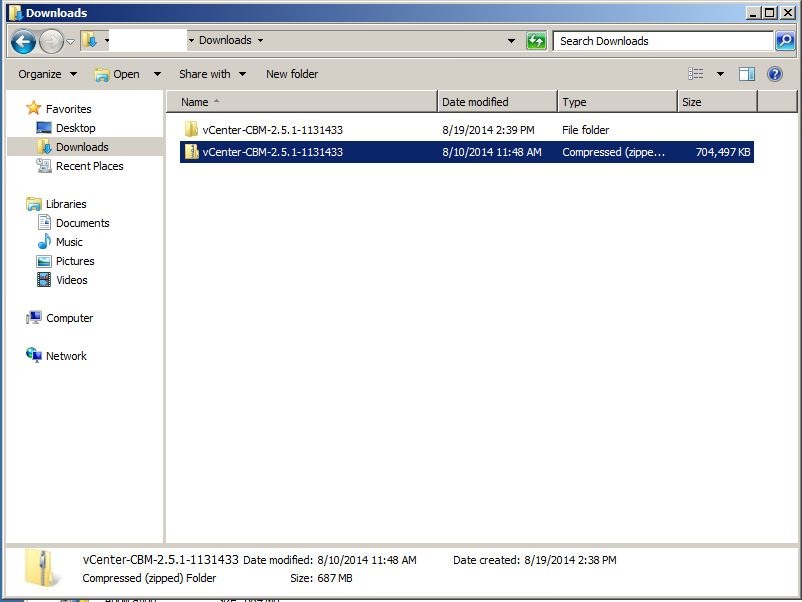
- Copy the CBM 2.5.1.0 binaries to the CBM server and extract them to a temporary directory.
- Execute the CBM setup binary as Administrator.
- At the “Introduction” screen, press “Next”.
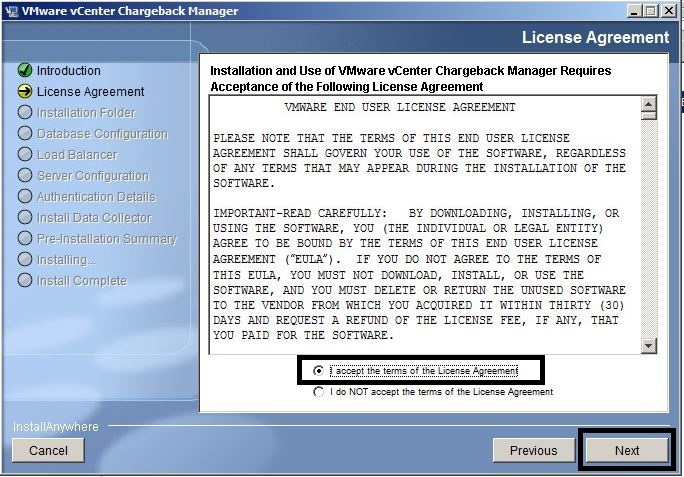
- Select the “I accept the terms of the License Agreement” option and press “Next”.
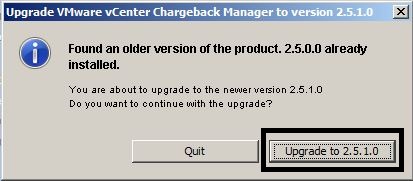
- At the “Found an older version of the product. 2.x.x.x already installed”, press “Upgrade to 2.5.1.0”.
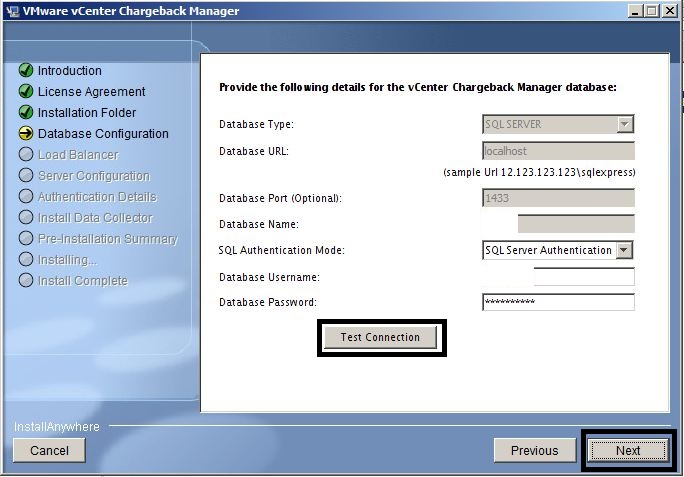
- Press the “Test Connection” button and at the “Connection Successful” screen, press OK and then “Next”.
- At the “vCenter Chargeback database performs better with partitions” message, press “Next”.
- Depending upon your CBM configuration, the installer will skip over the “Load Balancer”, “Server Configuration” and “Authentication Details” screens.
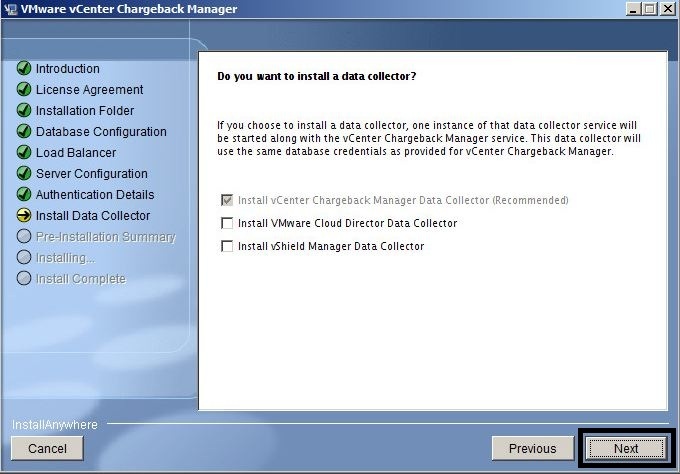
- At the “Do you want to install a data collector?” screen, press “Next”. Assumption: you do not have vCD or vShield Manager.
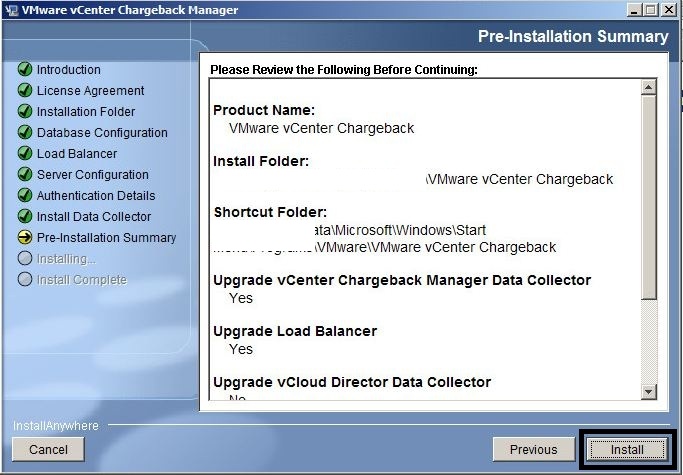
- At the “Pre-Installation Summary” screen, press “Install”.
- At the “Install Complete” screen, press “Done”.


Reintegrate vCenter 5.5 with CBM Version 2.5.1.0
- Launch the vCenter Chargeback Manager homepage and login as “admin”: http://<CBM IP Address>:8080/cbmui.
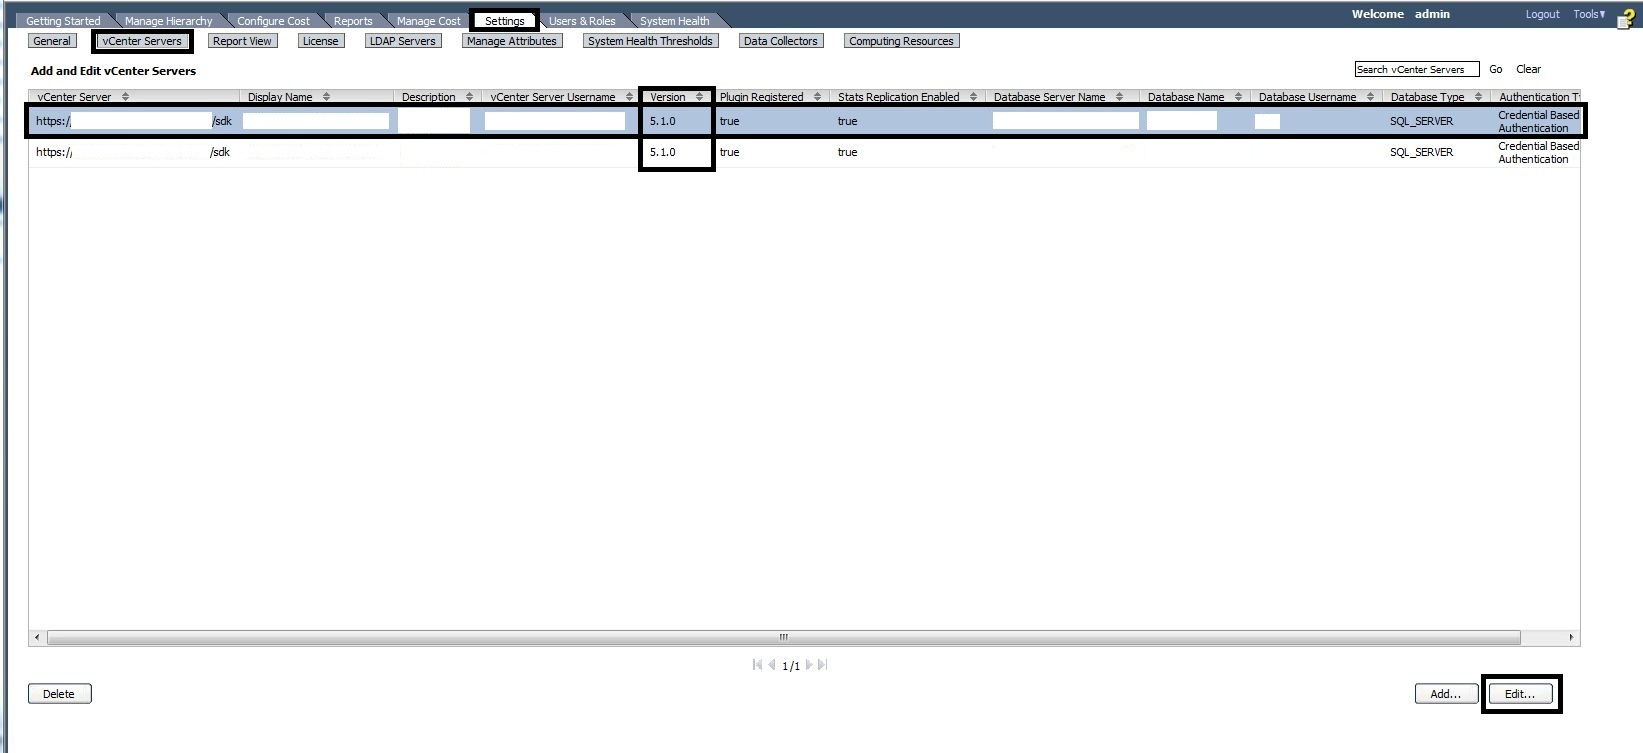
- Select the “Settings” tab and then press the “vCenter Servers” button.
- Select the vCenter 5.1 server that has been upgraded to 5.5 and press the “Edit” button.
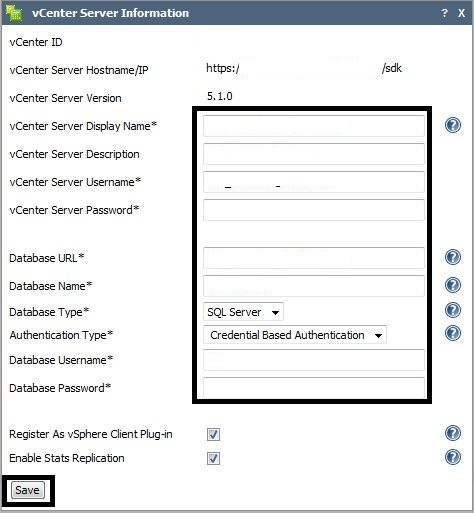
- Update the “Database URL” and click “Save”.
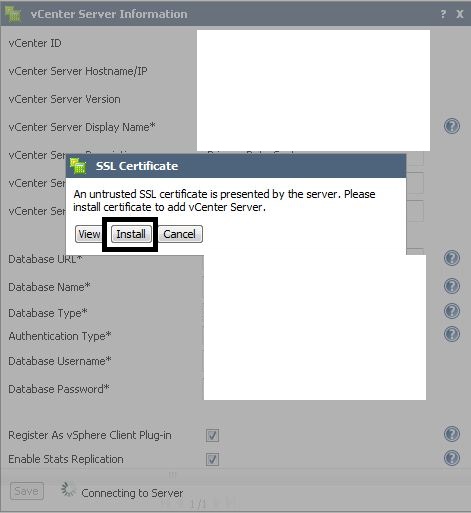
- When the “Accept SSL certificate” message is displayed, press “Install”.
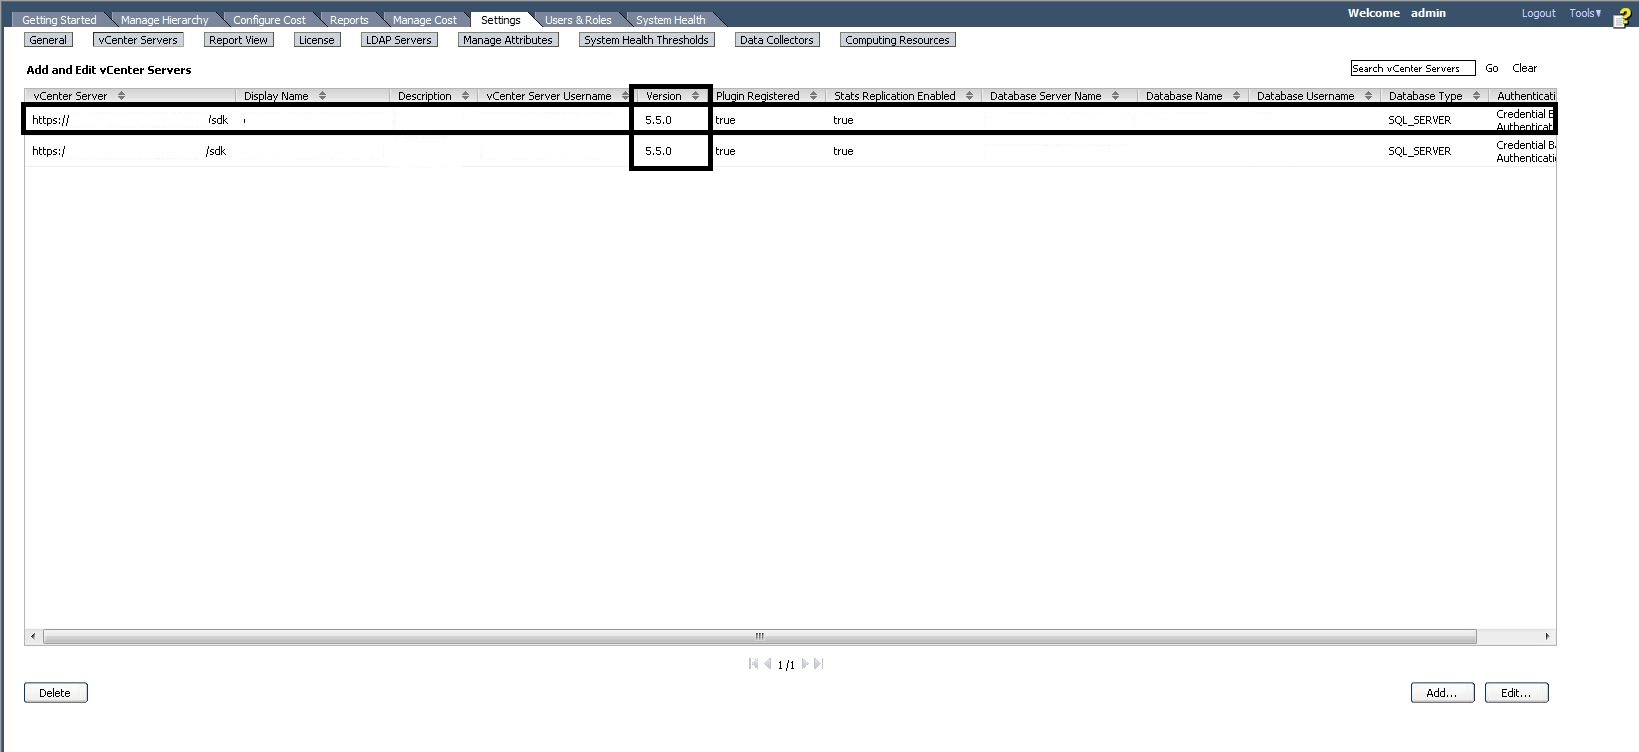
- The vCenter version should now be version “5.5.0”.
- Execute any CBM report to verify vCenter communications and CBM functionality is working.