This is part 8 of the vCenter 5.1 to 5.5 Update 1c upgrade, detailing the upgrade and re-integration of vCenter Configuration Manager.
This is an eleven part series, describing how to upgrade from vCenter 5.1 to vCenter 5.5:
- vCenter 5.5 Upgrade with Windows Server 2012 R2 – Part 1 – Preparation
- vCenter 5.5 Upgrade with Windows Server 2012 R2 – Part 2 – OS Build
- vCenter 5.5 Upgrade with Windows Server 2012 R2 – Part 3 – vCenter Install
- vCenter 5.5 Upgrade with Windows Server 2012 R2 – Part 4 – Cleanup
- vCenter 5.5 Upgrade with Windows Server 2012 R2 – Part 5 – Integrating vUM and Syslog
- vCenter 5.5 Upgrade with Windows Server 2012 R2 – Part 6 – Integrating vC Ops
- vCenter 5.5 Upgrade with Windows Server 2012 R2 – Part 7 – Integrating vIN
- vCenter 5.5 Upgrade with Windows Server 2012 R2 – Part 8 – Upgrading and Integrating vCM
- vCenter 5.5 Upgrade with Windows Server 2012 R2 – Part 9 – Upgrading and Integrating vCO Appliance
- vCenter 5.5 Upgrade with Windows Server 2012 R2 – Part 10 – Upgrading and Integrating CBM
- vCenter 5.5 Upgrade with Windows Server 2012 R2 – Part 11 – Upgrading ESXi
Prerequisites
- You have a licenced, fully configured and functioning version of vCenter Configuration Manager.
- You have administrator access to vCenter and vCenter Configuration Manager.
- You have have the vCM 5.7.2.242 binaries.
- Backup the vCM servers (image level and DB consistent).
Upgrade vCM to Version 5.7.2.242
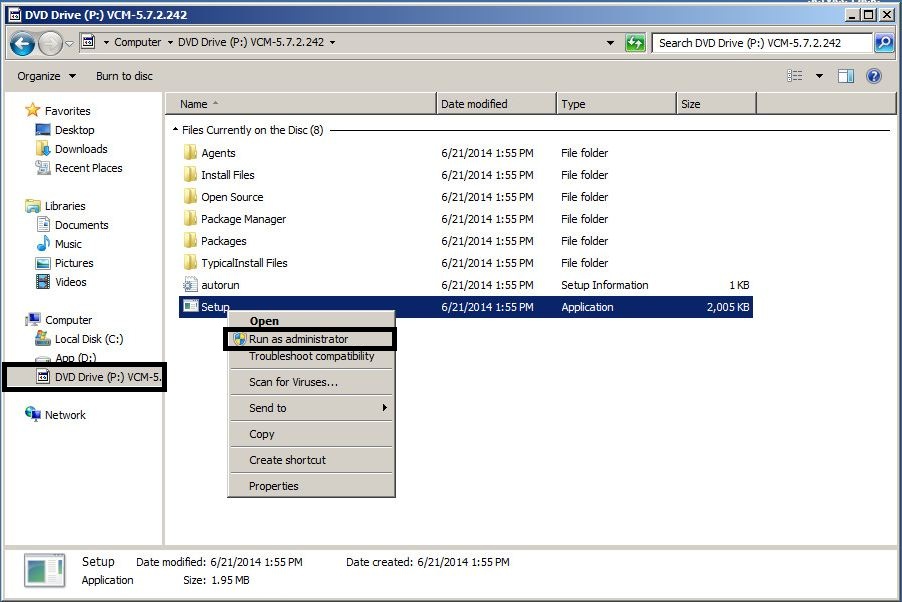
- Mount the vCM 5.7.2.242 ISO image to the vCM application server.
- Login as the vCM administrator user and run the “Setup.exe” binary with “Run as Administrator”.
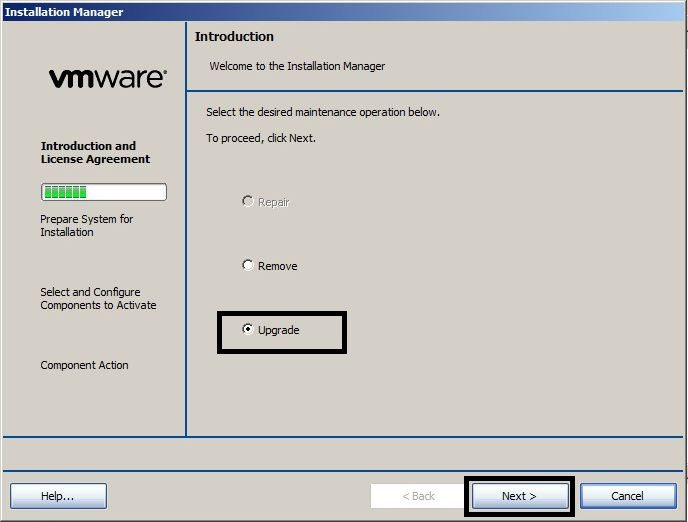
- In the “Introduction” screen, select “Upgrade” and press “Next”.
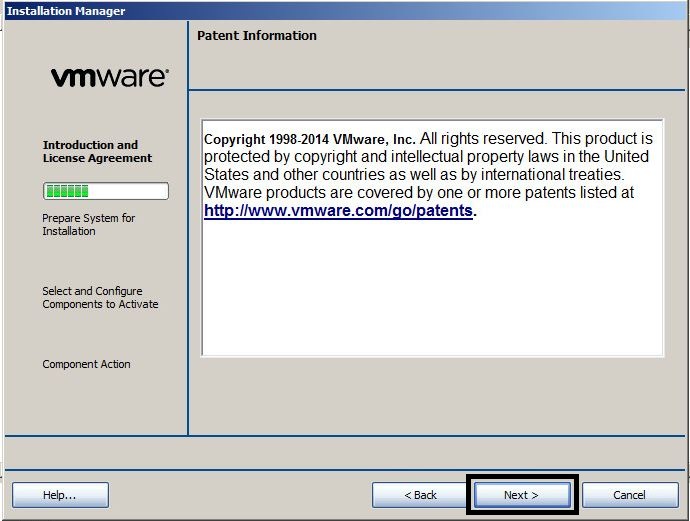
- In the “Patent Information” screen, press “Next”.
- In the “Licence Agreement” screen, accept the three EULA options and press “Next”.
- In the “Select Installation Type” screen, press “Next”.
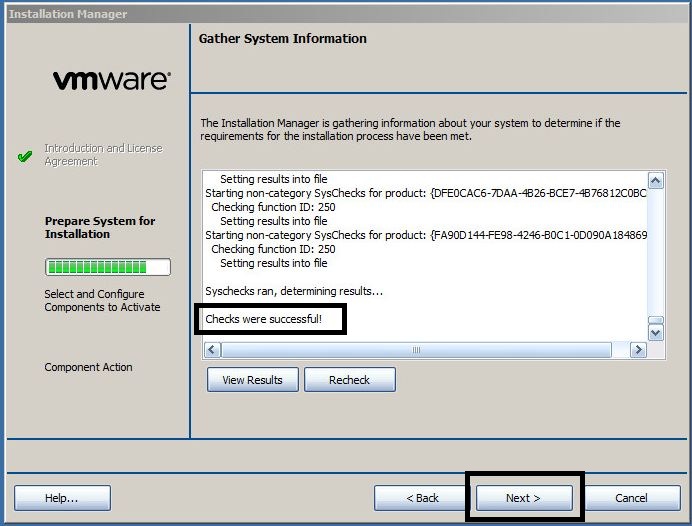
- In the “Gather System Information” screen, verify the “Checks were successful!” message and press “Next”.
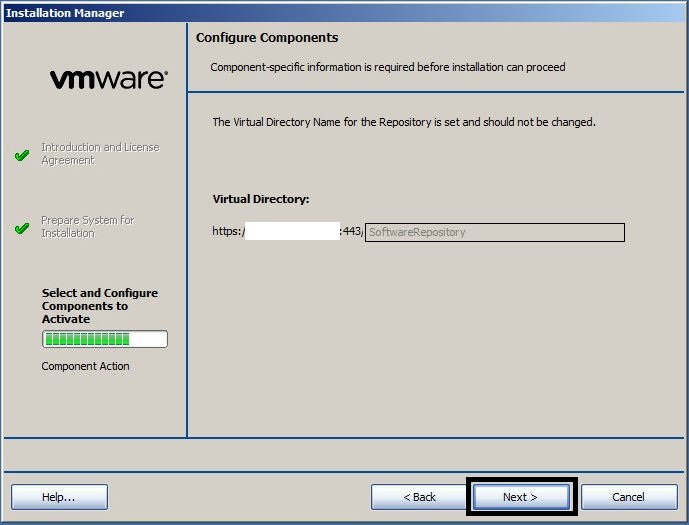
- In the “Configure Components” screen, press “Next”.
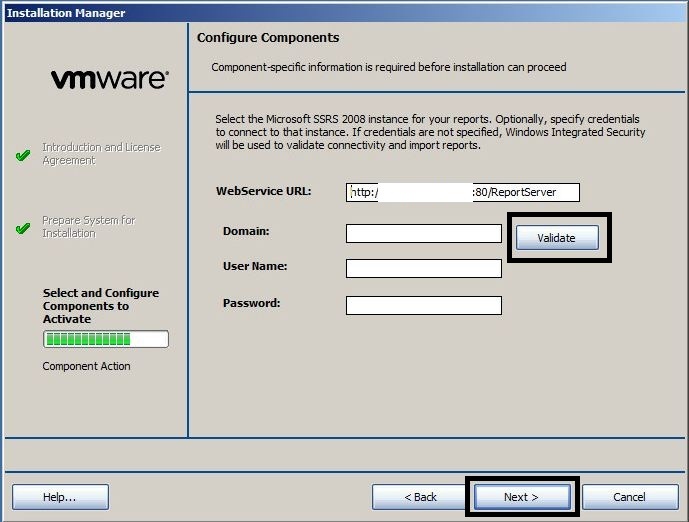
- In the second “Configure Components” screen, press “Validate” and press “OK” if the “Insecure state” message appears. Then press “Next”.
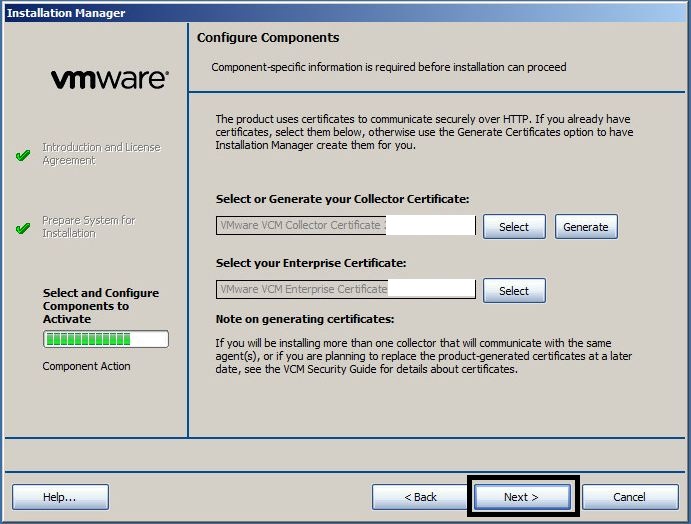
- In the third “Configure Components” screen, press “Next”.
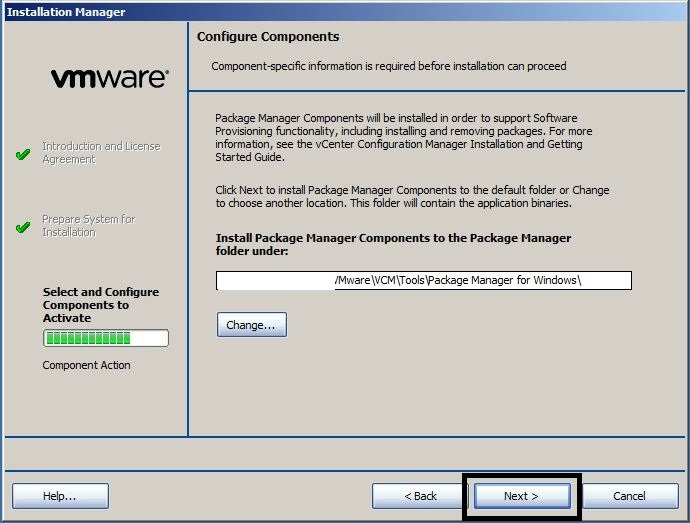
- In the fourth “Configure Components” screen, press “Next”.
- In the fifth “Configure Components” screen, press “Next”.
- In the sixth “Configure Components” screen, press “Next”.
- In the seventh “Configure Components” screen, press “Next”.
- In the eighth “Configure Components” screen, press “Next”.
- In the ninth “Configure Components” screen, press “Next”.
- In the tenth “Configure Components” screen, press “Next”.
- In the eleventh “Configure Components” screen, press “Next”.
- In the twelfth “Configure Components” screen, press “Next”.
- In the “Install Components” screen, press “Upgrade”.
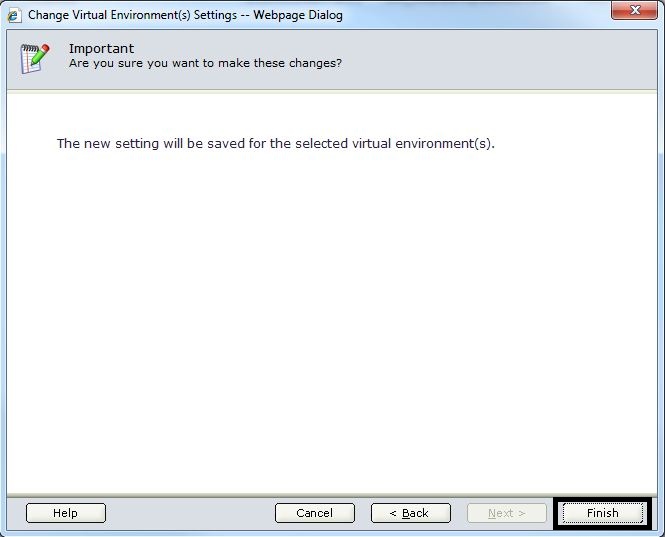
- In the “Upgrade/Repair Complete” screen, press “Finish”.
- Login to vCM as an Administrator and verify the version information from the “Administration”, “Settings”, “System Information”, “Current State” object.


Use Content Wizard Tool to Update Compliance Templates
- Execute the “Content Wizard Tool”
- In the “Select Update Source” screen, select “Get Updates from the Internet” and press “Next”.
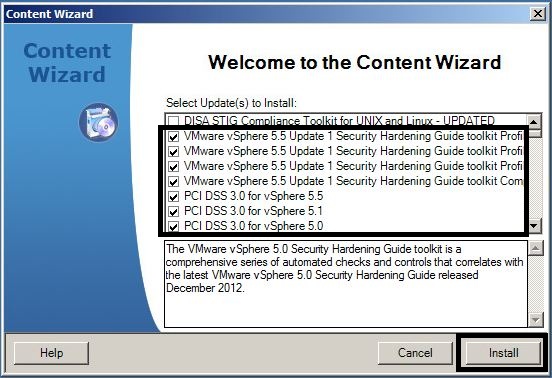
- In the “Welcome ot the Content Wizard” screen, select the updates required and press “Install”.
- If required, enter the Proxy details.
- In the second “Welcome to the Content Wizard” screen, press “Next”.
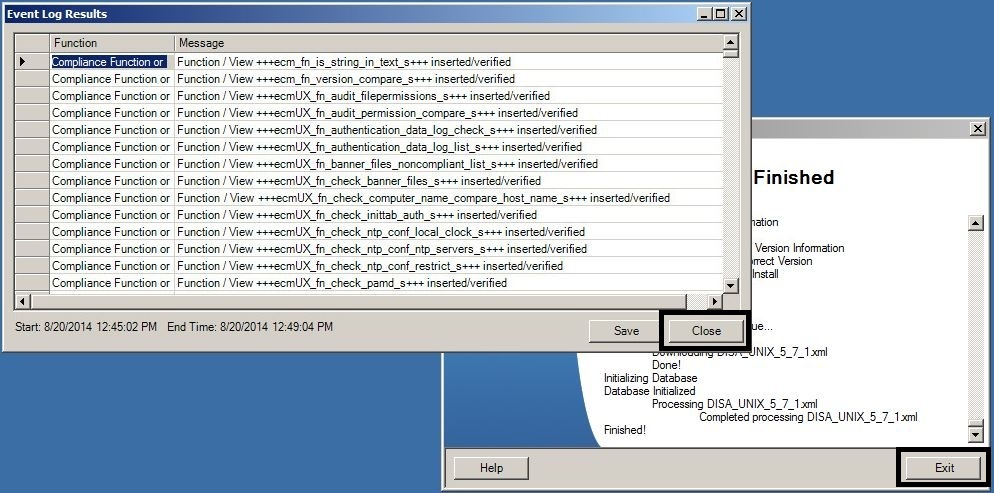
- Wait for the “Processing Updates” screen to complete.
- When the “Event Log Results” window appears, press “Close”.
- Then press “Exit” on the “Update Finished” screen.
- Login to vCM as an Administrator and verify that the updated compliance templates appear in the “Compliance”, “Templates” window.


Reintegrate vCenter 5.5 with vCM 5.7.2.242
- Login to vCM as an Administrator and go to the “Administration”, “Machines Manager”, “Licenced Machines”, “Licenced Windows Machines” section.
- Upgrade the vCenter 5.5 server object “Agent State” by selecting the object and pressing the “Upgrade Agent” option from right mouse click.
- Verify that the vCenter server object now shows Type “2012 R2/vCenter” and the “Agent Version” is “5.7.2.44”.
- Also add the separate vCenter Database server (if applicable) using the “Add Machines” option.
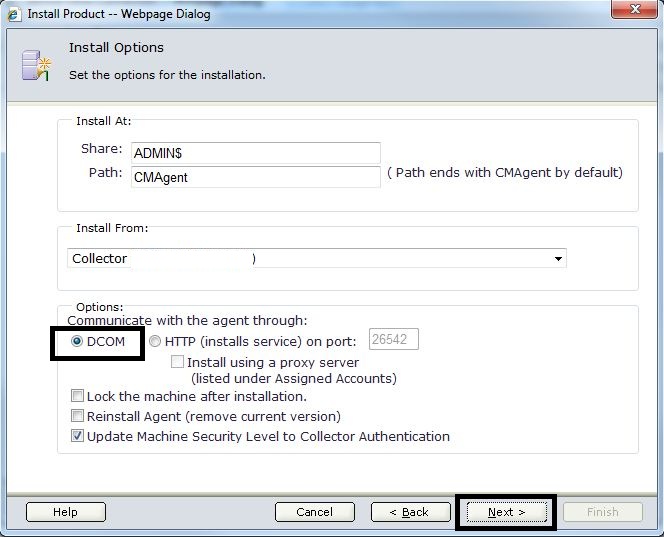
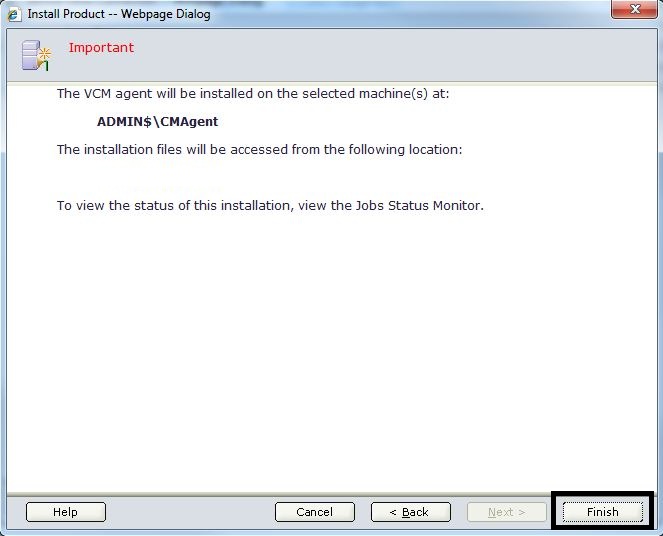
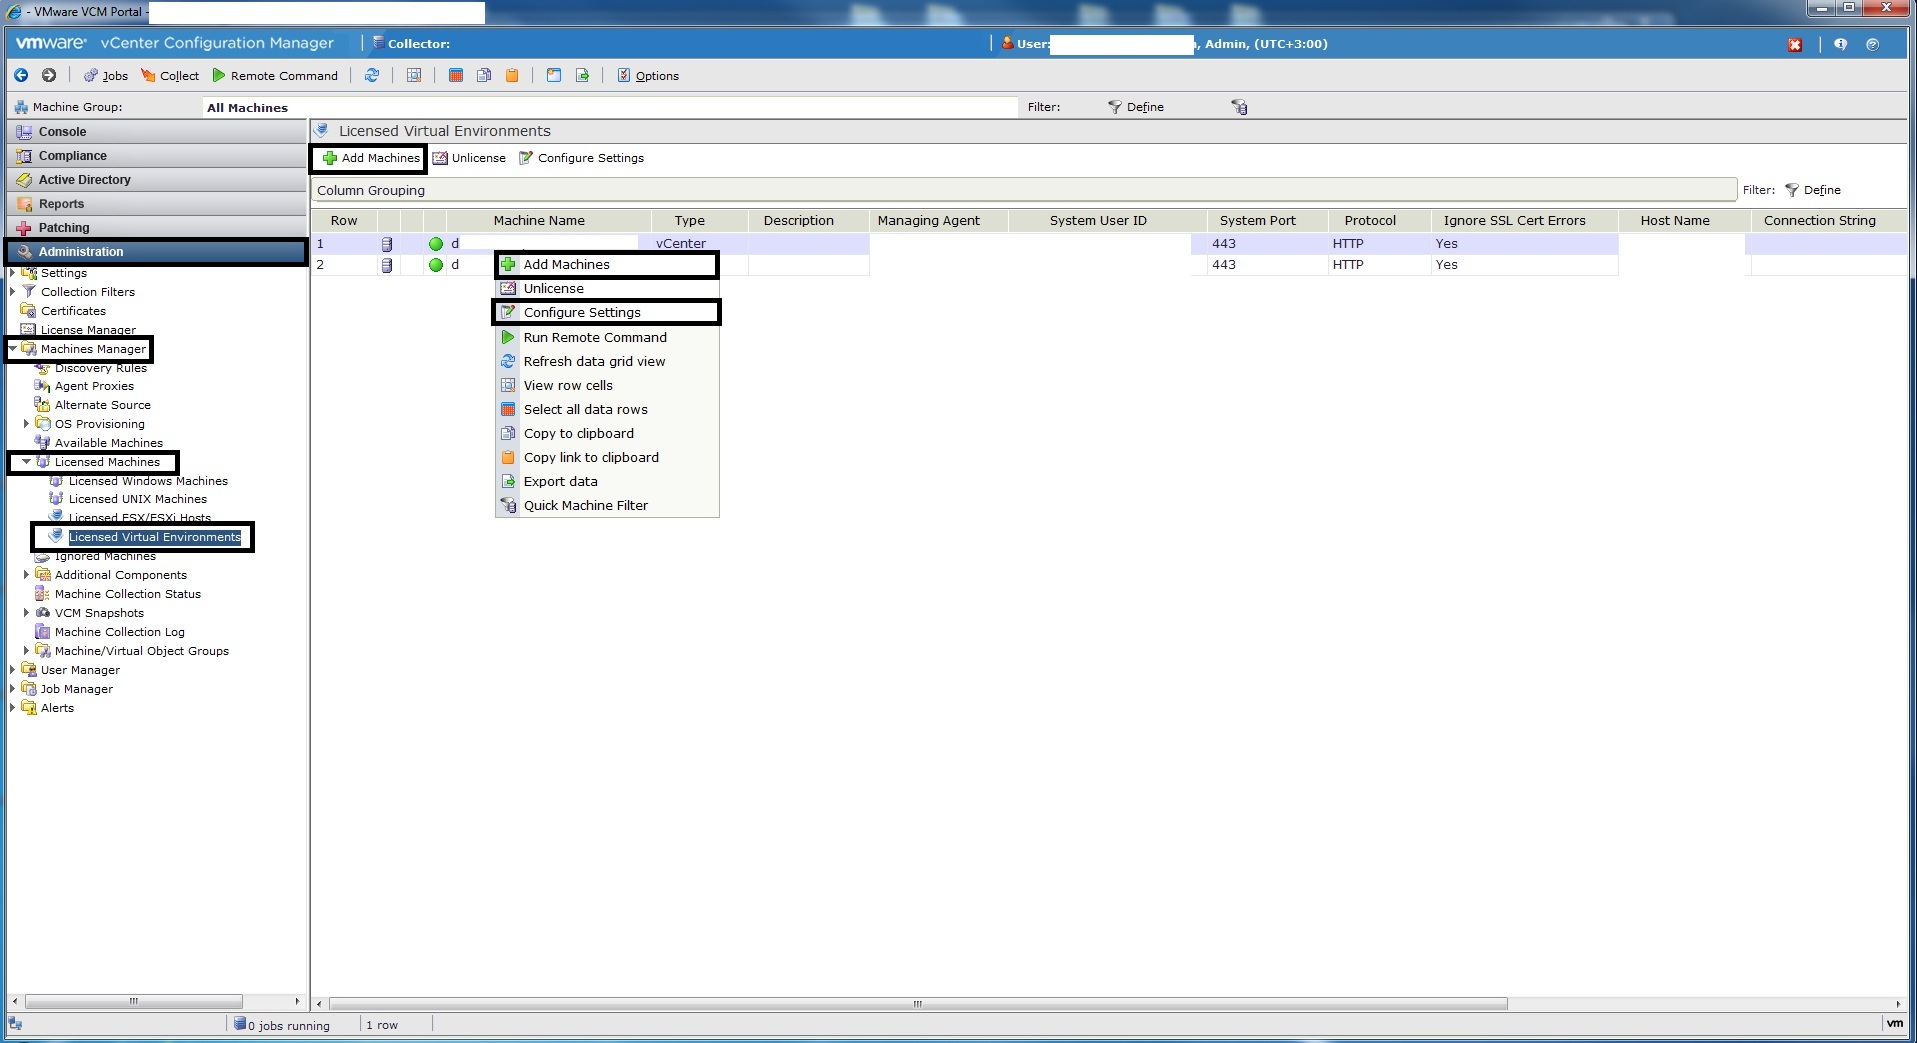
- Then visit the “Administration”, “Machines Manager”, “Licenced Machines”, “Licenced Virtual Environments” page.
- Check that each vCenter has an entry with the “Type” as vCenter. Also ensure that the “Green” LED is present for each vCenter.
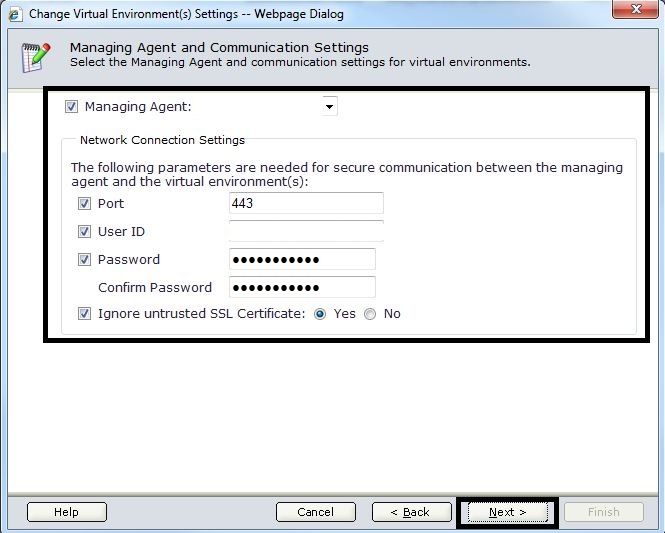
- If any vCenter entries are missing, use the “Add Machines” object to add them. Also use the “Configure Settings” object to update the “Managing Agent” settings.