 This is part 5 of the vCD Installation guide, describing the installation of the vCloud Director Application binaries upon the RHELS 6.3 OS.
This is a five part series describing the steps to install and configure the components of vCloud Director 5.1:
- vCD Installation Guide – Part 1 – Preparation
- vCD Installation Guide – Part 2 – vCNS
- vCD Installation Guide – Part 3 – SQL Server 2012
- vCD Installation Guide – Part 4 – RHELS 6.3
- vCD Installation Guide – Part 5 – Application
Installing the vCloud Director 5.1 Application Binary
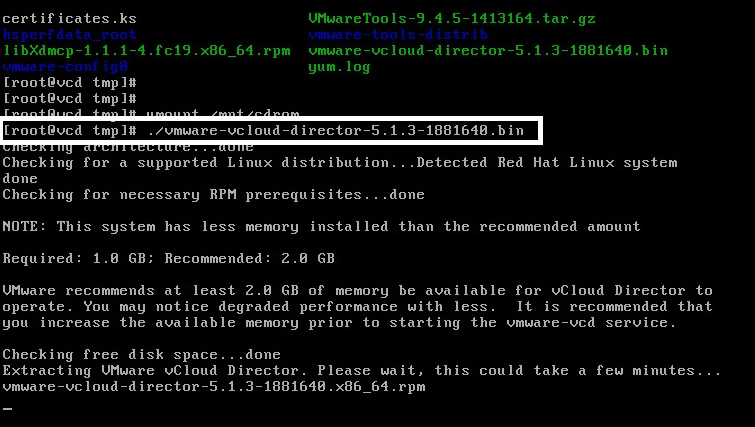
- Use FTP or WinSCP to copy the “vmware-vcloud-director-5.1.3-1881640.bin” file to the “install_files” directory.
- Install the vCD Application: “./vmware-vcloud-director-5.1.3-1881640.bin”
- When the question “Would you like to run the script now?” appears, type “y” and press “Enter”.
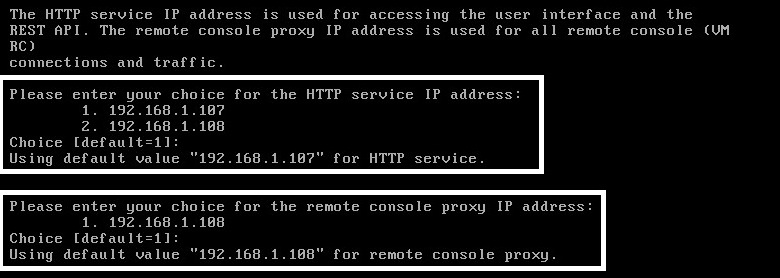
- When the message “Please enter your choice for the HTTP service IP address:” appears, type your choice (1 or 2) and press “Enter”.
- When the message “Please enter your choice for the remote console proxy IP address:” appears, type your choice (1 or 2) and press “Enter”.
- When the message “Please enter the path to the Java keystore containing your SSL certificates and private keys:” appears, type “/install_files/certificates.ks” and press “Enter”.
- When the message “Please enter the password for the keystore:” appears, type “123456” and press “Enter”.
- When the message “Syslog host name or IP address [press Enter to skip]:” appears, press “Enter” to skip or type the Syslog IP address (and then the Syslog UDP port).
- When the message “Enter the database type:” appears, type “2” and press “Enter”.
- When the message “Enter the database port:” appears, press “Enter” to accept the default port 1433.
- When the message “Enter the database name:” appears, press “Enter” to accept the default database name “vcloud”.
- When the message “Enter the database instance:” appears, press “Enter” to accept the default database instance.
- When the message “Enter the database username:” appears, type “vcloud” and press “Enter”.
- When the message “Enter the database password:” appears, type “@Vmware12” and press “Enter”.
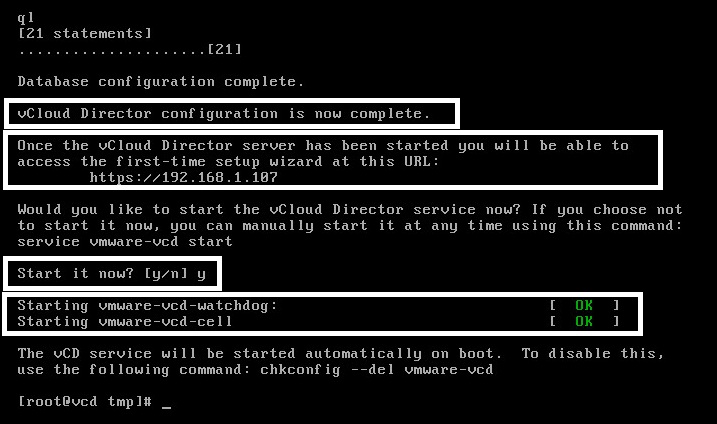
- Expect to see the message “vCloud Director configuration is now complete.”
- When the message “Start it now?” appears, type “y” and press “Enter”.
- Expect to see the messages “Starting vmware-vcd-watchdog” and “Starting vmware-vcd-cell” and the status “OK” for each.
- The installation has completed successfully and you will now be returned to the prompt.
- Clean up the installation file: “rm vmware-vcloud-director-5.1.3-1881640.bin”


Complete the “vCloud Director Setup Wizard”
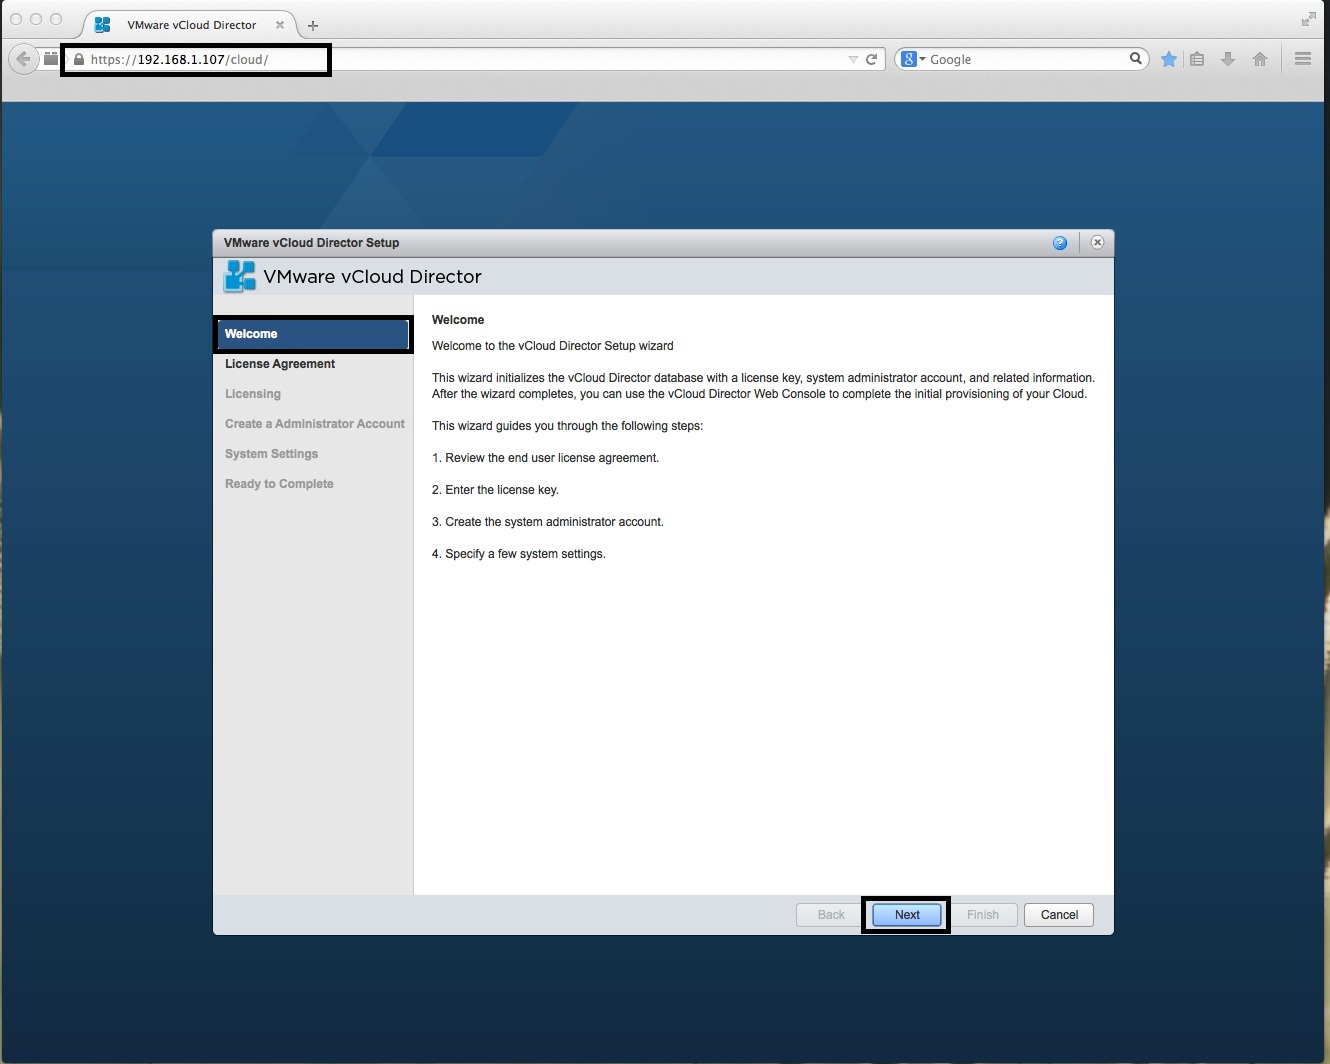
- Open a Firefox or IE browser and access the vCloud Director Setup Wizard URL: https://<HTTP Server IP Address>
- In the “Welcome” screen, press the “Next” button.
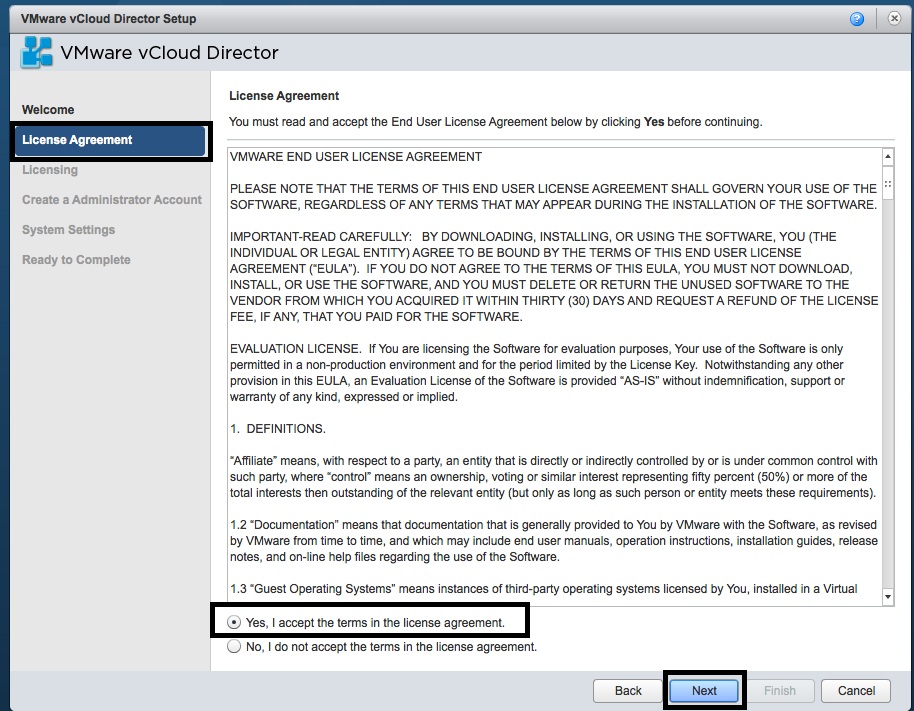
- In the “Licence Agreement” screen, select “Yes, I accept the terms in the licence agreement” and press “Next”.
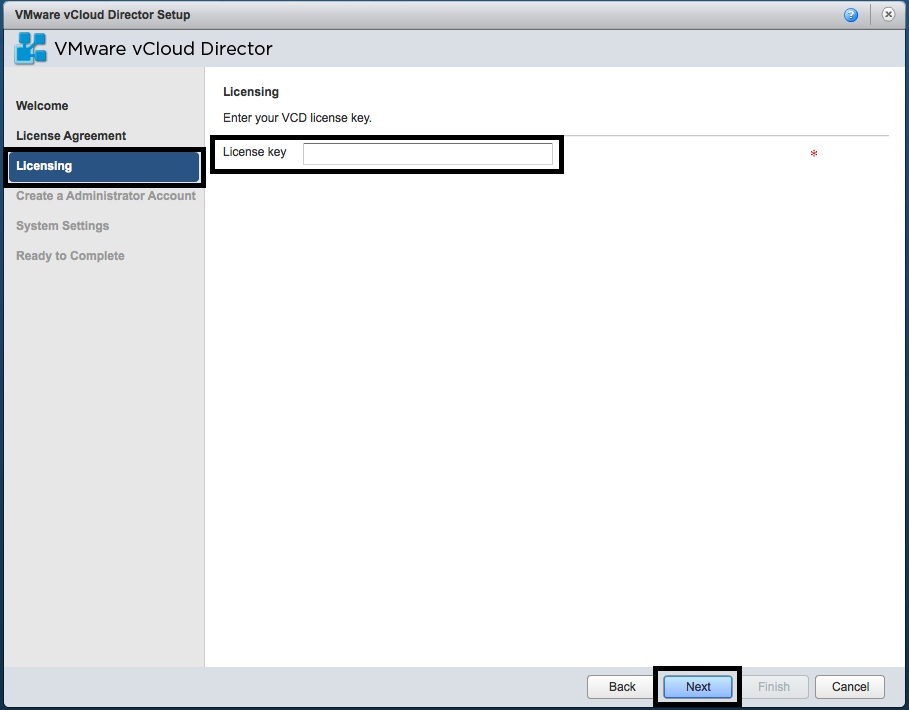
- In the “Licencing” screen, enter the “Licence key” and press “Next”.
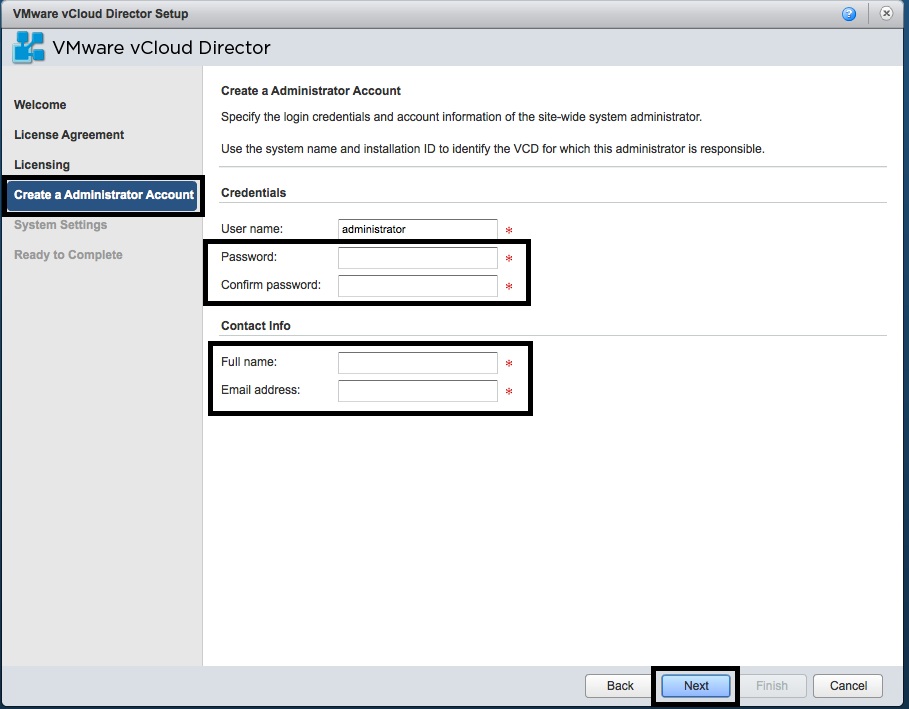
- In the “Create an Administrator Account” screen, enter the “administrator” “Password”, “Contact info” and press “Next”.
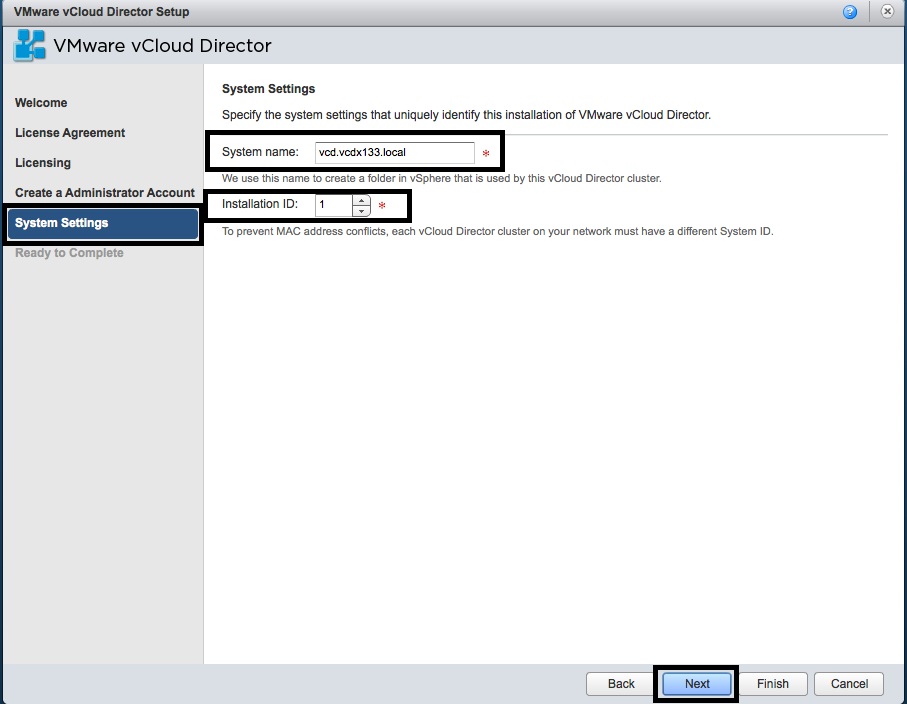
- In the “System Settings” screen, enter the “System Name”, “Installation ID” (first vCD Cell – leave as 1) and press “Next”.
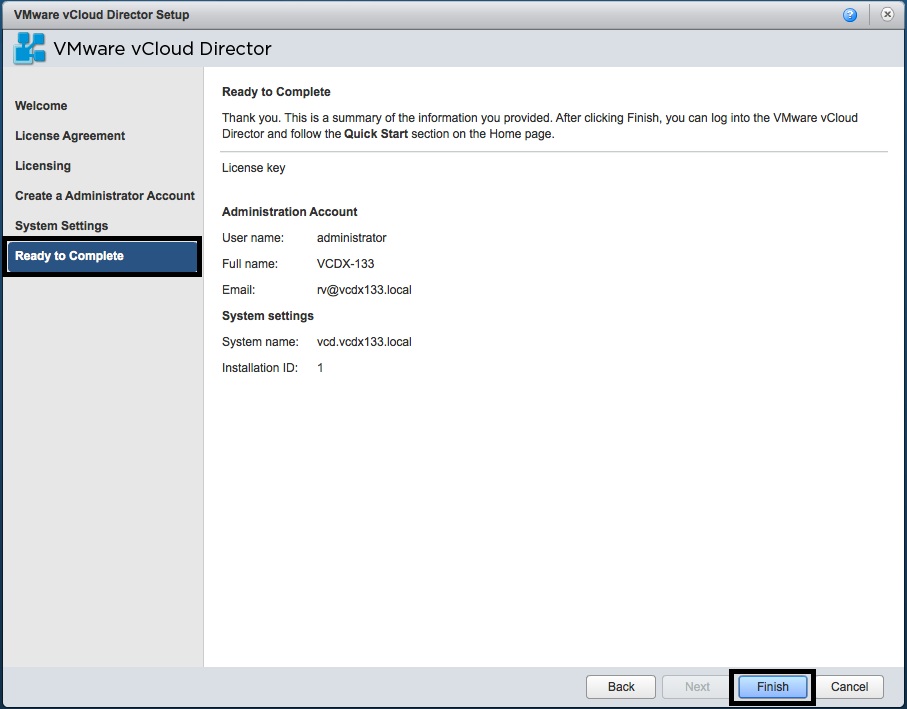
- In the “Ready to Complete” screen, press “Finish”.
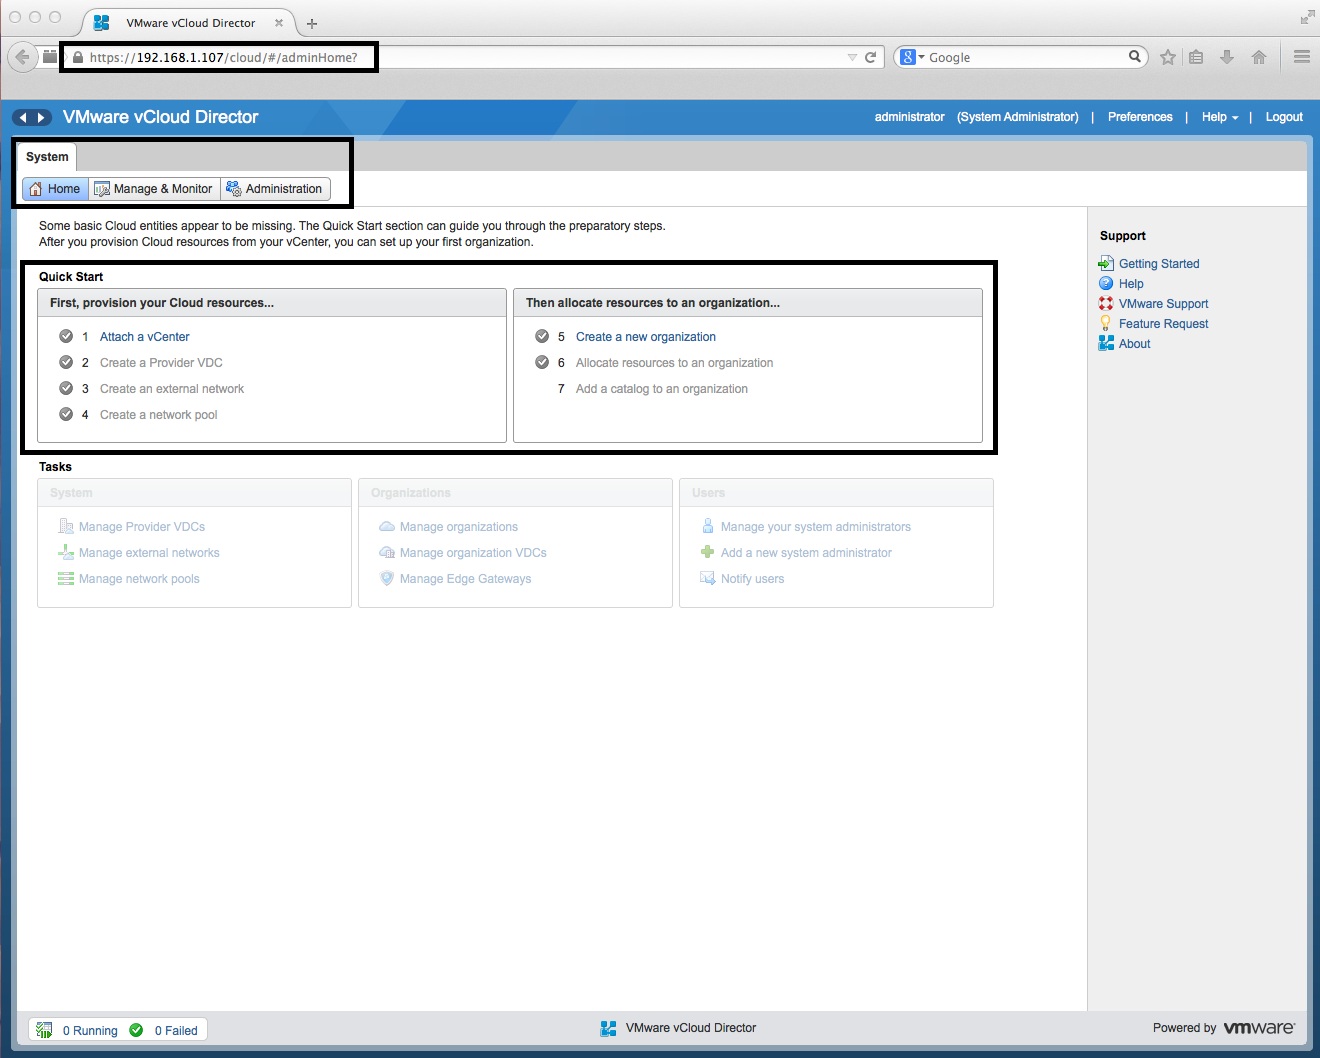
- vCloud Directory is now ready to provision via the URL: https://<HTTP Server IP Address>/cloud
- NOTE: vCloud Director requires a vCenter, Provider VDC, External Network, Network Pool, Organisation, Resources & Catalog for the Organisation before you can start providing cloud services via vCloud Director.
vCloud Director is now installed and ready to be configured.
Other Resources
