 This is part 4 of the vCD Installation guide, describing the installation of the Red Hat Enterprise Linux Server 6.3 OS that will be used for the vCD 5.1 application binaries.
This is a five part series describing the steps to install and configure the components of vCloud Director 5.1:
- vCD Installation Guide – Part 1 – Preparation
- vCD Installation Guide – Part 2 – vCNS
- vCD Installation Guide – Part 3 – SQL Server 2012
- vCD Installation Guide – Part 4 – RHELS 6.3
- vCD Installation Guide – Part 5 – Application
Summary
The Red Hat OS preparation is quite involved, especially if you are not used to Linux. The steps involved are:
- Creating the VM Hardware
- Installing the Red Hat Enterprise Linux Server 6.3 Operating System
- Installing VMware Tools
- Network Configuration
- Installing the libXdmcp RPM
- Creating the SSL Certificates
Creating the VM Hardware
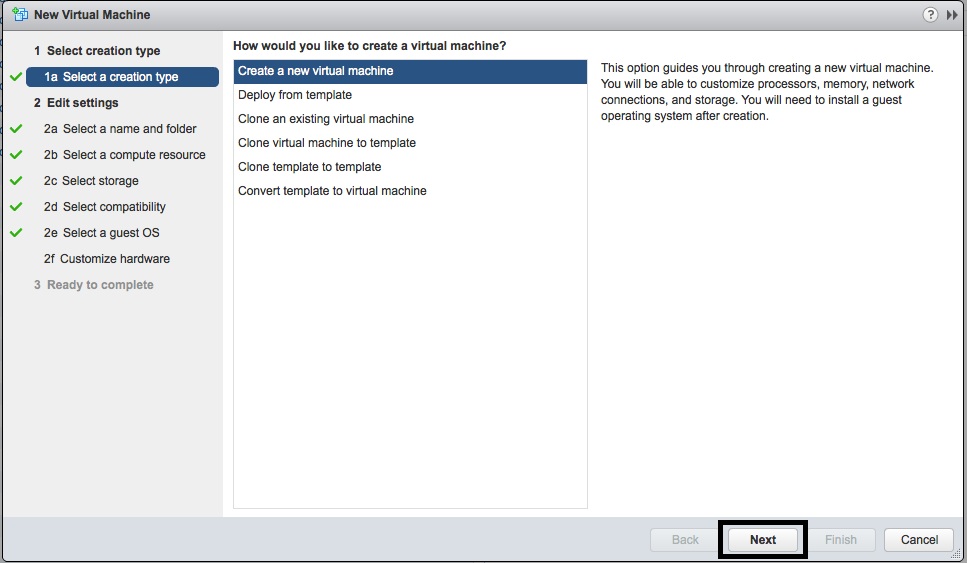
- Access vCenter and start the “New Virtual Machine” wizard.
- In Step 1a, select “Create a new virtual machine”. Press “Next”.
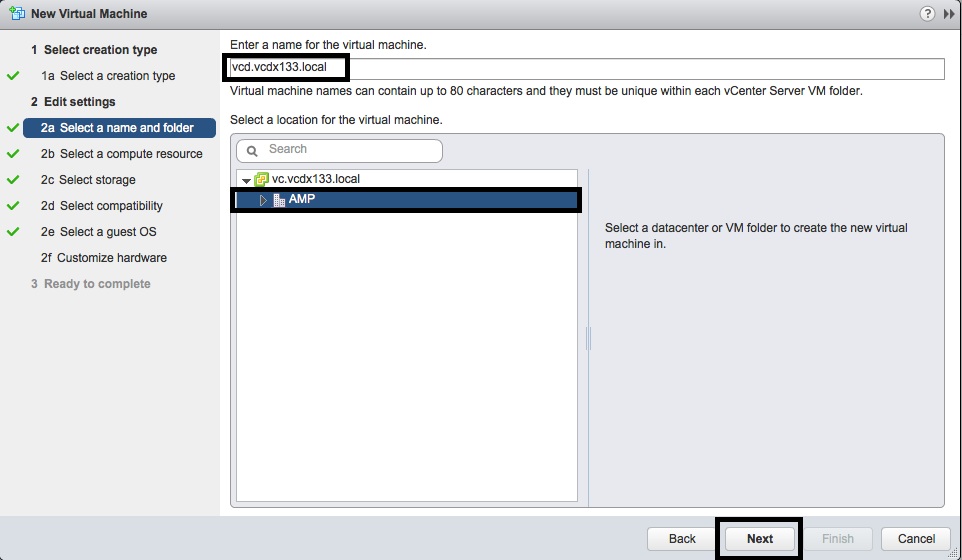
- In Step 2a, Enter the name and select the Datacenter location. Press “Next”.
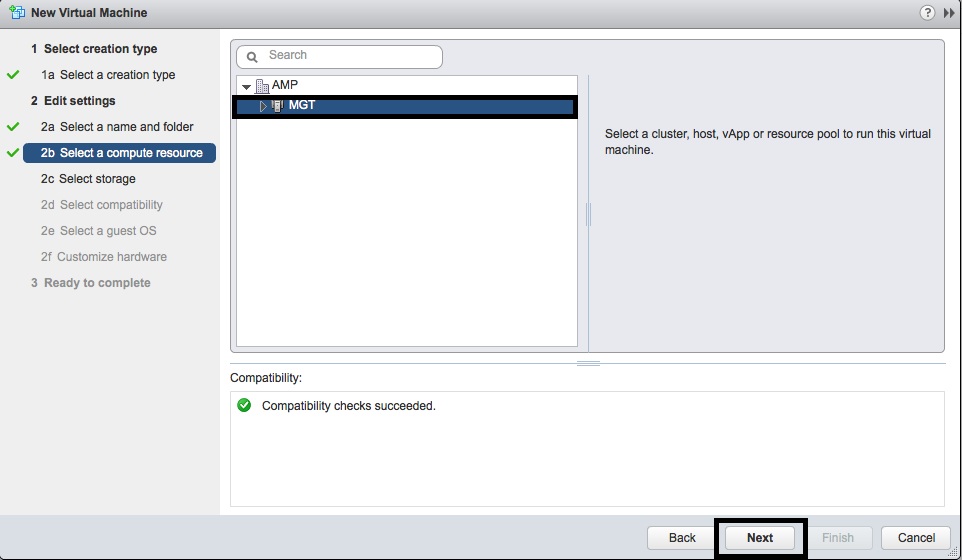
- In Step 2b, select the compute resource and press “Next”.
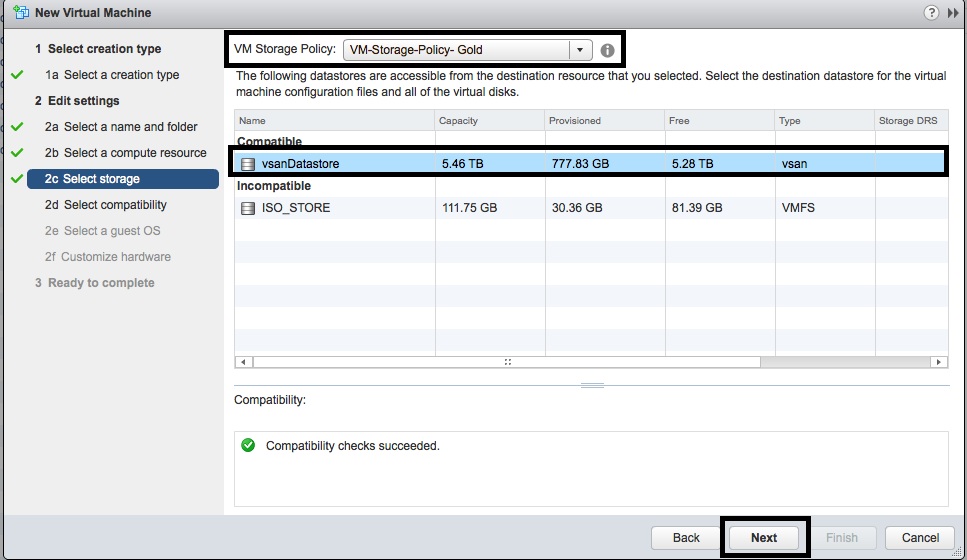
- In Step 2c, select the “VM Storage Policy”, a compatible datastore and press “Next”.
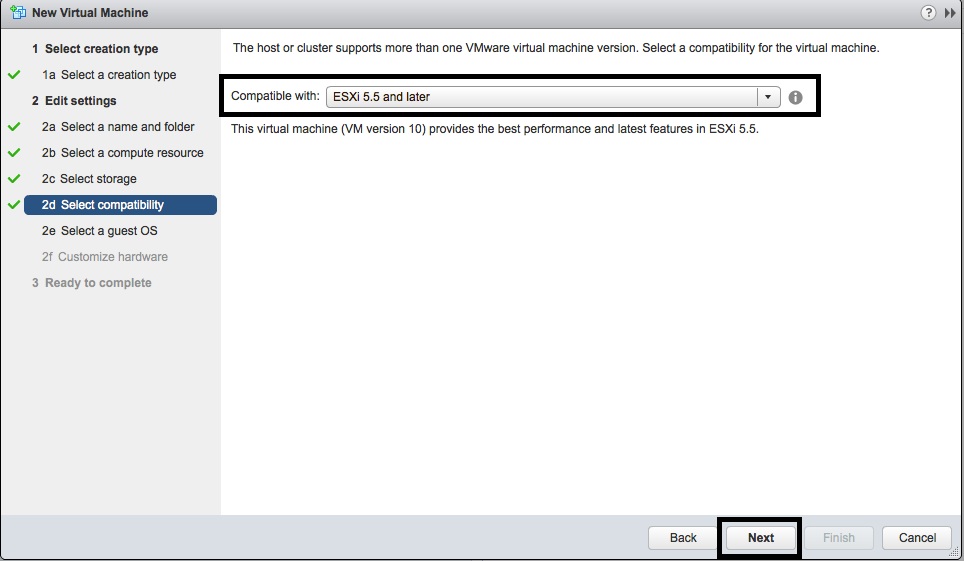
- In Step 2d, select VM hardware version and press “Next”.
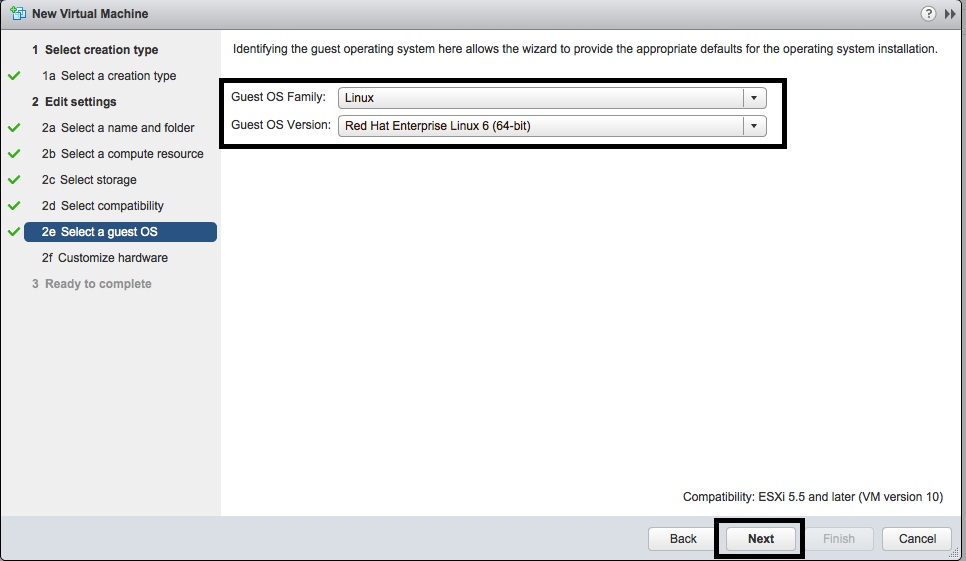
- In Step 2e, select the “Linux” “Guest OS Family”, the “Red Hat Enterprise Linux 6 (64-bit)” “Guest OS Version” and press “Next”.
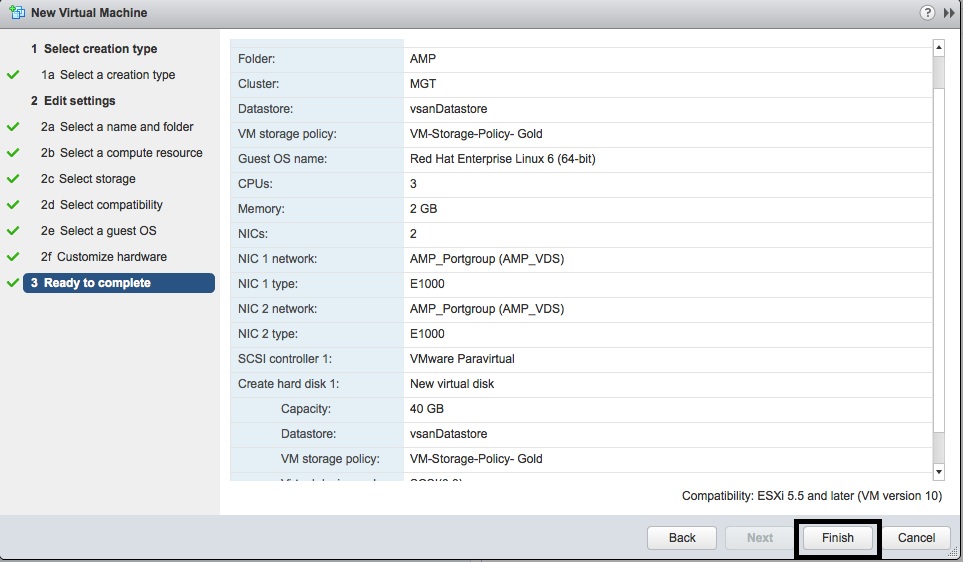
- In Step 2f, size the vCPU, Memory, Hard Disk and add two vNICs. Press “Next”.
- In Step 3, review the configuration and then press “Finish”.

Installing the Red Hat Enterprise Linux Server 6.3 Operating System
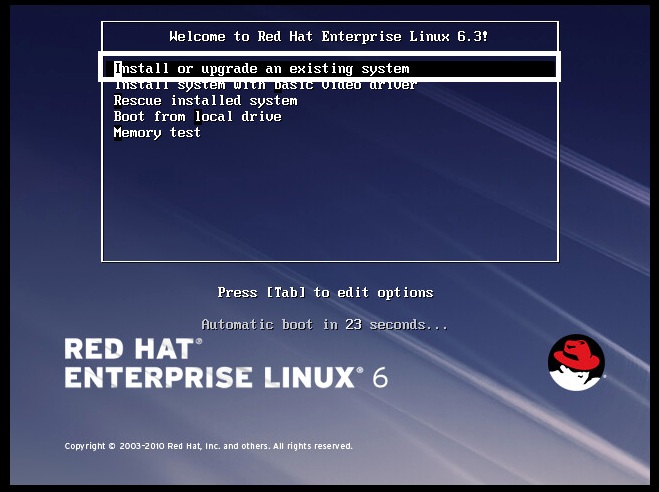
- Check that the RHELS 6.3 ISO image is connected to the CDROM of the vCD Virtual Machine.
- Power-On the VM and wait for the RHELS 6.3 installation screen to appear from the Console. Select “Install or upgrade an existing system” and press “Enter”.
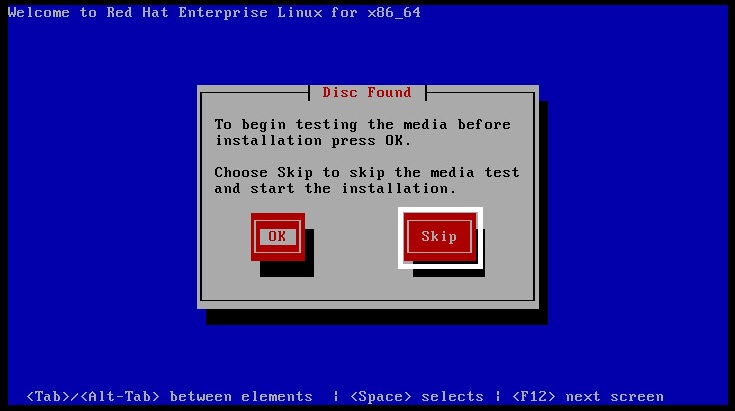
- When the “Disc Found” message appears, press “Skip”.
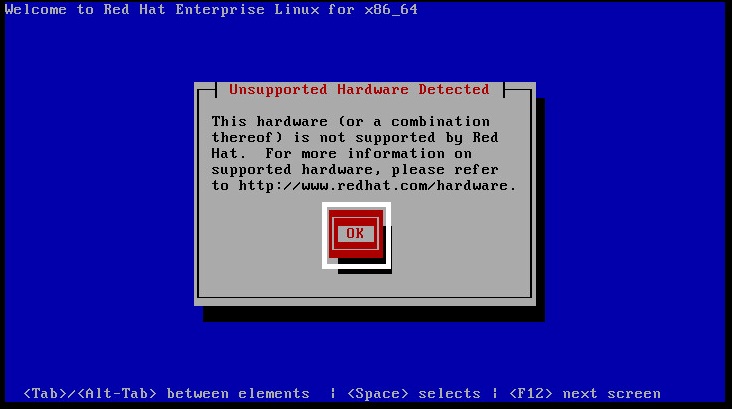
- When the “Unsupported Hardware Detected” message appears, press “OK”.
- At the RHELS 6 logo, press “Next”.
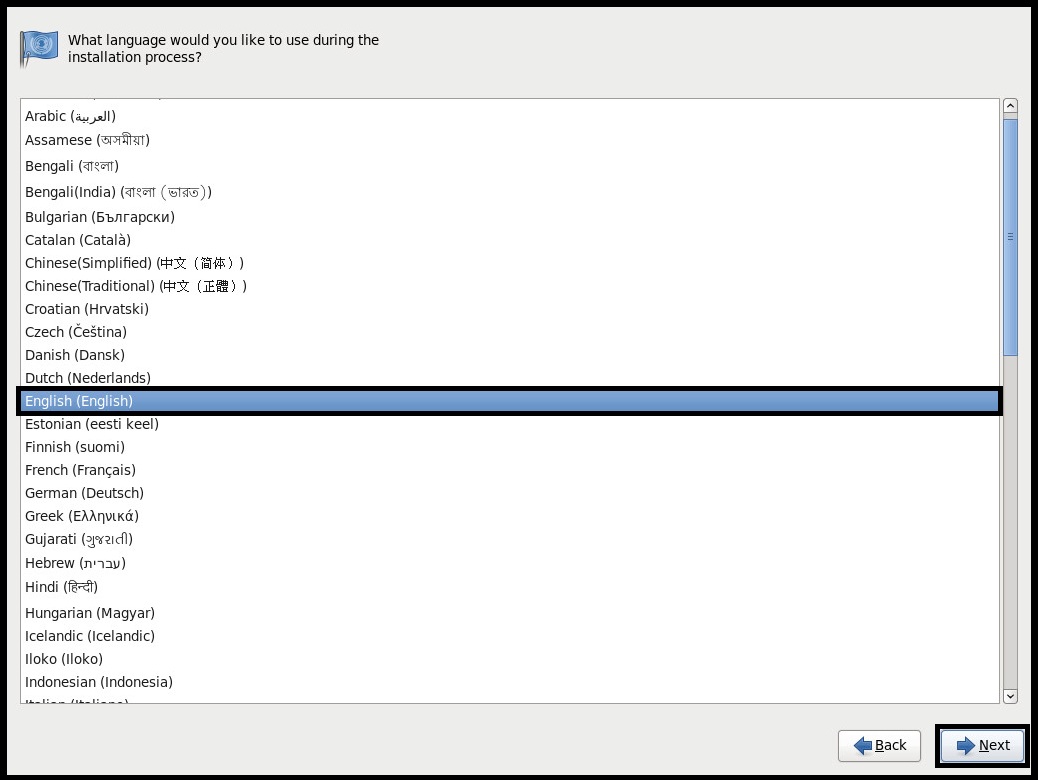
- When the question “What language would you like to use during the installation process?” appears, select “English (English)” and press “Next”.
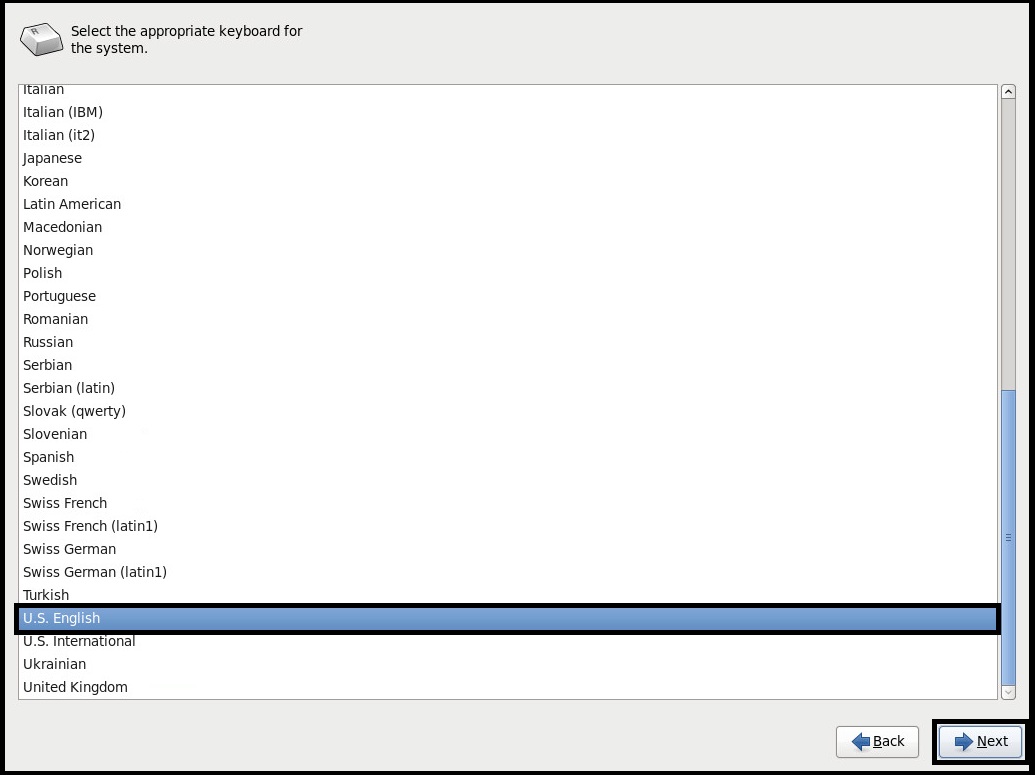
- When the message “Select the appropriate keyboard for the system” appears, select “U.S. English” and press “Next”.
- When the question “What type of devices will your installation involve?” appears, select “Basic Storage Devices” and press “Next”.
- When the “Storage Device Warning” window appears, select “Apply my choice to all devices with undetected partitions or filesystems” and then press “Yes, discard any data”.
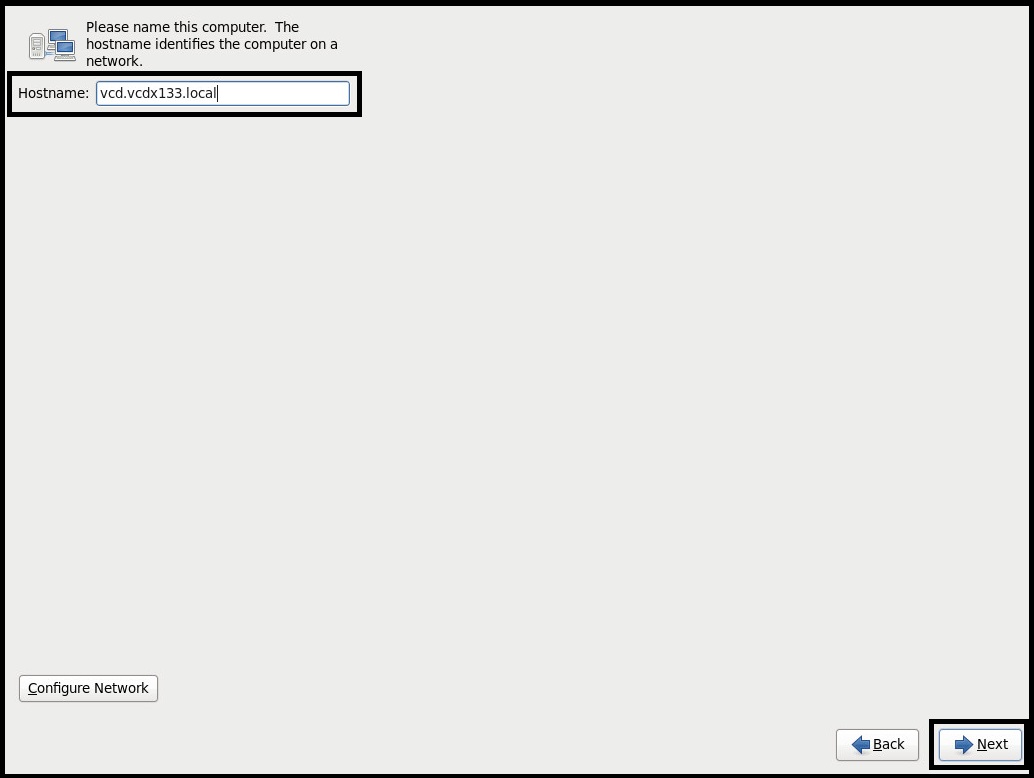
- Enter the “Hostname” of the vCD RHELS OS and press “Next”.
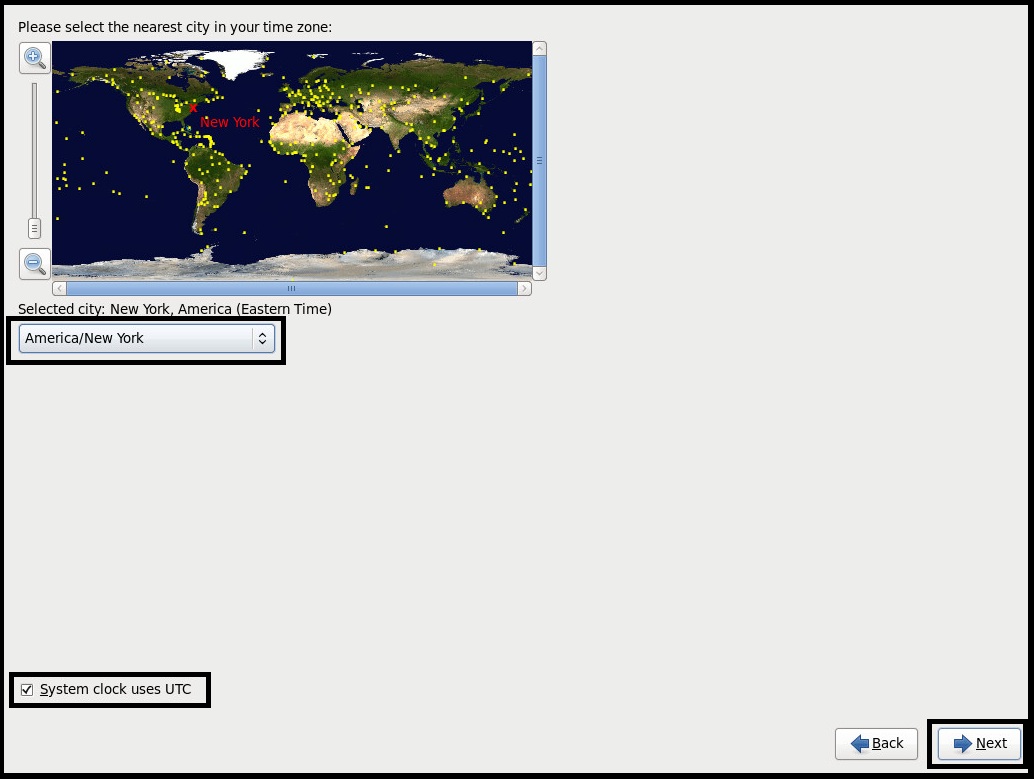
- Select your city to determine your Time Zone and press “Next”.
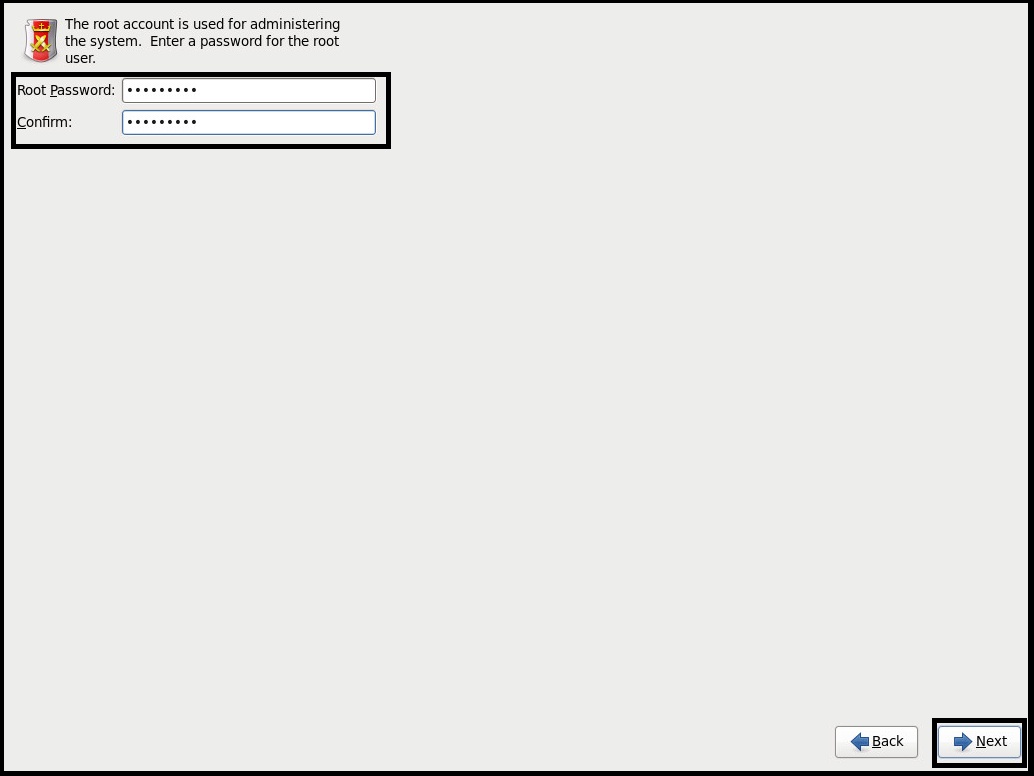
- Enter the “Root” password and confirm it. Press “Next”.
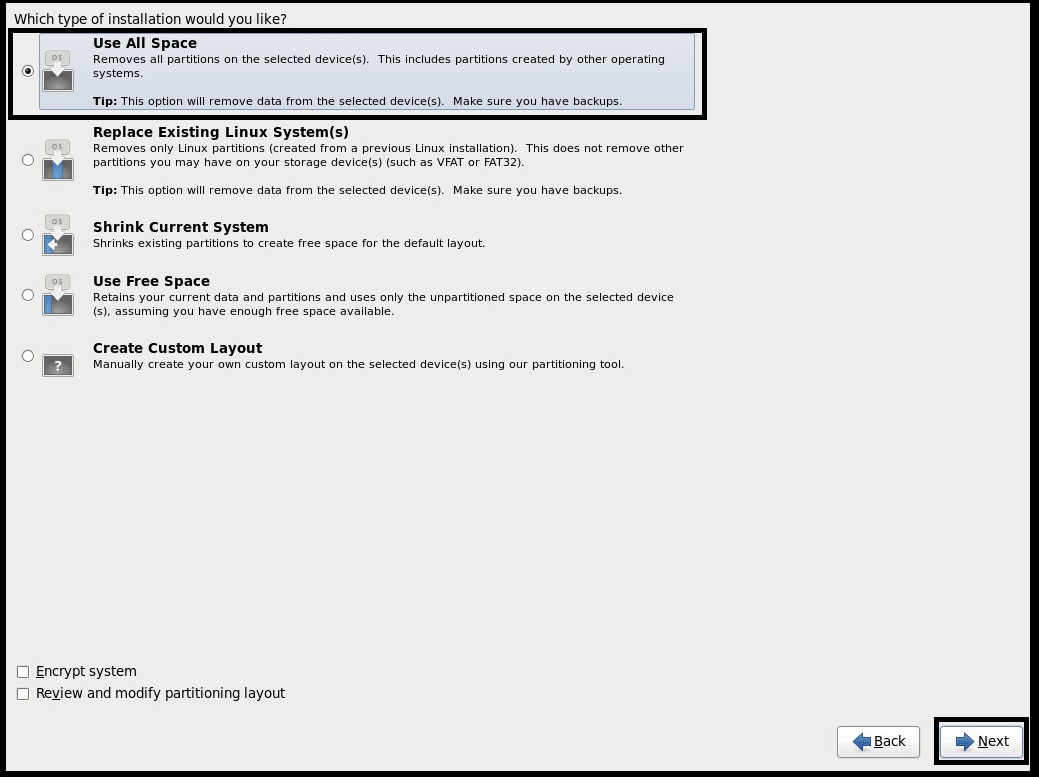
- When the quesiton “Which type of installation would you like?” appears, select “Use All Space” and press “Next”.
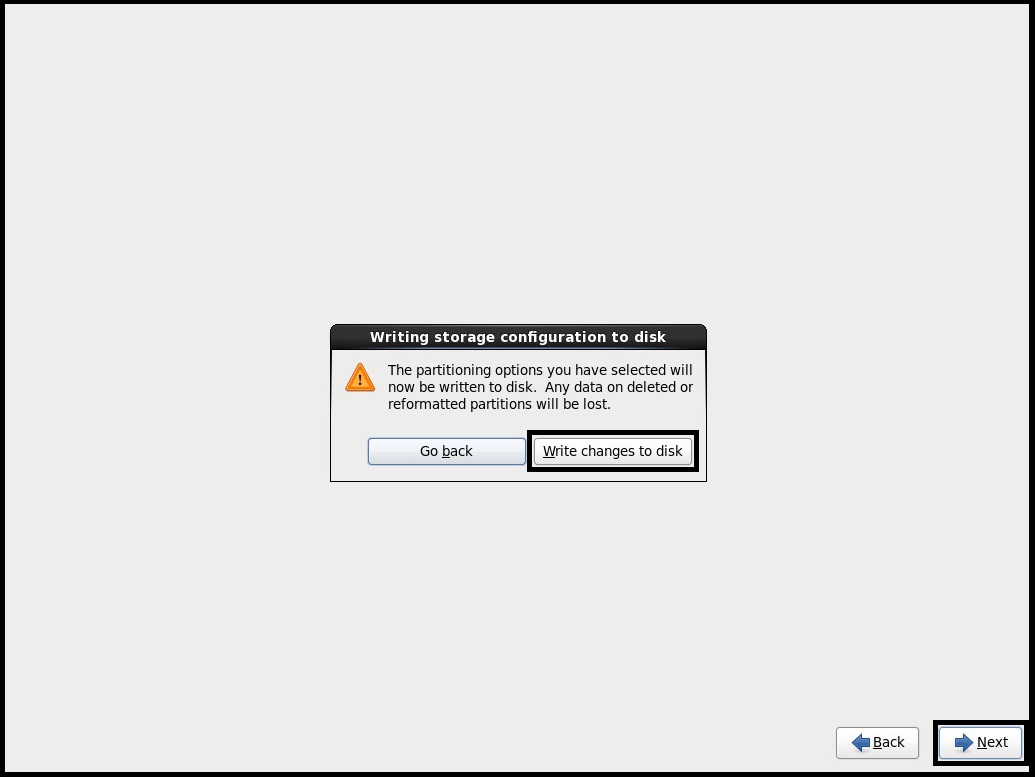
- When the “Writing storage configuration to disk” message appears, select “Write changes to disk” and then press “Next”.
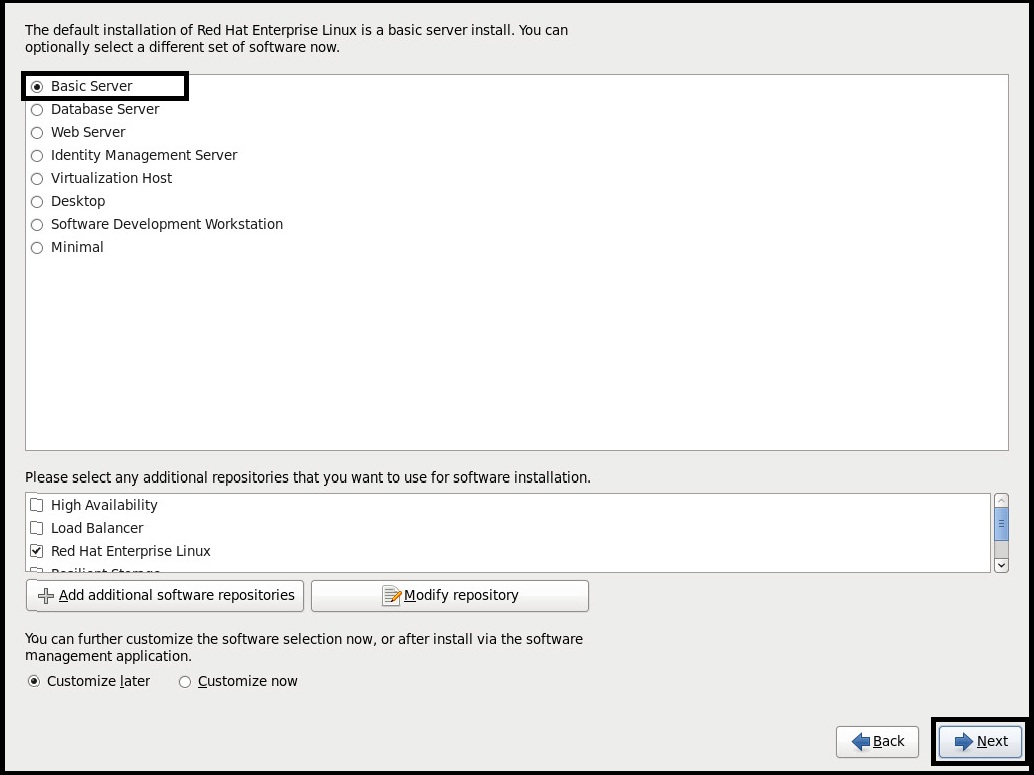
- Stick with the “Basic Server” installation of RHELS and press the “Next” button.
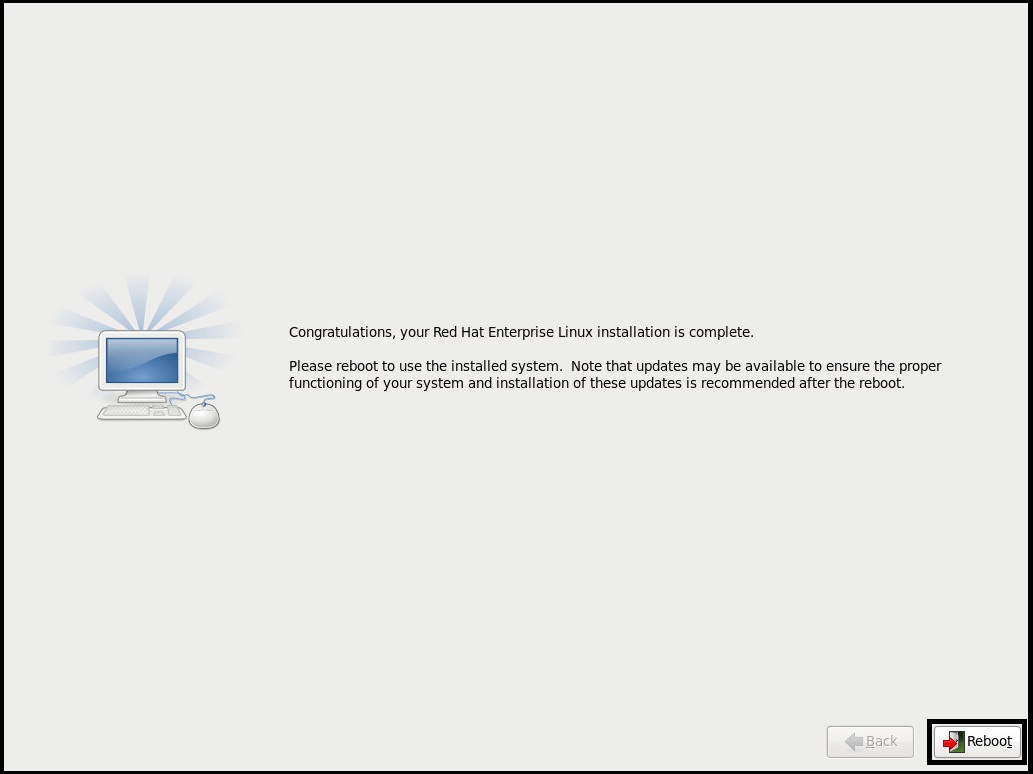
- Wait for the installation of 604 packages to complete and then press the “Reboot” button. Unmap the RHELS ISO image from the CDROM.


Installing VMware Tools
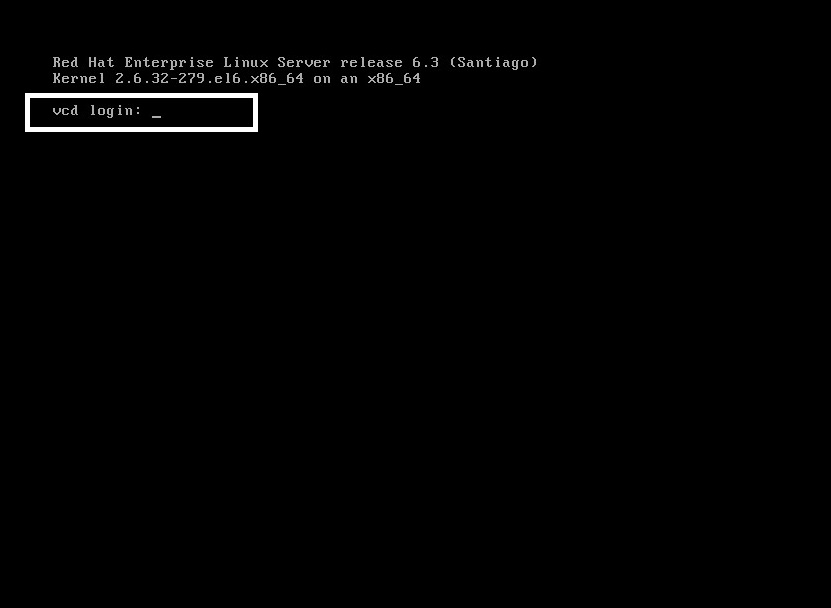
- After the RHELS OS has finished rebooting and presents the “login:” prompt in the Console, enter the “root” credentials to access the OS.
- From the vCenter VM Guest OS menu, select “Install VMware tools”.
- At the Linux prompt create a temporary installation repository: “mkdir install_files”
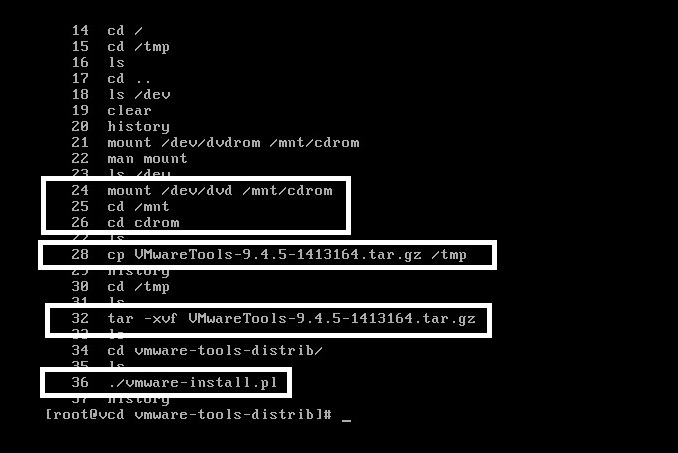
- Create a CDROM mount point: “mkdir /mnt/cdrom”
- Mount the CDROM device to the CDROM mount point: “mount /dev/dvd /mnt/cdrom”
- Copy the VMware tools package from the CDROM to the installation repository: “cp /mnt/cdrom/*.gz /install_files”
- Change to the installation repository directory: “cd /install_files”
- List the contents of the directory: “ls -als”
- Decompress the VMware tools package: “tar -xvf VMwareTools-N.N.N-NNNNNN.tar.gz”
- Change to the VMware tools distribution directory: “cd vmware-tools-distrib”
- Ensure that the VMware tools installation script can execute: “chmod 555 *.pl”
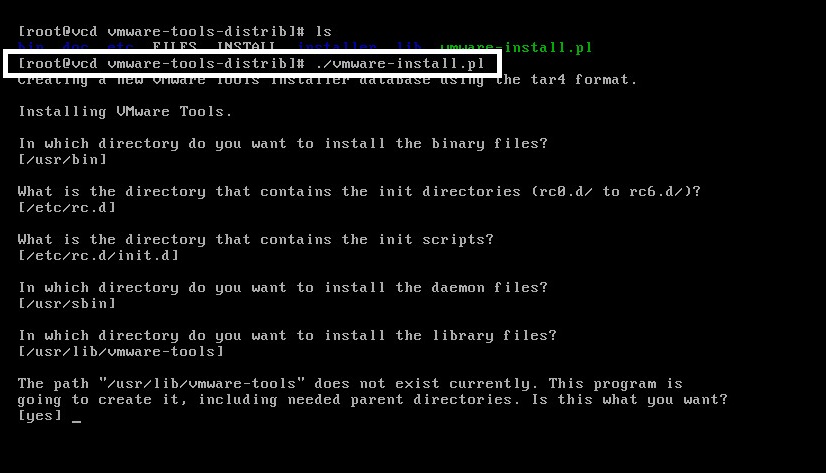
- Execute the VMware tools installation script: “./vmware-install.pl”
- Press “Enter” in answer to each script installation question.
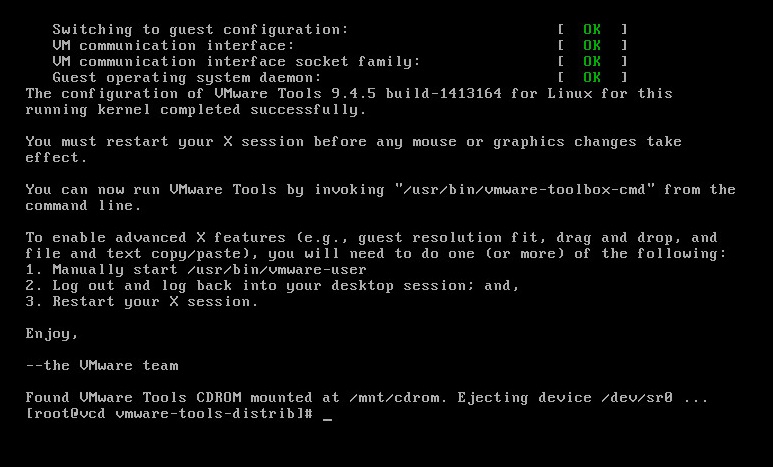
- Wait for the installation to complete. Change directory to the root of the file system: “cd /”
- Clean up the VMware tools source installation files: “rm -rf /install_files/vmware-tools-distrib”, “rm /install_files/*.gz”
- Check vCenter and verify that VMtools is detected and running for the vCD RHELS VM.
Network Configuration
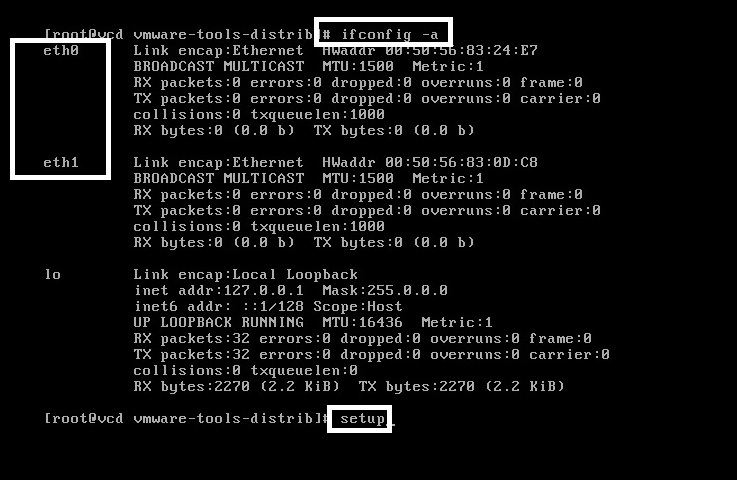
- Check the network configuration of the RHELS OS: “ifconfig -a”
- Interfaces “eth0” and “eth1” require static IP addresses, this is achieved via the Setup Utility: “setup”
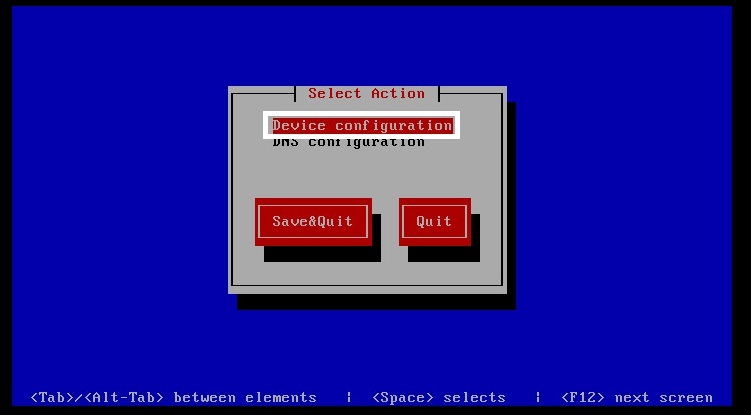
- Highlight “Network configuration” and press the “Run Tool” button. Use the arrow keys, tab and enter key to navigate the interface.
- Highlight “Device configuration” and press the “Enter” button.
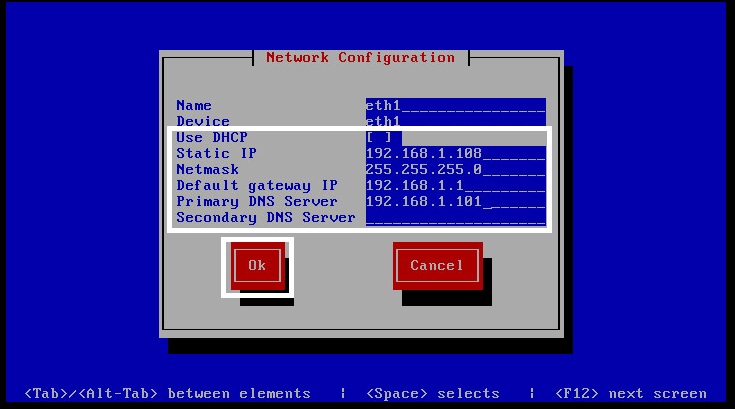
- Select “eth0” and press “Enter”.
- Deselect “DHCP”, enter the “Static IP”, “Netmask”, “Default gateway IP” and “DNS” servers. Then press “OK”.
- Do the same for “eth1”.
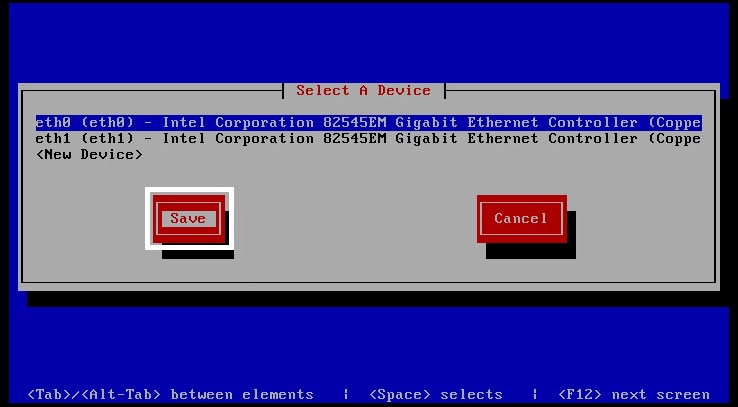
- In the “Select a device” screen, press “Save”.
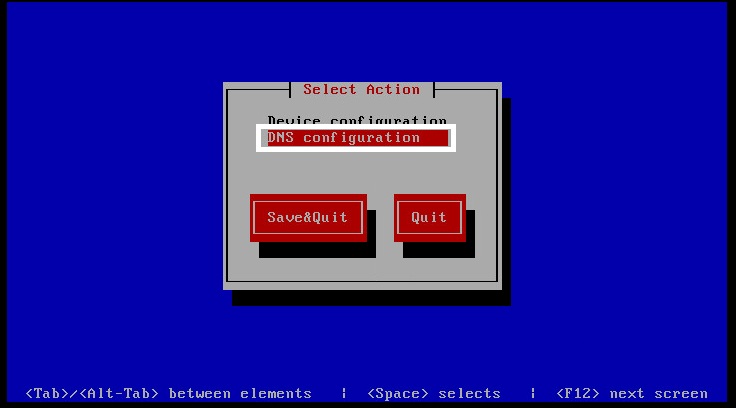
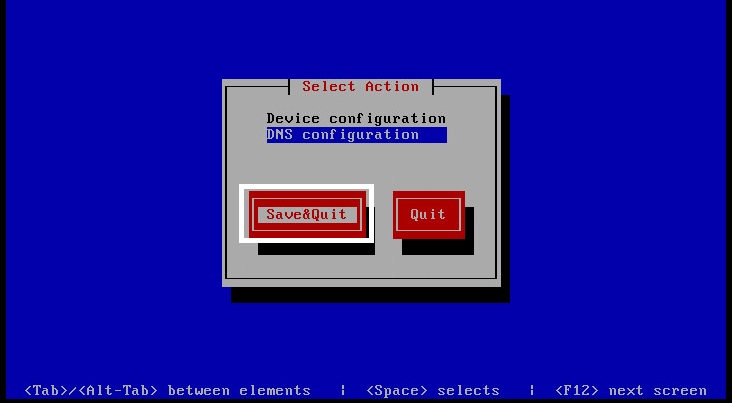
- In the “Select Action” screen, press “DNS configuration”.
- Enter the “Hostname”, “DNS servers” and “DNS search path” and press “OK”.
- In the “Select Action” screen, press “Save&Quit”.
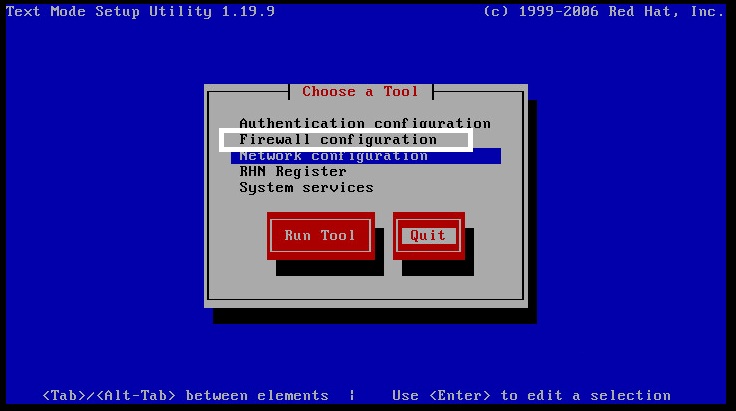
- In the “Choose a Tool” screen, select “Firewall configuration” and press “Run Tool”.
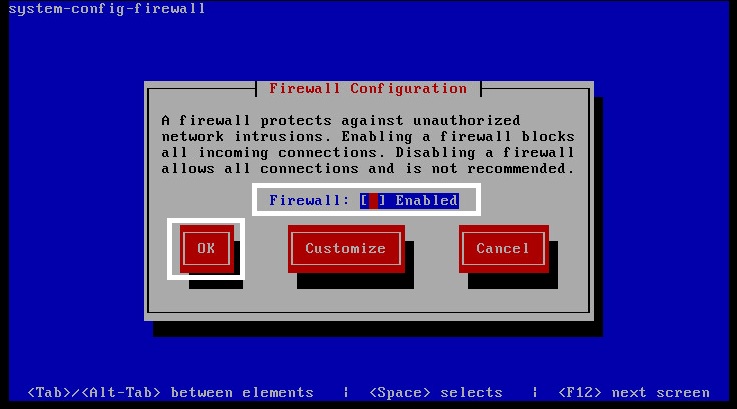
- Disable the “Firewall” and press “OK”.
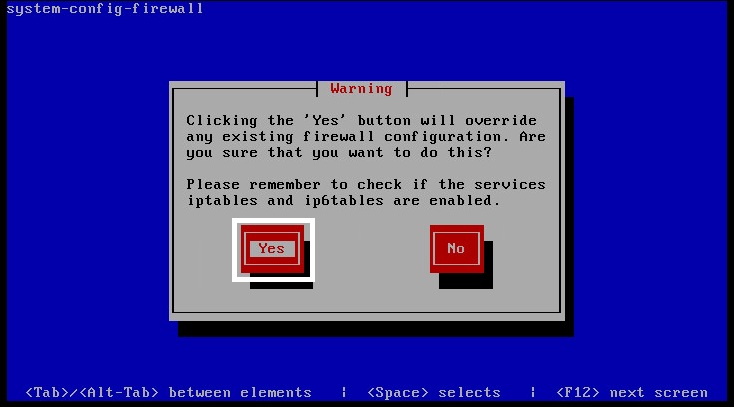
- Accept the “Warning” by pressing “Yes”.
- In the “Choose a Tool” screen, press “Quit”.
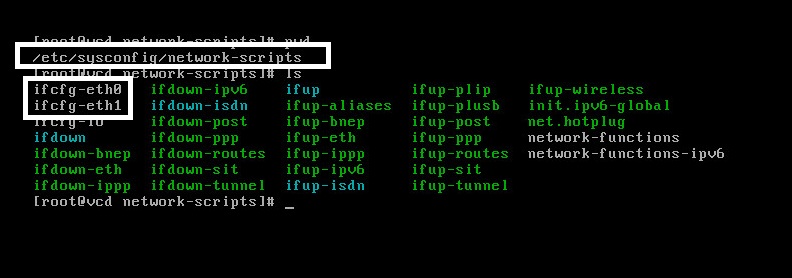
- At the prompt, change directory to the network configuration scripts: “cd /etc/sysconfig/network-scripts”
- Use “vi” to edit the eth0/eth1 network config files: “vi ifcfg-eth0” and “vi ifcfg-eth1”
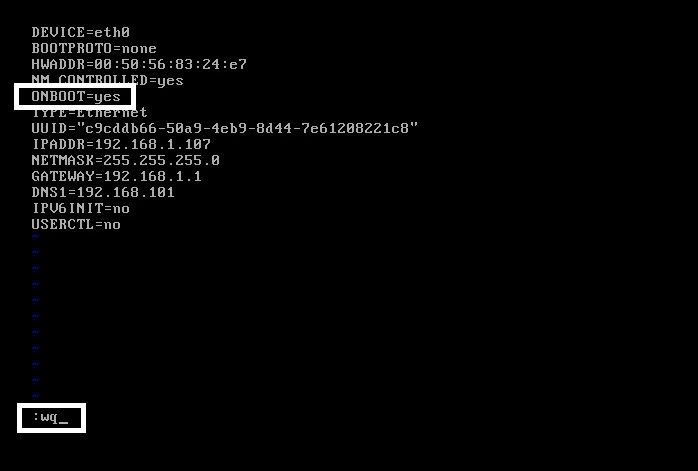
- Use the arrow keys to move the cursor to “ONBOOT=no”.
- Highlight each letter of “no” and press “x” to delete the single character.
- Make sure the cursor is on the “=” character and press the letter “a” to enter append mode. Type the word “yes” and press the Escape key to exit append mode. There should now be a line “ONBOOT=yes”.
- Exit “vi” and save the changes: “:wq”
- Check both files have retained the changes: “more ifcfg-eth0” and “more ifcfg-eth1”
- Reboot the server: “reboot”
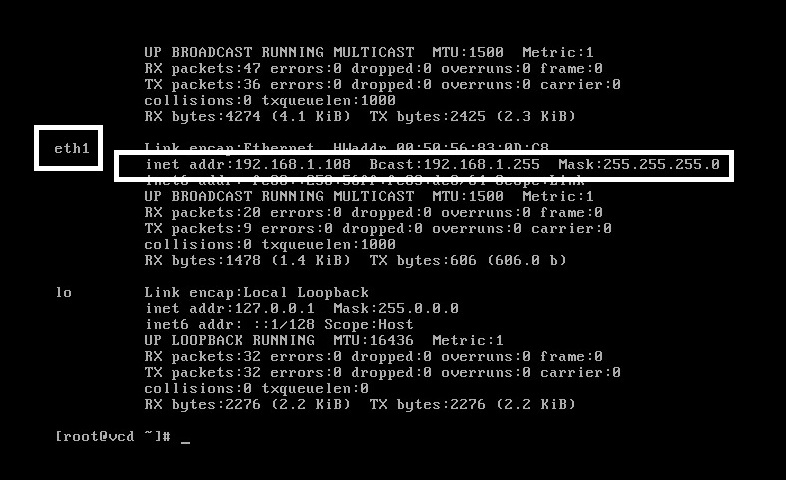
- Once the server has rebooted and you have logged in as root again, check that the static IP addresses are present on eth0 and eth1: “ifconfig -a”
- Ping the gateway IP address to verify connectivity, disable each vNIC to isolate the traffic. After the test is finished, re-enable both vNIC interfaces.


Installing the libXdmcp RPM
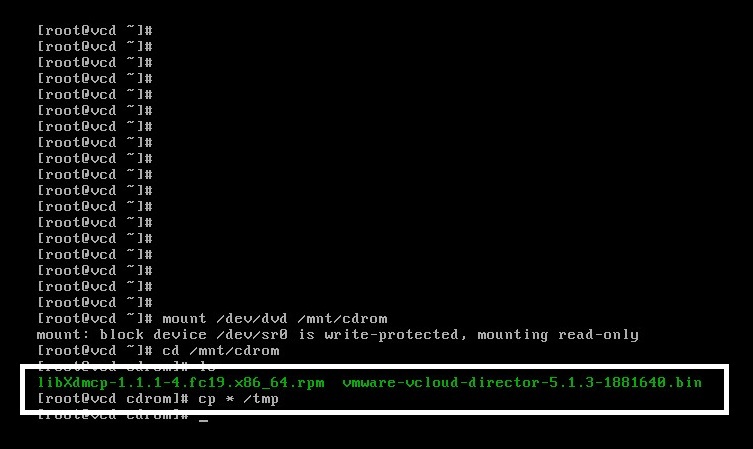
- Use FTP or WinSCP to copy the “libXdmcp-1.1.1-4-.fc19.x86_64.rpm” file to the “install_files” directory.
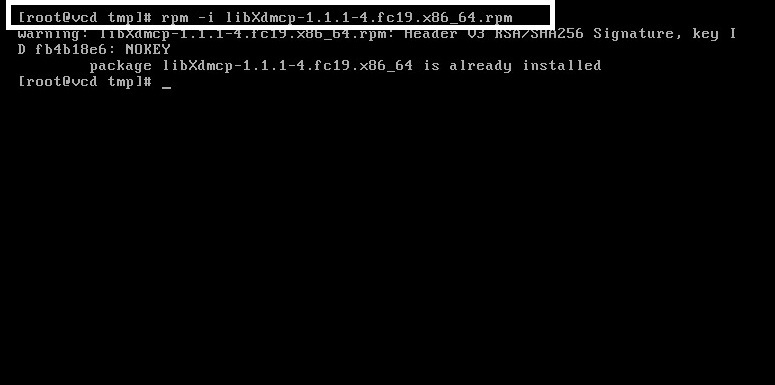
- Install the RPM: “rpm -i libXdmcp-1.1.1-4-.fc19.x86_64.rpm”
- Clean up the installation file: “rm libXdmcp-1.1.1-4-.fc19.x86_64.rpm”
Creating the SSL Certificates
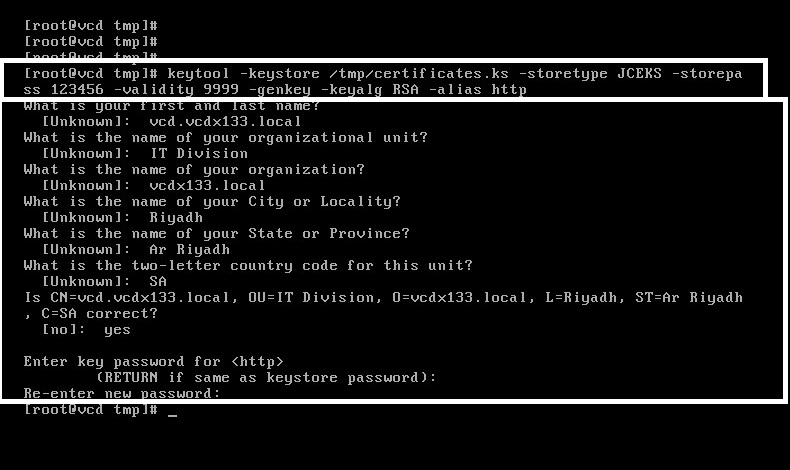
- Use “keytool” to create the “http” (will be bound to eth0) certificate: “keytool -keystore /install_files/certificates.ks -storetype JCEKS -storepass 123456 -validity 9999 -genkey -keyalg RSA -alias http”
- Answer the prompted questions: First and Last Name (FQDN), Org Unit, Org Name, City, State, Country and Password (123456).
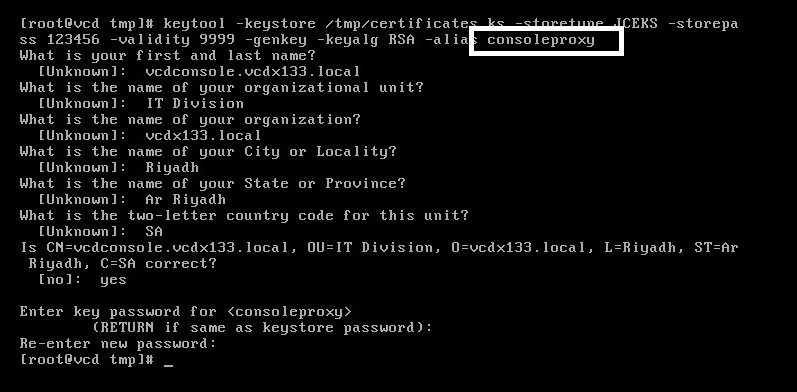
- Use “keytool” to create the “consoleproxy” (will be bound to eth1) certificate: “keytool -keystore /install_files/certificates.ks -storetype JCEKS -storepass 123456 -validity 9999 -genkey -keyalg RSA -alias consoleproxy”
- Answer the prompted questions: First and Last Name (FQDN), Org Unit, Org Name, City, State, Country and Password (123456).
You are now ready to begin with the vCD Application install in Part 5.
Other Resources
