This is part 2 of the vSphere 6.5 Basics, detailing the installation and initial configuration of the vCenter Server Appliance 6.5 using the UI from Windows Server.
This is a 6 part series, describing the installation basics of vSphere 6.5:
- vSphere 6.5 Basics – Part 1 – ESXi Install
- vSphere 6.5 Basics – Part 2 – vCenter Server Appliance Install
- vSphere 6.5 Basics – Part 3 – vCenter Server Install with Windows Server 2016 (with vSphere Update Manager option)
- vSphere 6.5 Basics – Part 4 – Migrate vCenter Server 6.0 on Windows to vCSA 6.5
- vSphere 6.5 Basics – Part 5 – Upgrade vCSA 6.0 to vCSA 6.5
- vSphere 6.5 Basics – Part 6 – Build a vCenter HA cluster
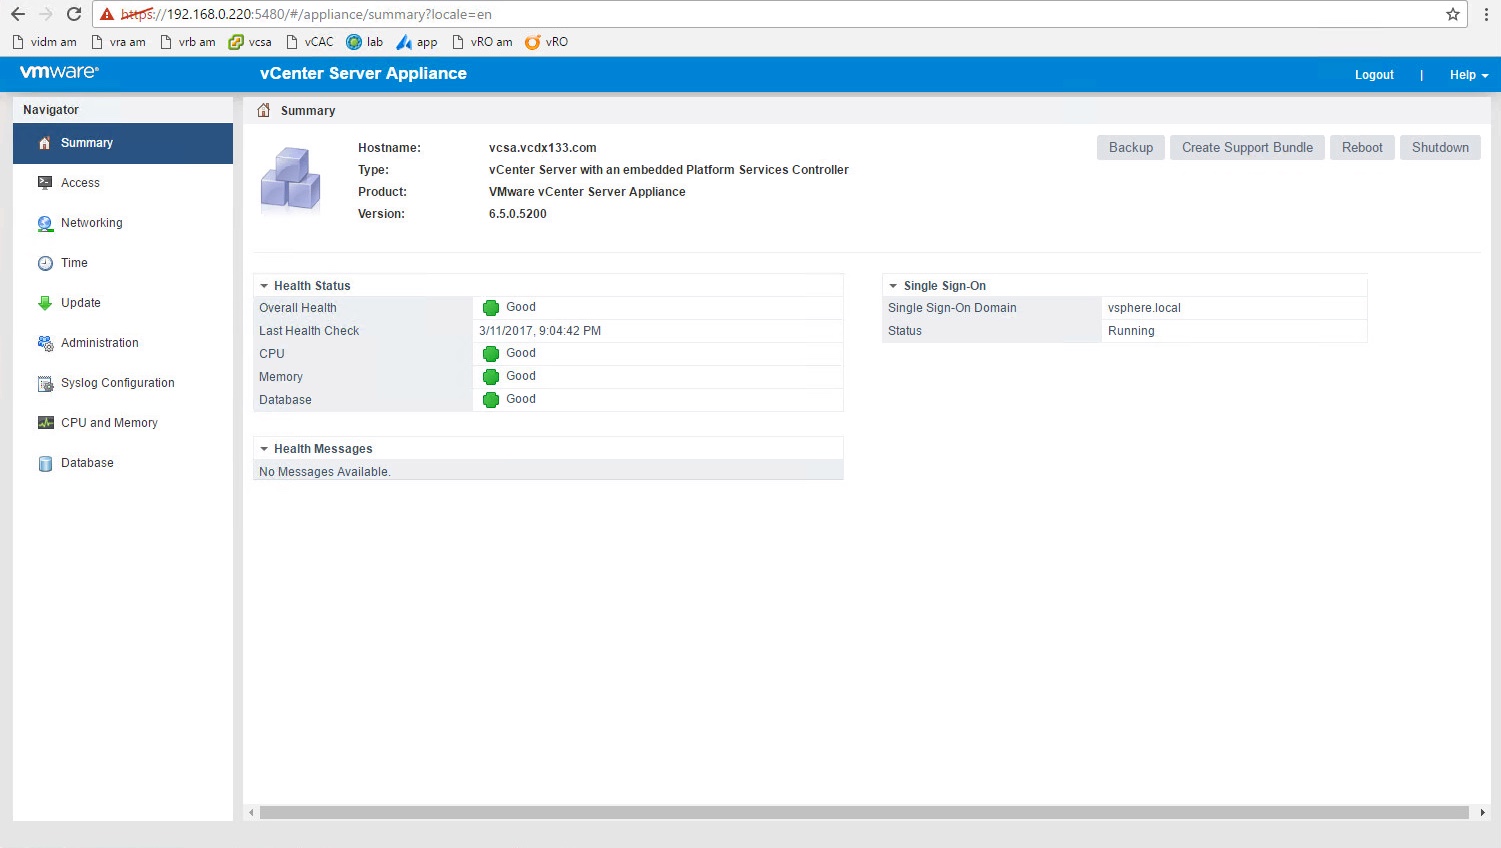
This post has been constructed using the vCenter Server 6.5.0a (Build 4944578) release.
If you have used vCSA in vSphere 6.0, the deploy process has now been broken into 2 stages (1. Install, 2. Setup) and you no longer need the VMware Client Integration Plug-in. This also includes the ability to deploy to hosts that will not be reachable from the vCenter Server Appliance (eg. vCSA in Management cluster that connects to Resource hosts) and you have the ability to correct an error via Retry in Stage 2 where the appliance is not deleted if the setup fails. You can also use the UI or Shell methods to deploy vCSA from Windows, Mac OS X and Linux Operating Systems. This post uses the Windows UI method.
Prerequisites
- You have the vCSA 6.5.0a ISO image.
- You have a Windows 10/Windows Server 2016 instance that can be used to remotely install the vCenter Server Appliance.
- You have an ESXi host that has enough resources to host the vCenter Server Appliance.
- You have an Ephemeral Portgroup (with vDS – vSS does not support this) configured on the destination ESXi host for the vCenter Server Appliance to connect to.
- Functioning NTP and DNS servers with populated FQDN for the target vCSA.
Deploy vCSA to a remote ESXi host (Stage 1)
- Access the Console of the Windows instance and browse to the mounted ISO image.
- Browse to the “vcsa-ui-installer/win32” path.
- Double click on the “installer.exe” file.
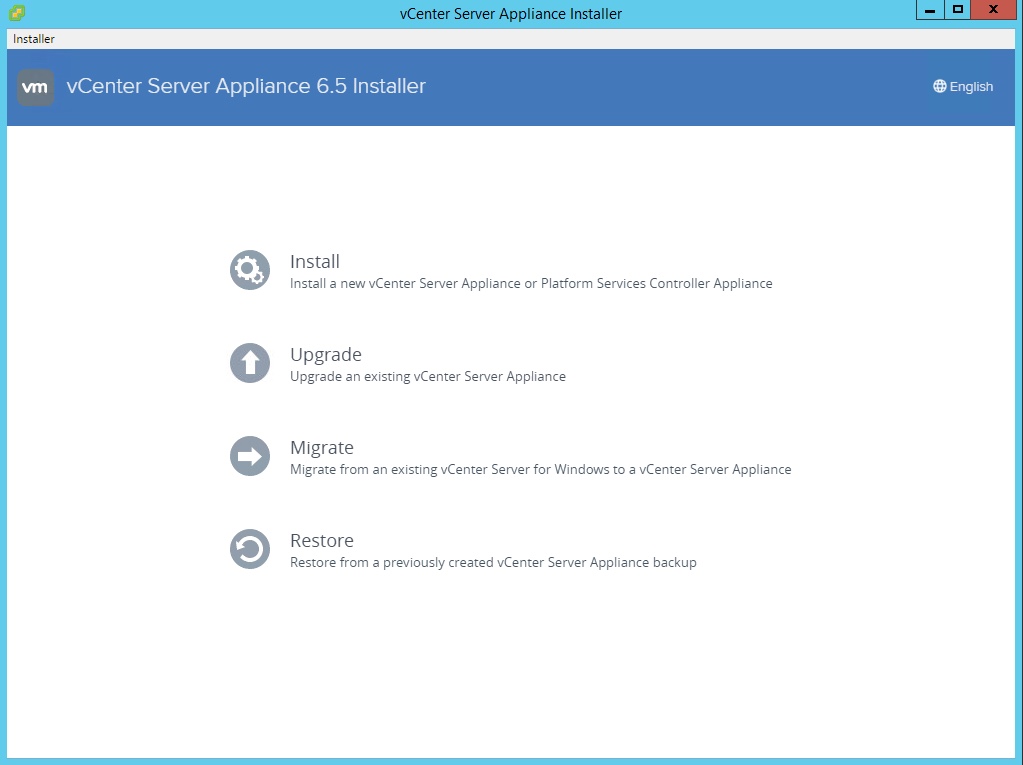
- On the vCenter Server Appliance Installer page, press the “Install” button.
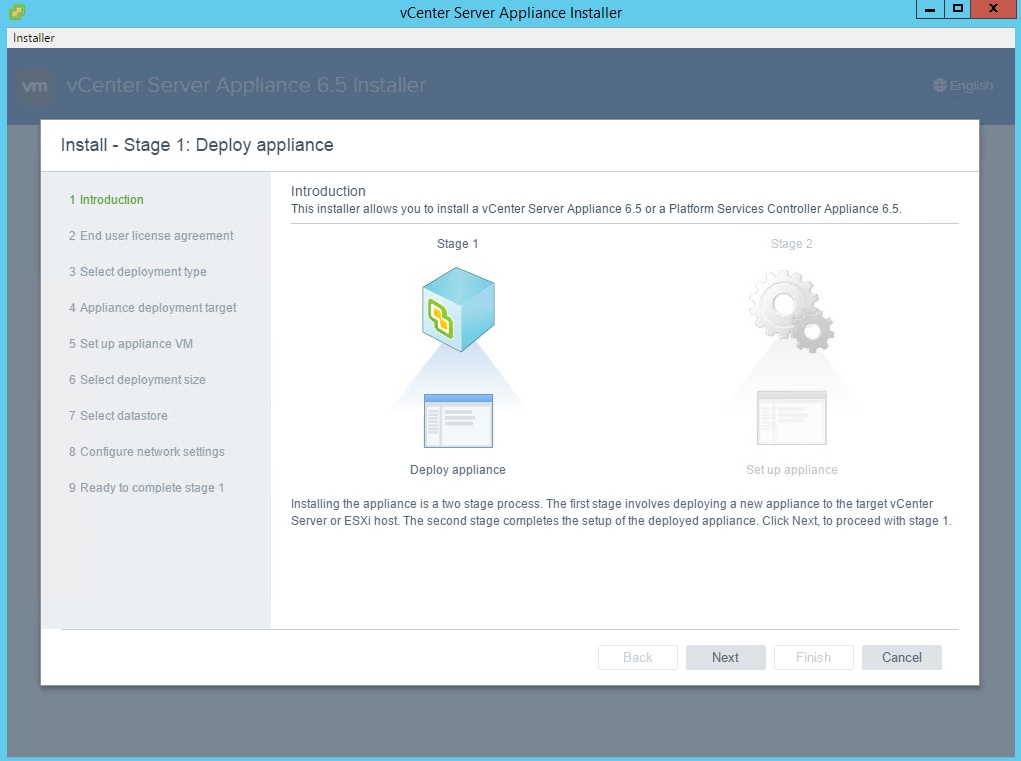
- In the “Introduction” window, press “Next”.
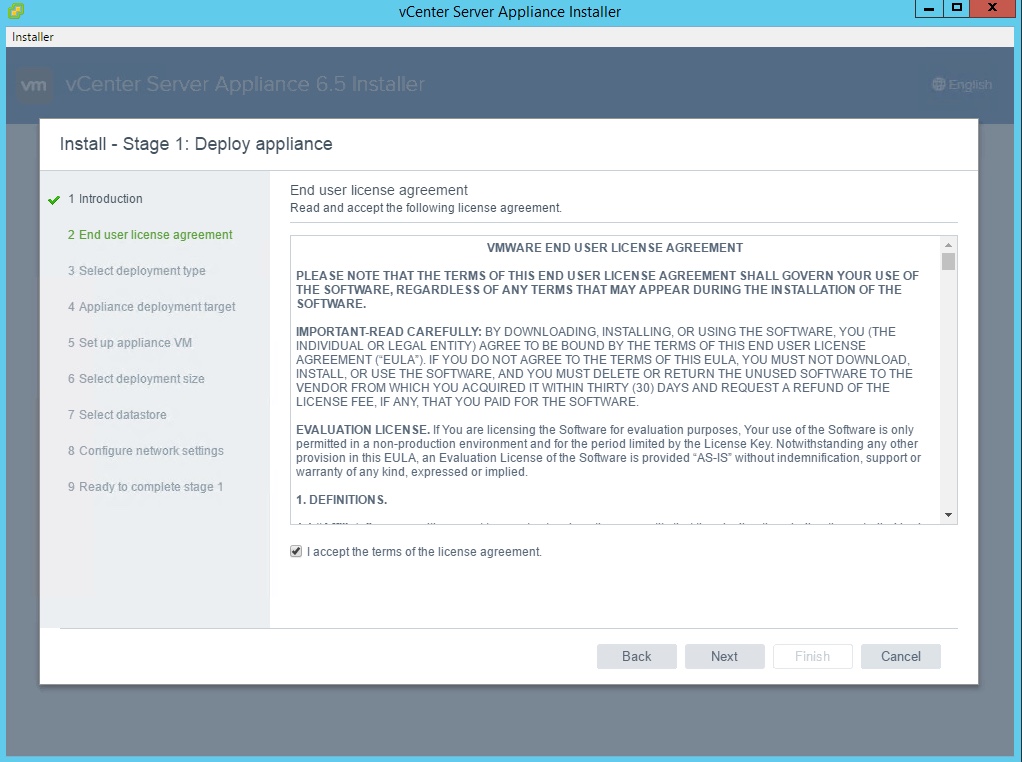
- In the “End user license agreement” window, accept the EULA and press “Next”.
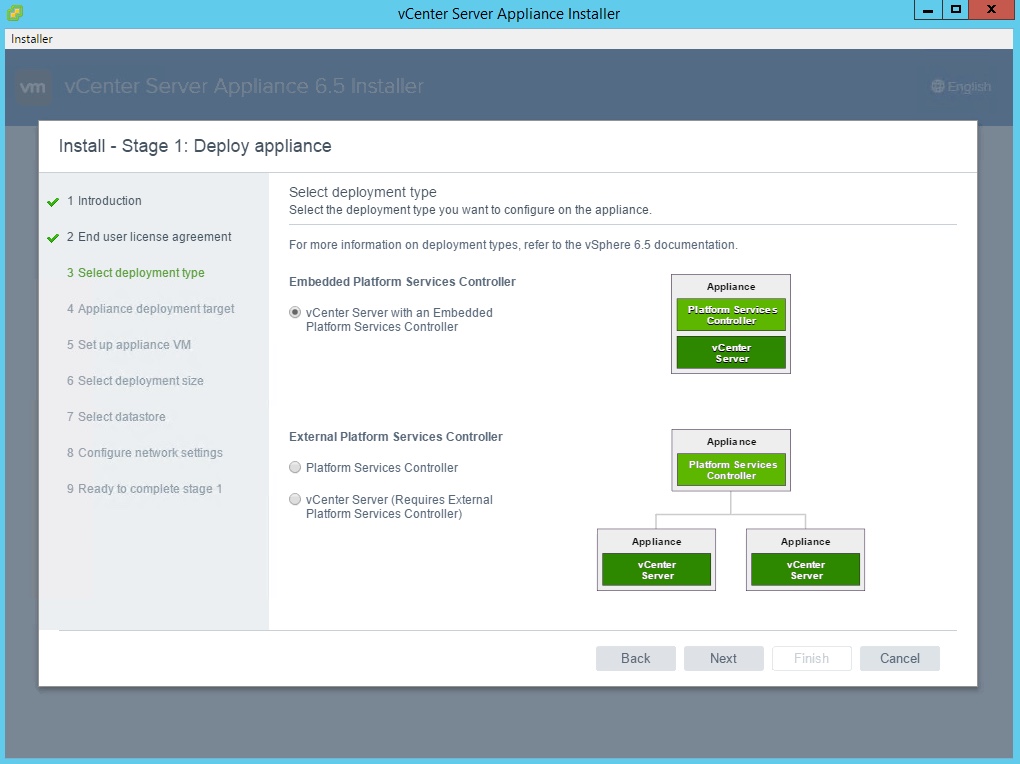
- In the “Select deployment type” window, select “Embedded Platform Services Controller” and press “Next”.
- In the “Appliance deployment target” window, enter the FQDN or IP Address of the ESXi host or vCenter Server, the HTTPS port, the User credentials and press “Next”.
- Press “Yes” to the Certificate Warning.
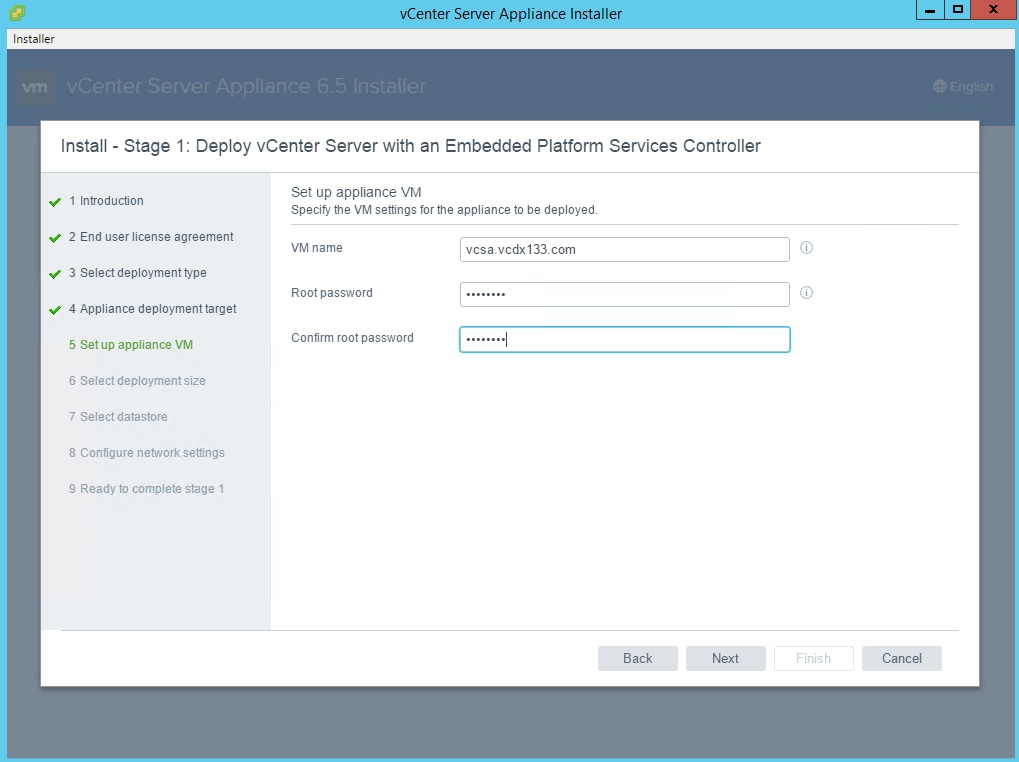
- In the “Set up appliance VM” window, enter the VM name of the vCenter Server Appliance, set the OS root credentials and press “Next”.
- In the “Select deployment size” window, select “Tiny, Small, Medium, Large or X-Large”, the Storage size (Default, Large or X-Large) and press “Next”.
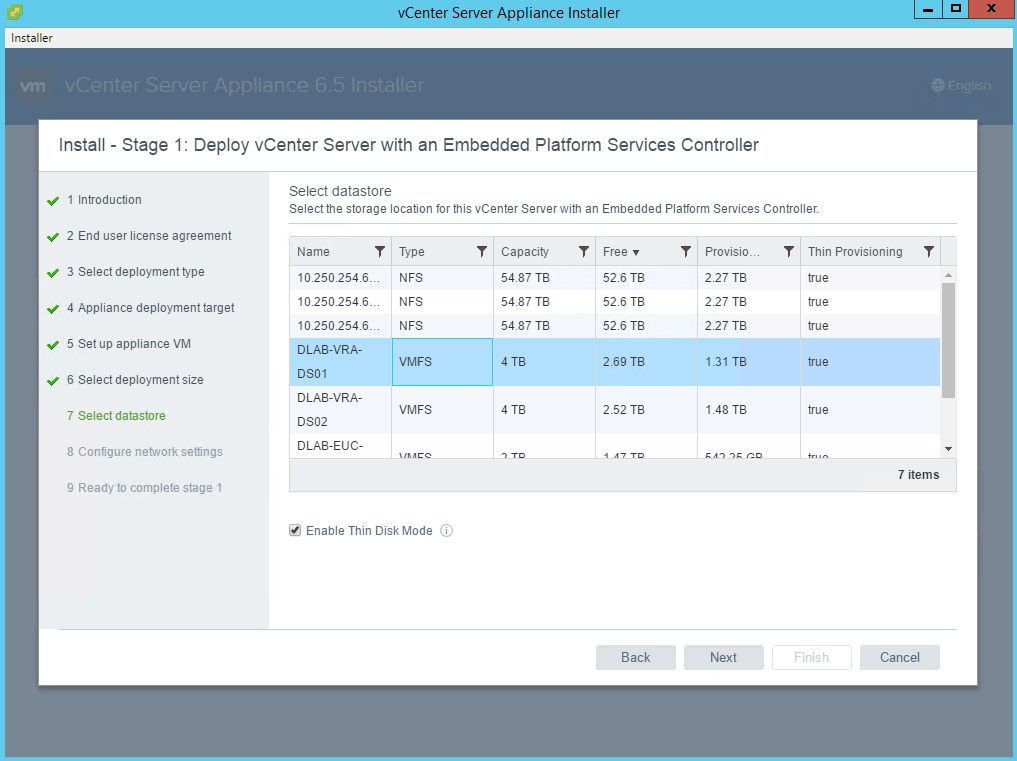
- In the “Select datastore” window, select the target datastore, Enable Thin Disk Mode and press “Next”.
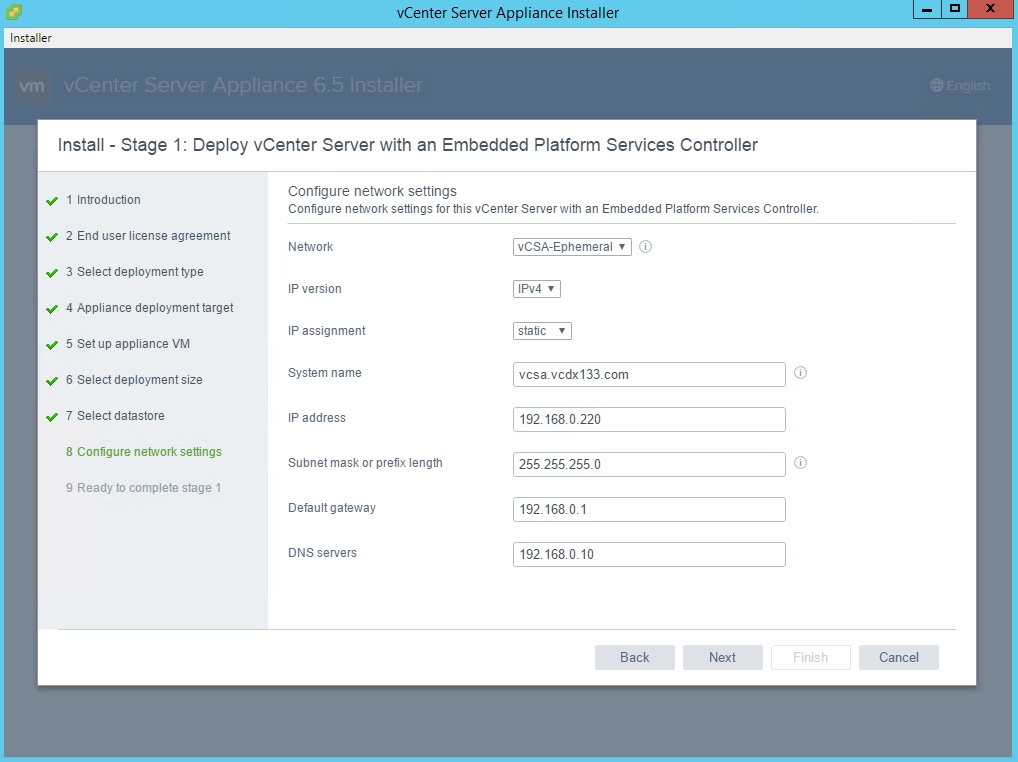
- In the “Configure network settings” window, select the Network (vDS Portgroup must be ephemeral or vSS Portgroup), IPv4/IPv6, IP assignment, enter the FQDN, IP address, Subnet mask, default gateway, DNS servers and press “Next”.
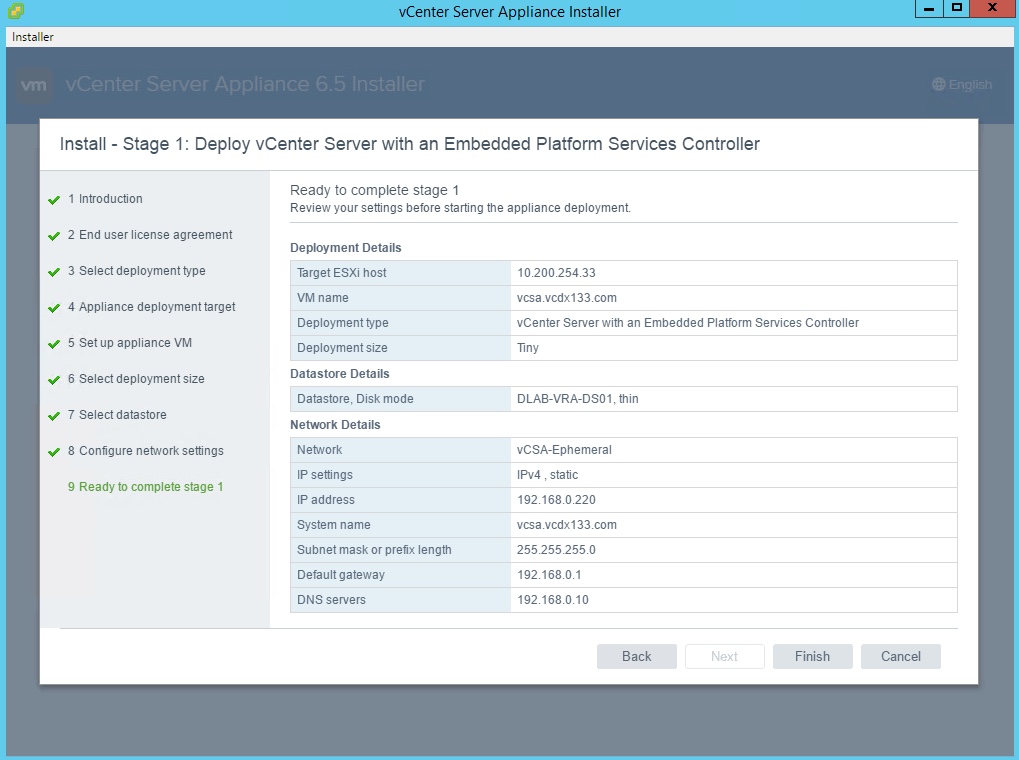
- In the “Ready to complete stage 1” window, review the settings and press “Finish”.
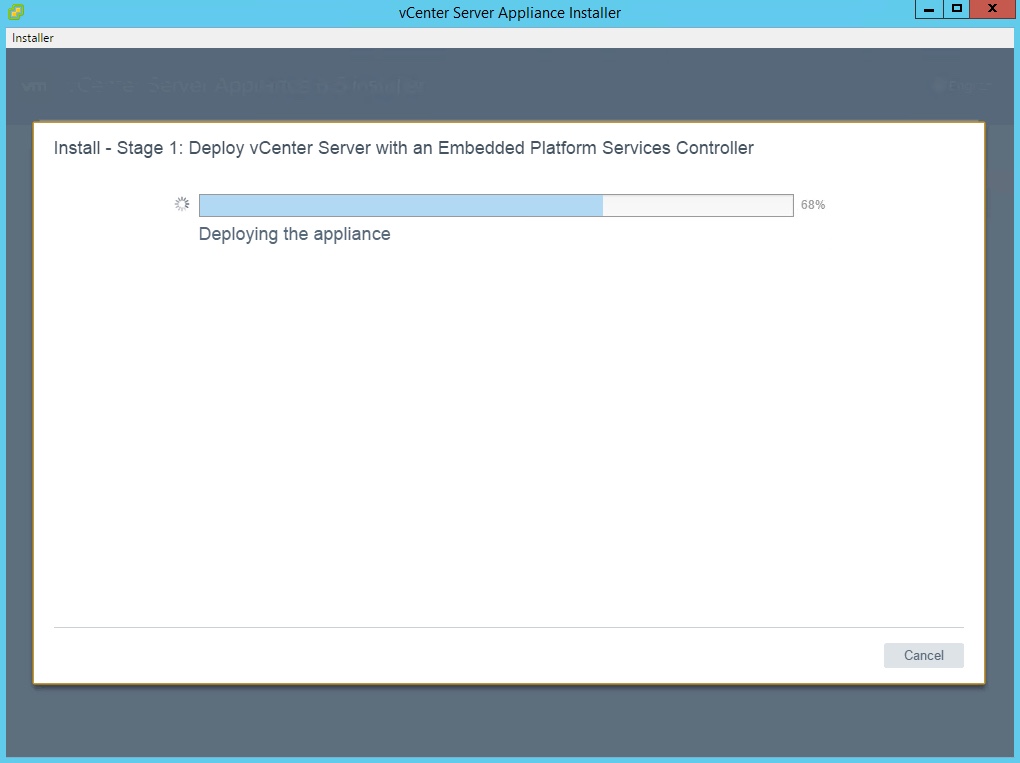
- The process of deploying the vCenter Server Appliance to the remote ESXi host or vCenter Server will begin. Be patient, this takes 30 minutes or more.
- In the last section below, you can use the Embedded Host Client to monitor the install progress and assist in resolving any issues you may have.
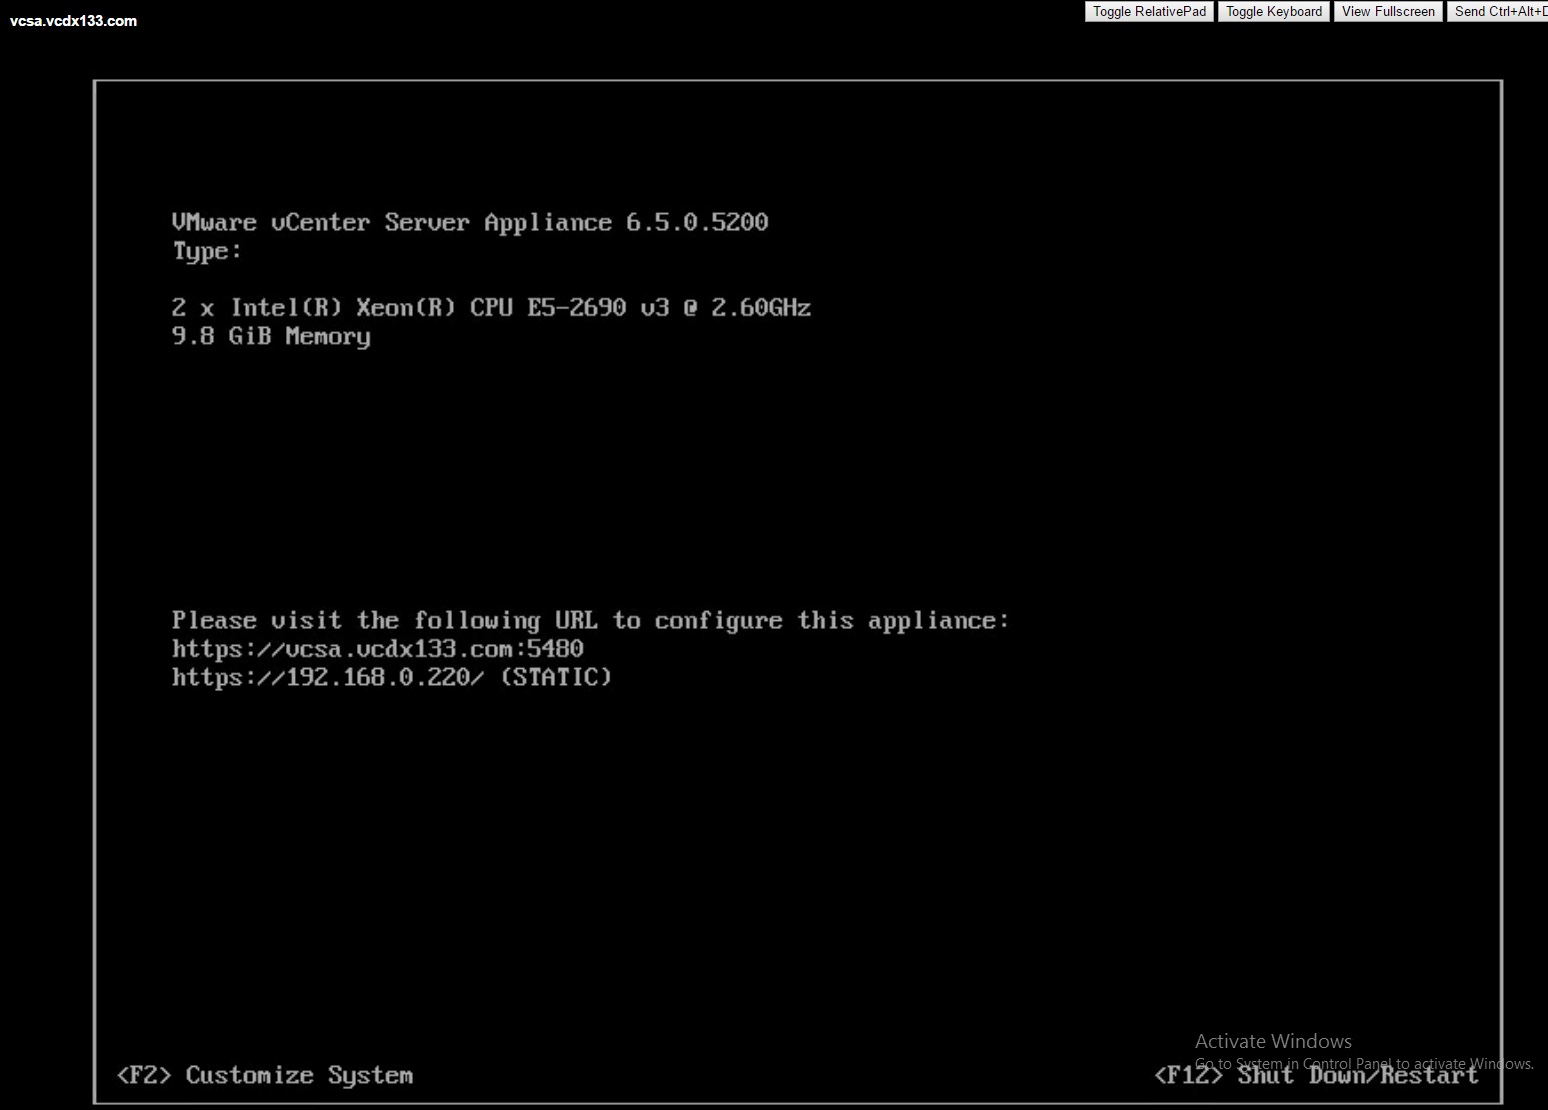
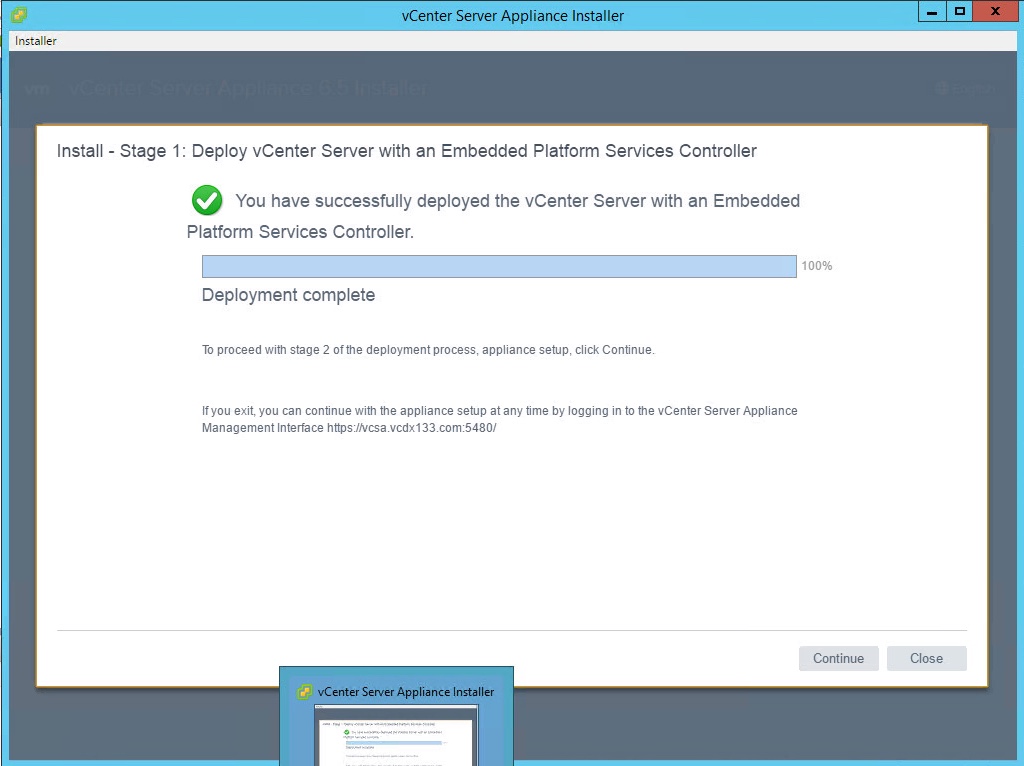
- When the message “Deployment complete” appears, record the vCSA hyperlink and then press “Close” or “Continue” (if the Windows instance can connect to the vCSA instance).
- You can now proceed to Stage 2.


Setup vCSA (Stage 2)
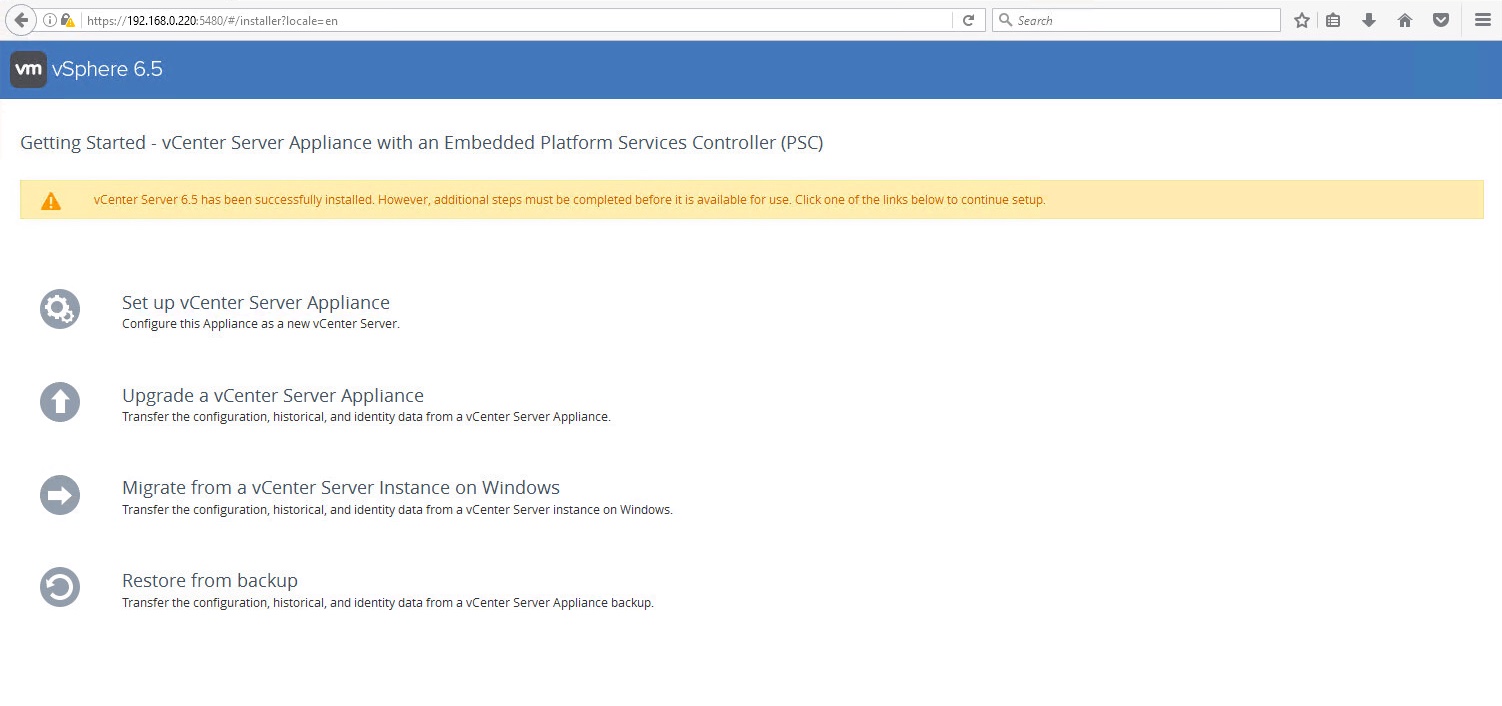
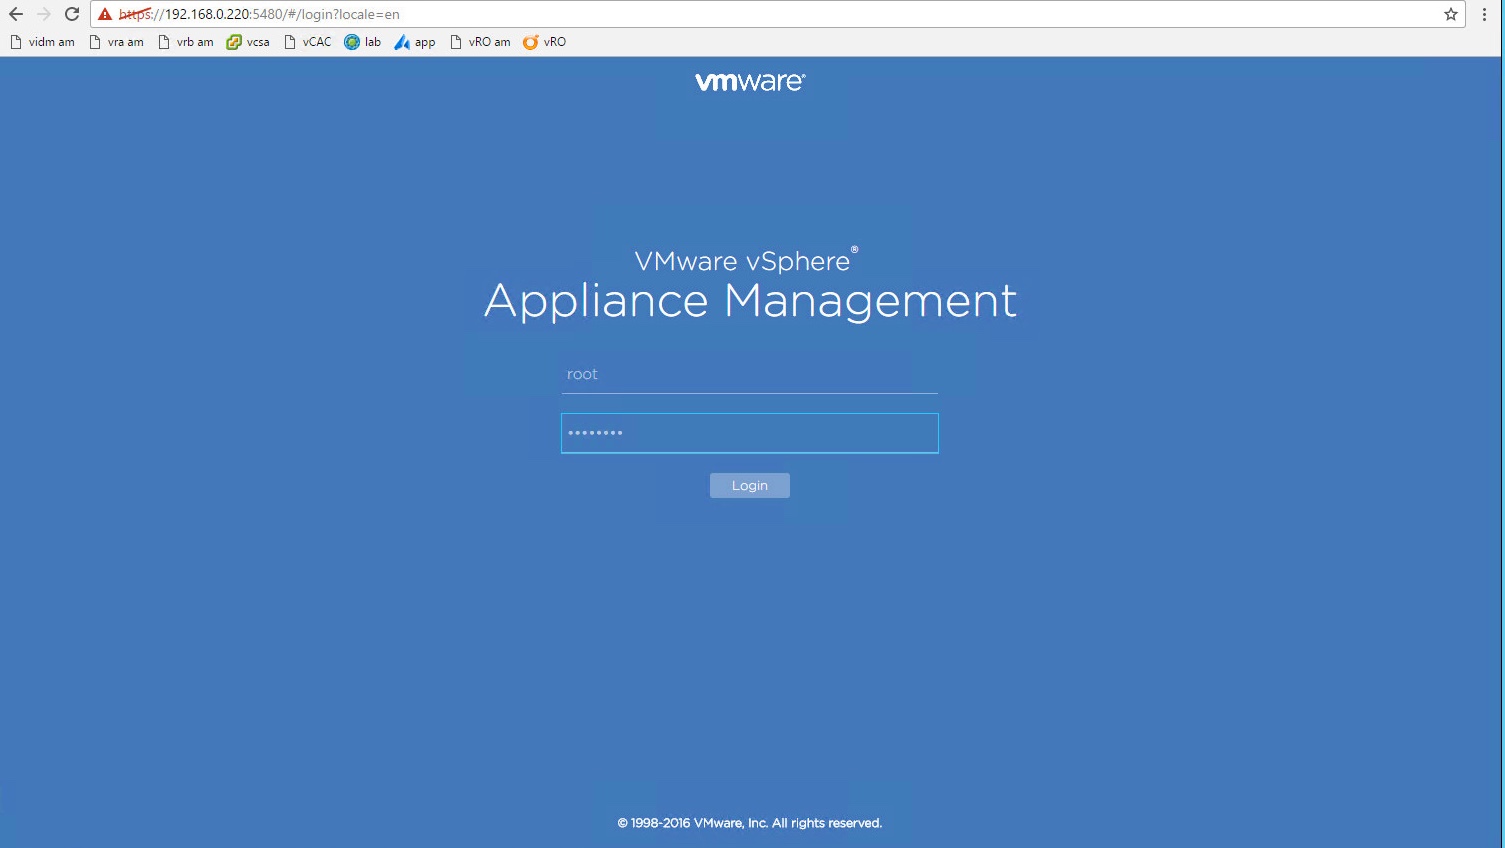
- Open a browser that can connect to the vCSA instance and enter the vCSA URL (https://<IP Address>:5480/) recorded in Stage 1. If you clicked “Continue” at the end of Stage 1, the installer will connect automatically and jump to step 5.
- Accept any SSL Certificate exceptions.
- On the Getting Started page, press the “Set up vCenter Server Appliance” icon.
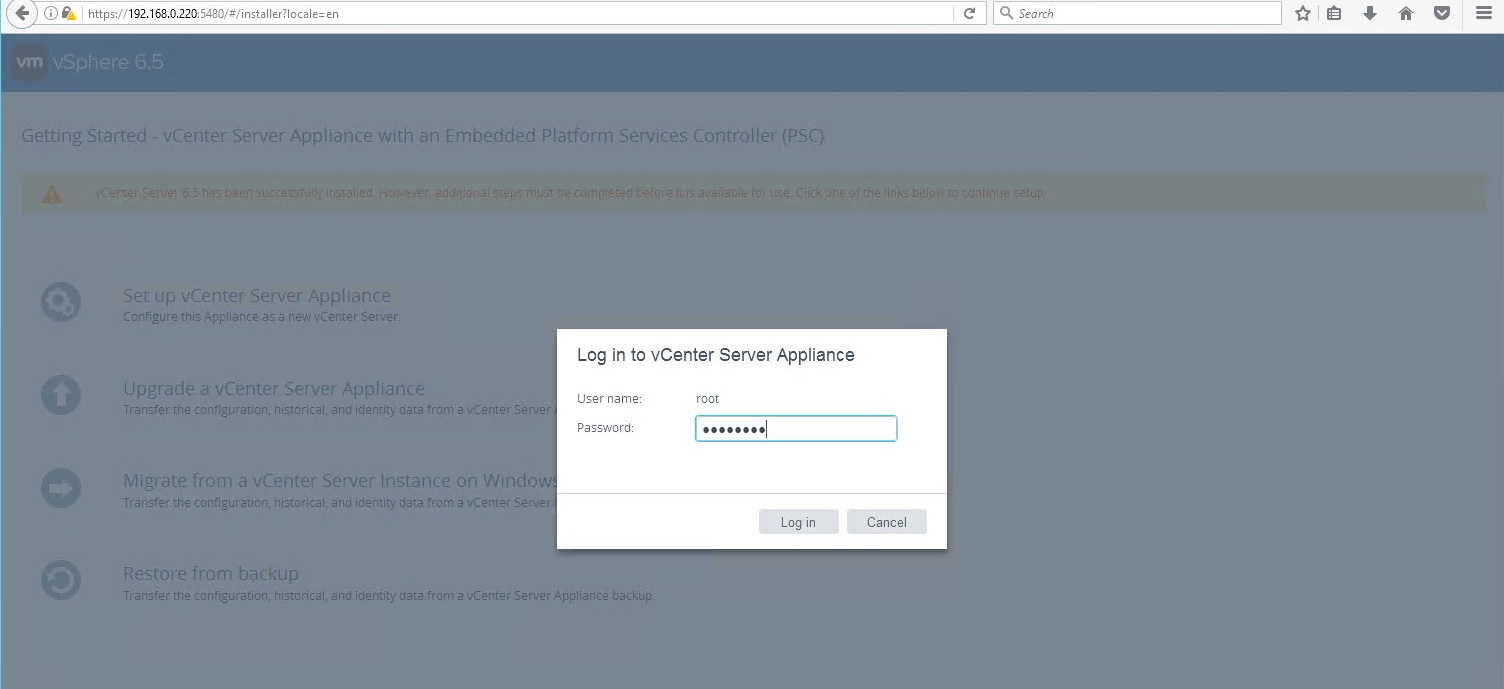
- Enter the root password configured during the installation process.
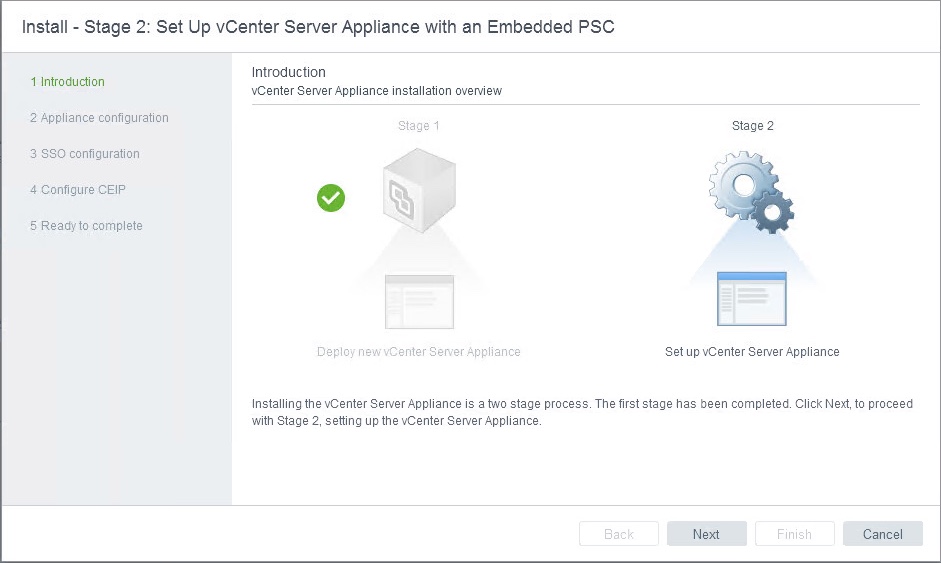
- In the “Introduction” window, press “Next”.
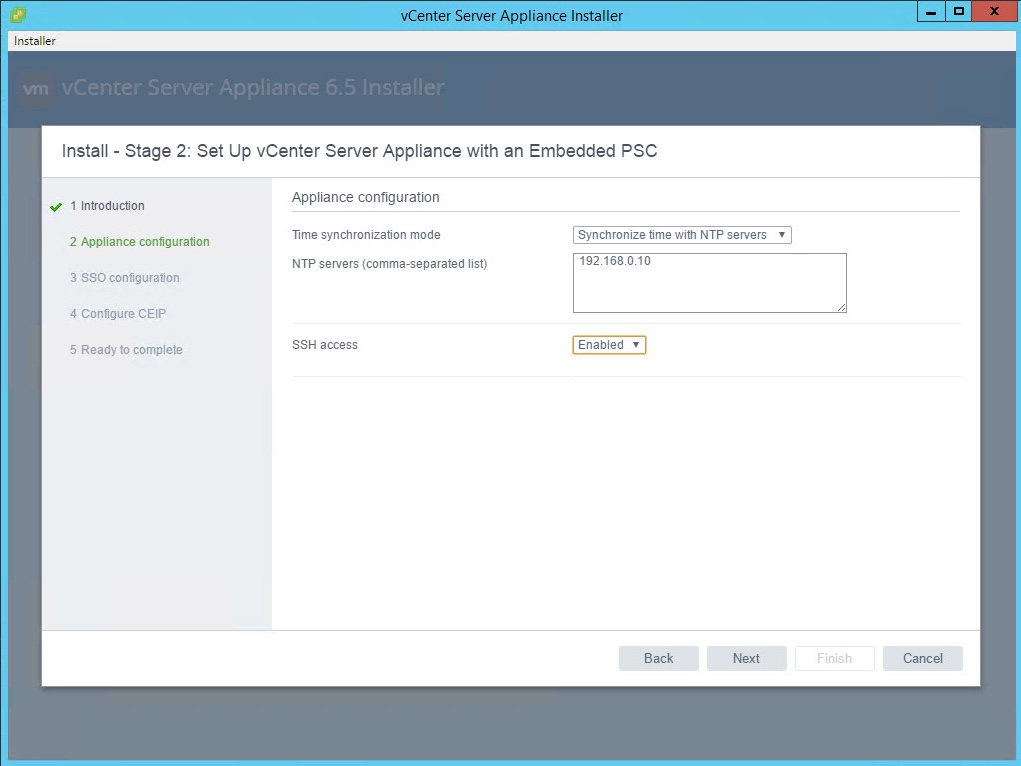
- In the “Appliance configuration” window, set the Time sychronization mode to NTP, enter the NTP servers, enable SSH (required for vCenter HA) and press “Next”.
- In the “SSO configuration” window, set the SSO domain name, enter the administrator Password, Site name and press “Next”.
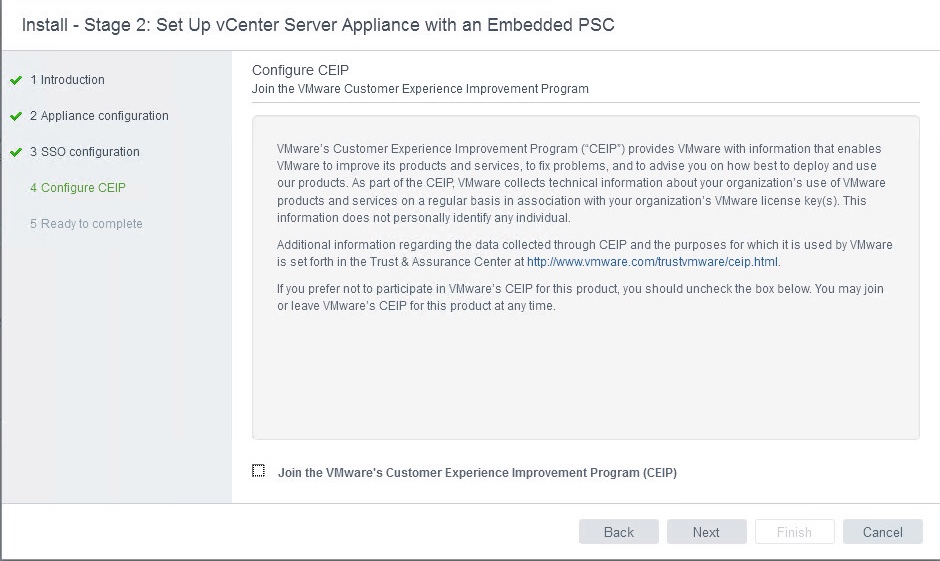
- In the “Configure CEIP” window, set the Customer Experience Improvement Program policy and press “Next”.
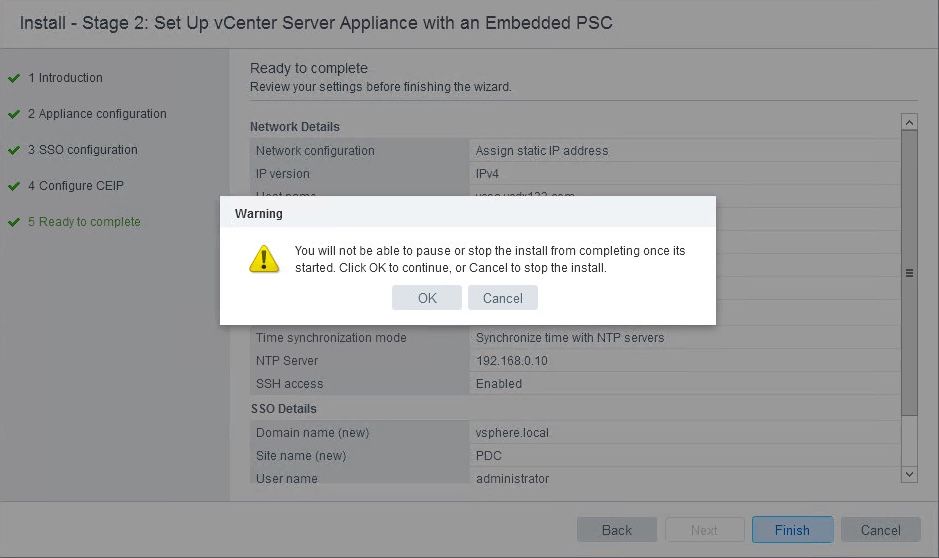
- In the “Ready to complete” window, review the settings and press “Finish”.
- Press “OK” to the Install Start Warning.
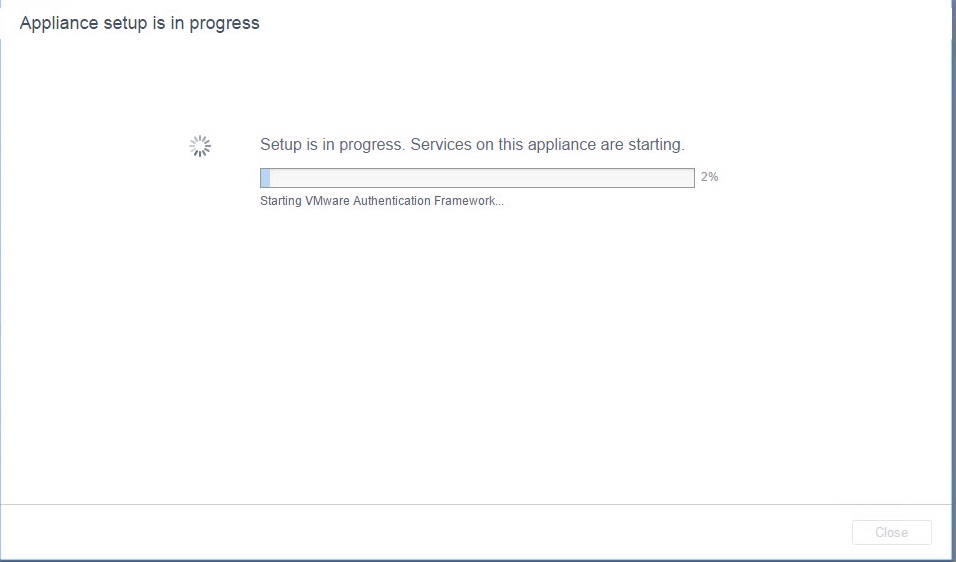
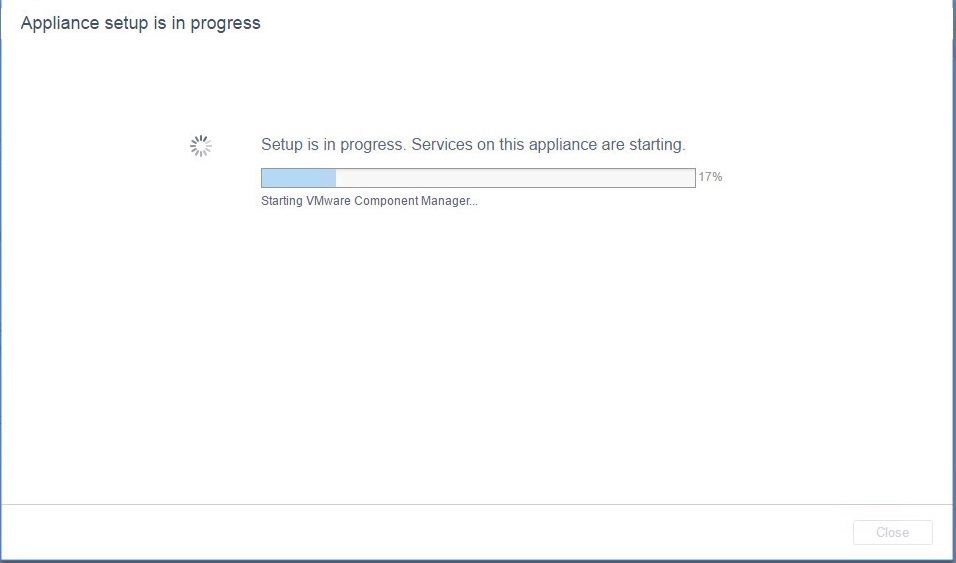
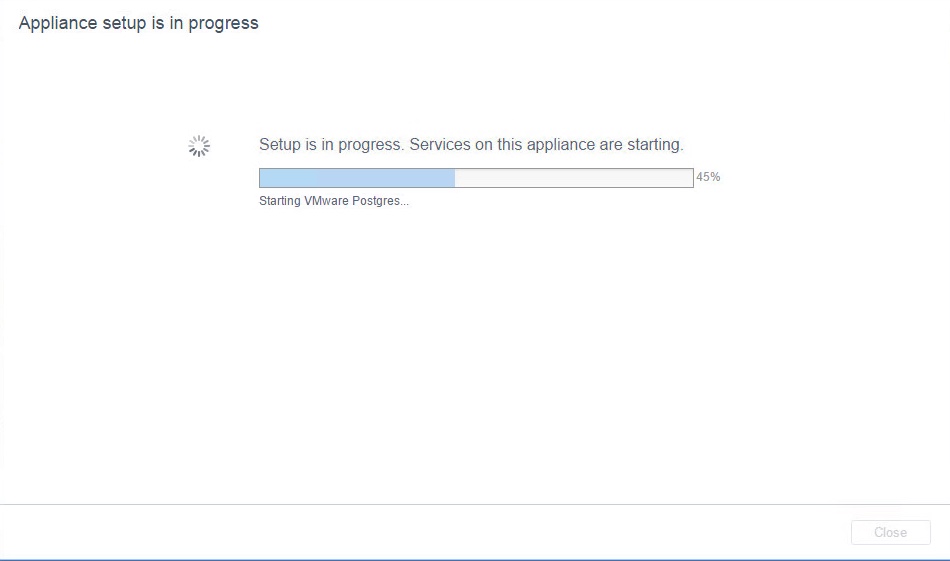
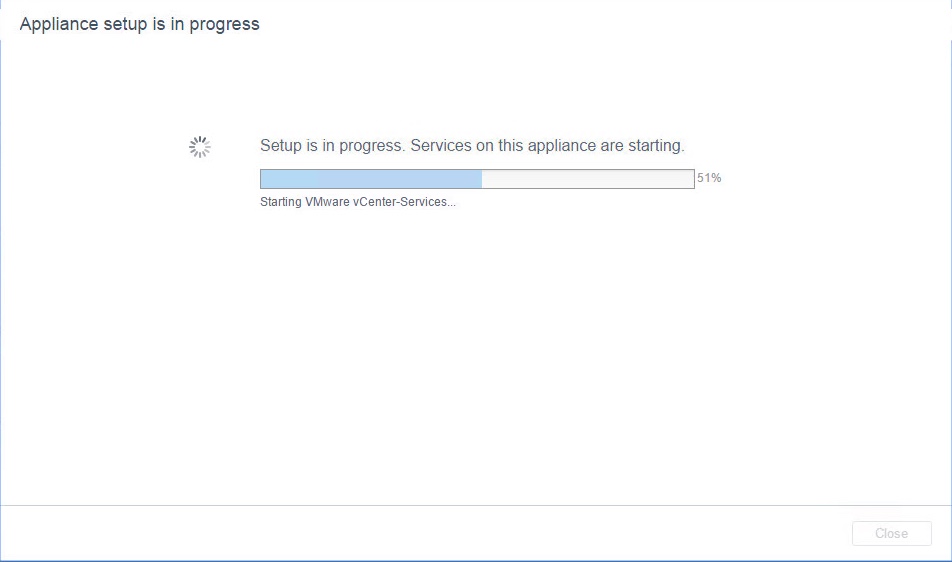
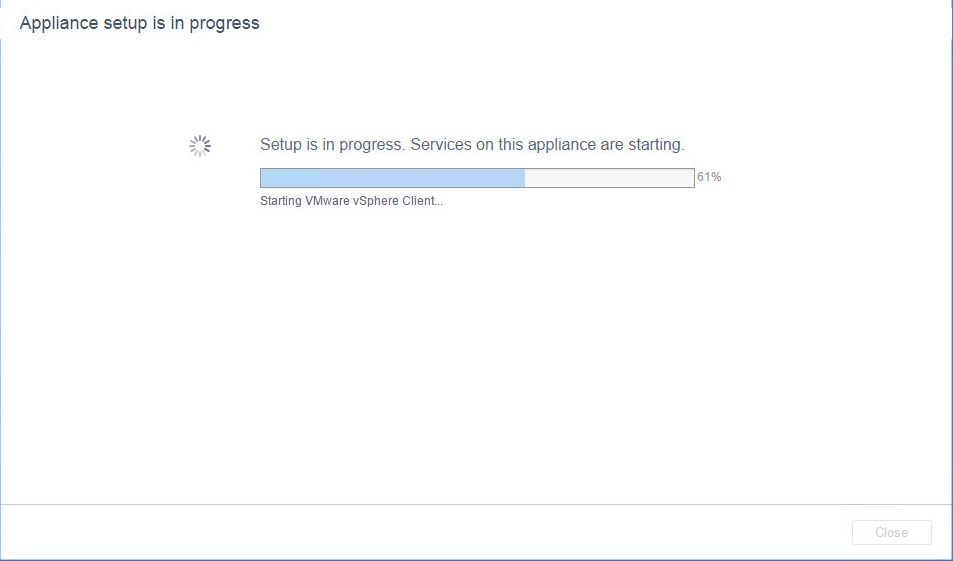
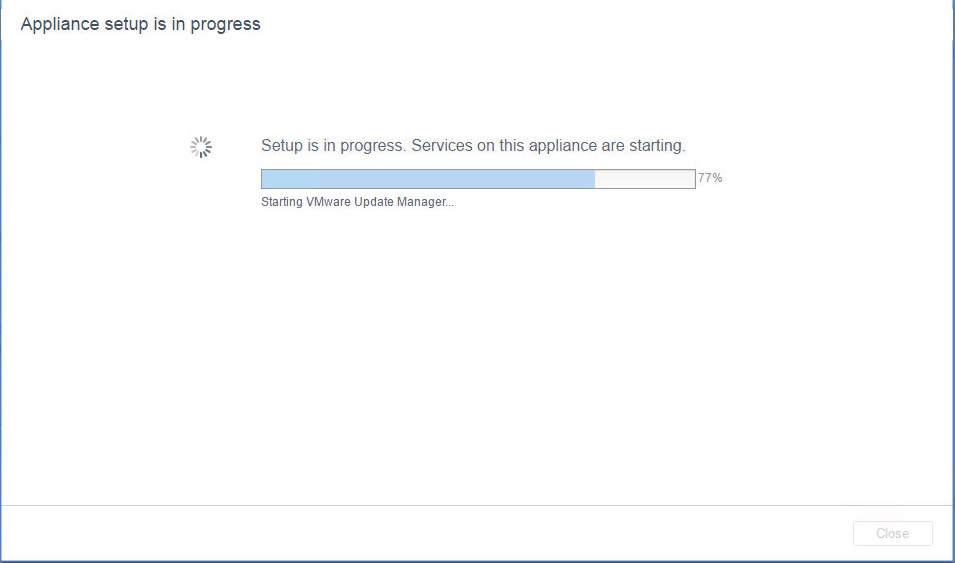
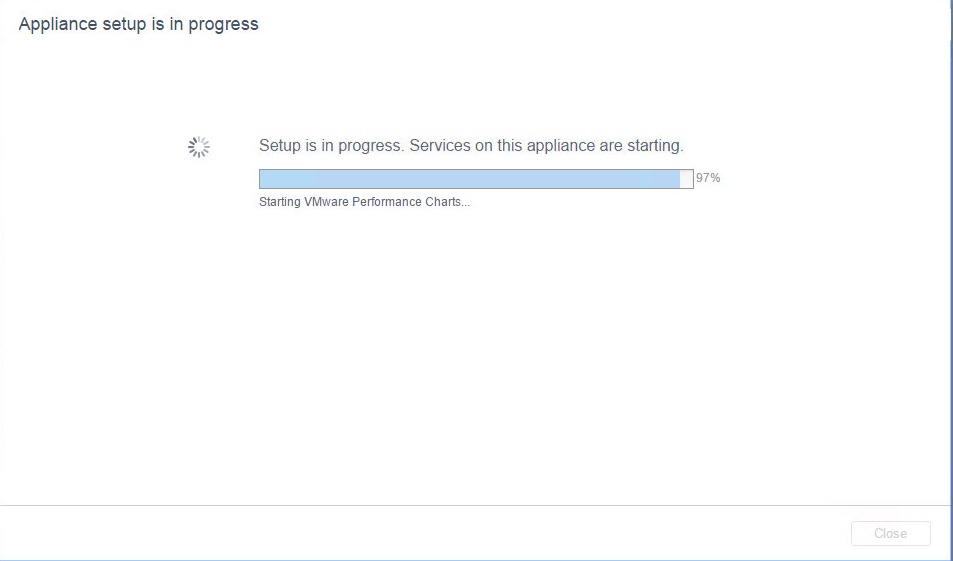
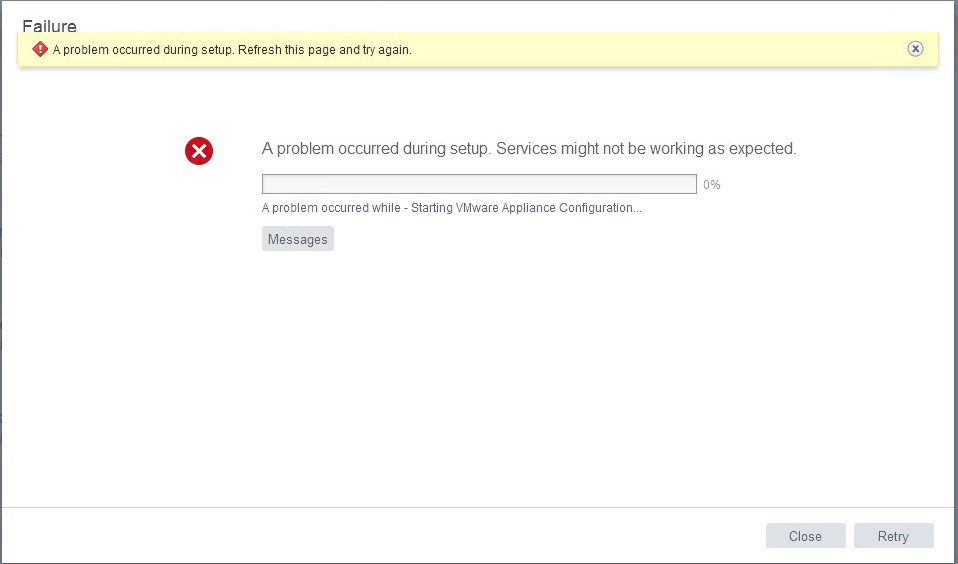
- The process of configuring the vCenter Server Appliance will begin. Be patient, this takes 30 minutes or more.
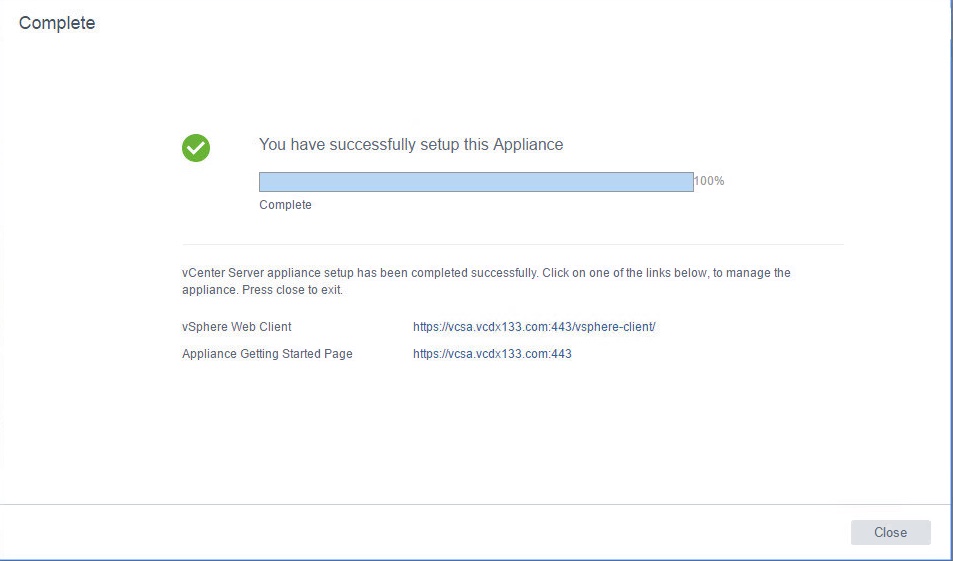
- When the message “You have successfully setup this Appliance” appears, record the vSphere Web Client and Appliance Getting Started Page hyperlinks and then press “Close”.
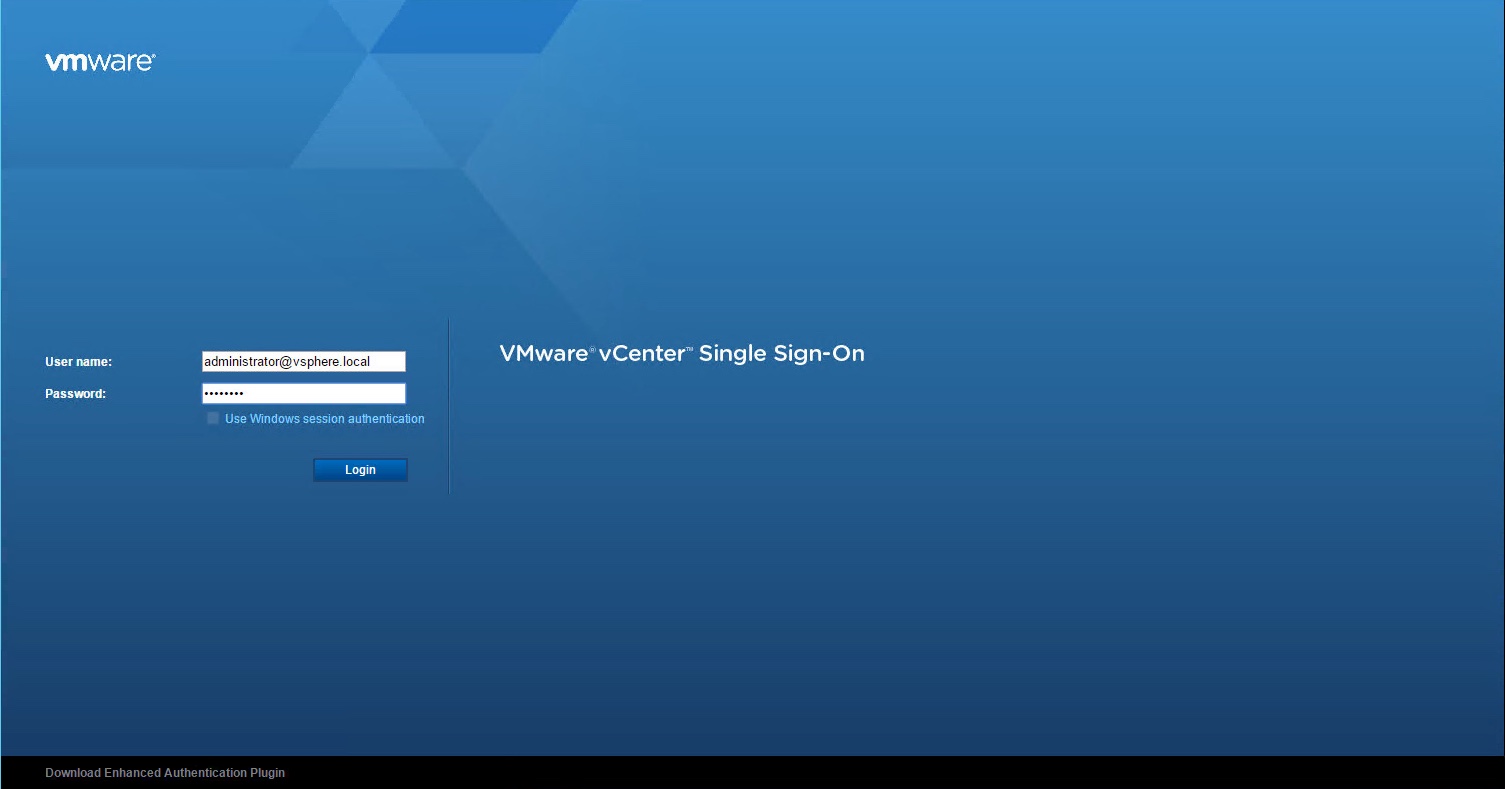
- Open another tab of the browser and enter the URL of the vSphere Web Client (https://<IP Address>:443/vsphere-client/).
- Enter the Administrator credentials defined earlier and press “Login”. Note that you may have changed the default “administrator@vsphere.local” to something different. If you want to use “Windows session authentication”, you must install the “Enhanced Authentication Plugin” (link at bottom left of screen).
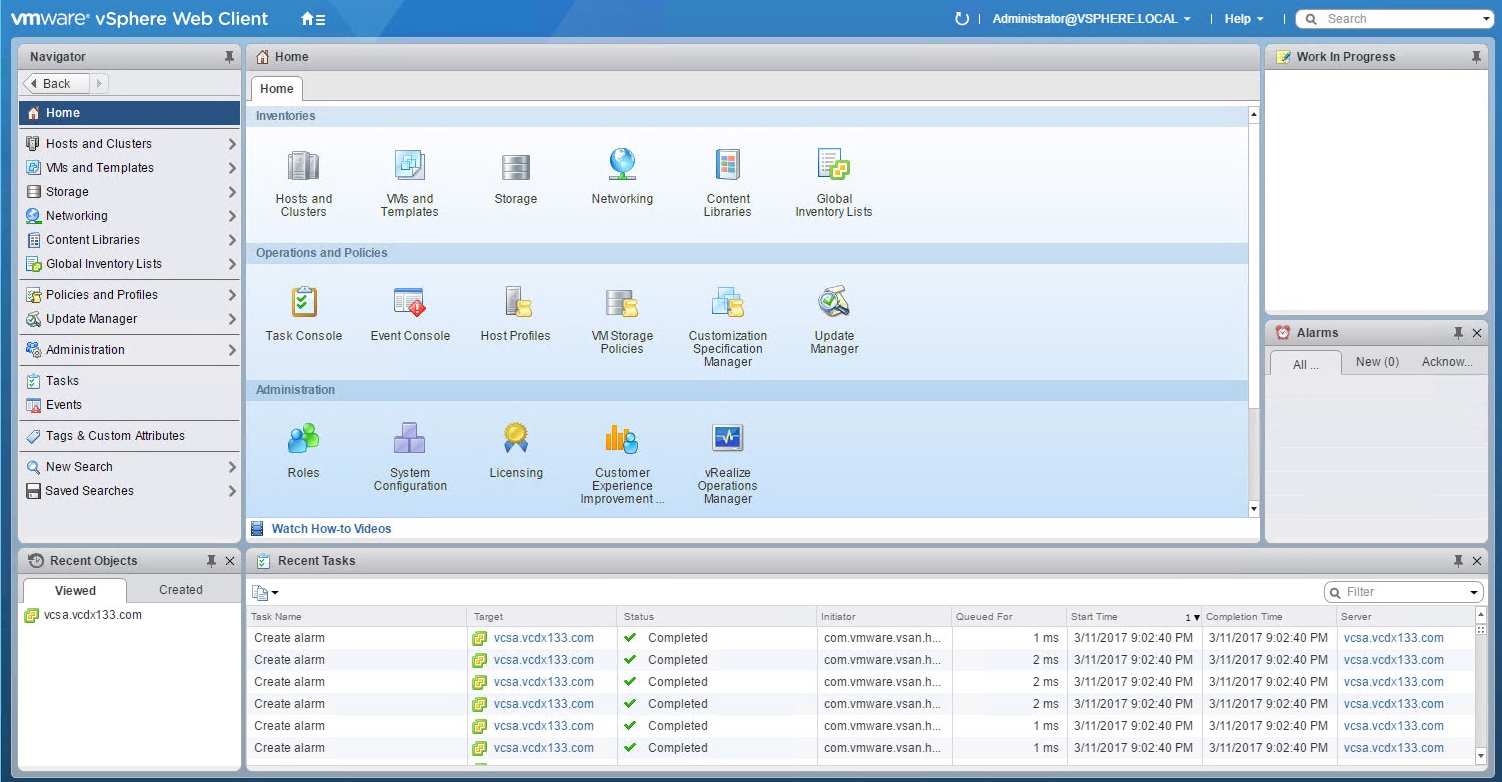
- The vSphere Web Client will open to the “Home” screen.
- NOTE: From the Appliance Getting Started Page, you can access the HTML5 vSphere Client, which is partially functional.


Monitor the vCSA installation via the Embedded Host Client
- Use the Embedded Host Client to connect to the ESXi Host you are deploying vCSA to.
- Verify that the vCSA is deployed (Import VApp 100%) and powered on.
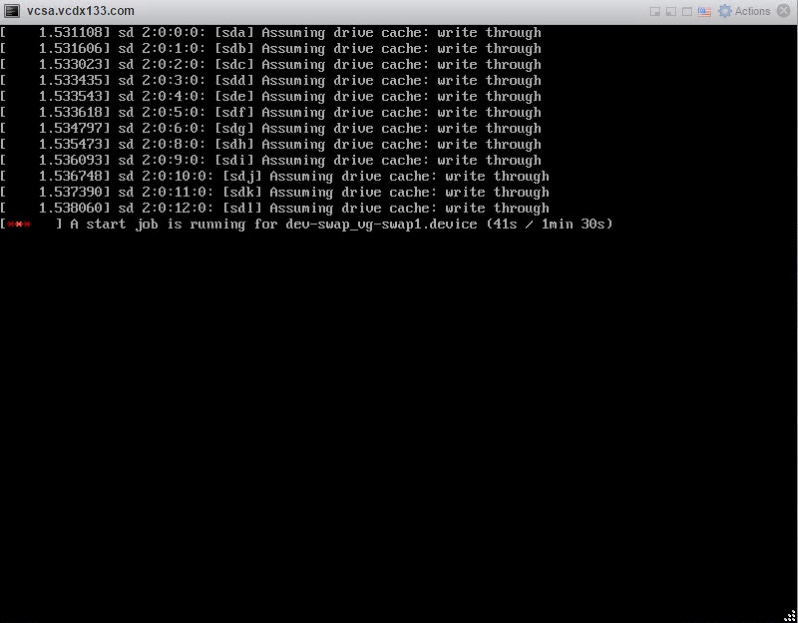
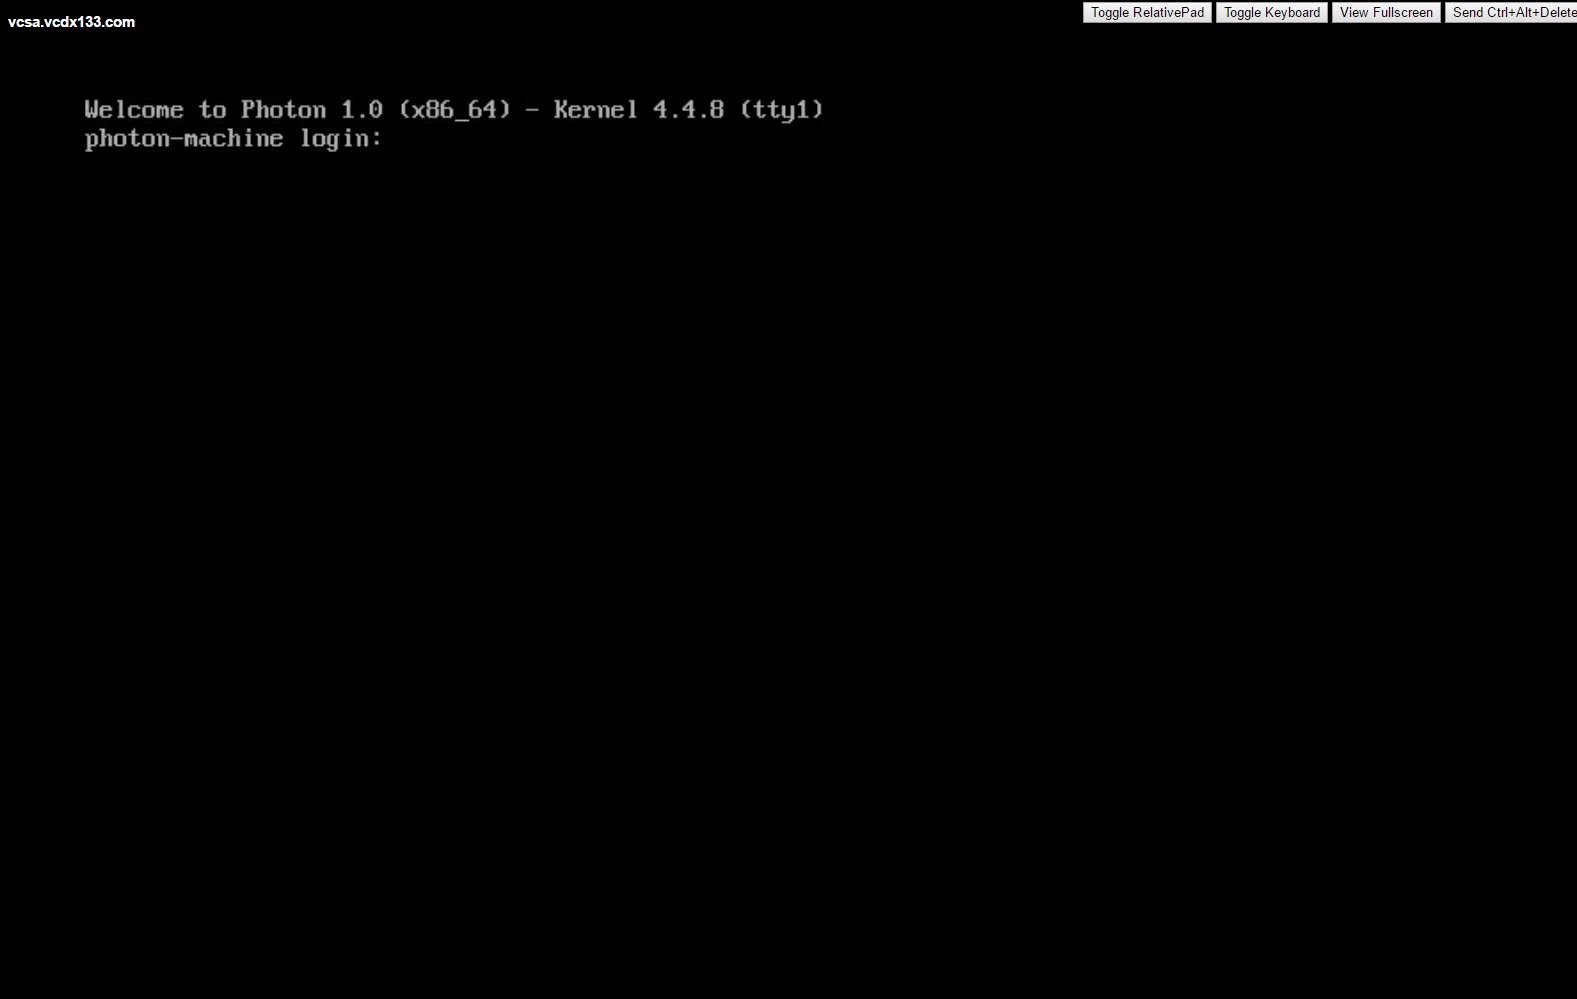
- Open the Console of the vCSA Virtual Appliance and check the progress of the installation script.
- After the installation script executes, the photon login prompt will appear.
- Once the Stage 1 deployment is complete, the Console will display the URLs for starting Stage 2. You can now login to start Stage 2 (previous section).