This is part 3 of the vSphere 6.5 Basics, detailing the installation of vCenter Server on Windows Server 2016 including the option of vSphere Update Manager.
This is a 6 part series, describing the installation basics of vSphere 6.5:
- vSphere 6.5 Basics – Part 1 – ESXi Install
- vSphere 6.5 Basics – Part 2 – vCenter Server Appliance Install
- vSphere 6.5 Basics – Part 3 – vCenter Server Install with Windows Server 2016 (with vSphere Update Manager option)
- vSphere 6.5 Basics – Part 4 – Migrate vCenter Server 6.0 on Windows to vCSA 6.5
- vSphere 6.5 Basics – Part 5 – Upgrade vCSA 6.0 to vCSA 6.5
- vSphere 6.5 Basics – Part 6 – Build a vCenter HA cluster
This post has been constructed using the vCenter Server 6.5.0a (Build 4944578) release.
WARNING – VMware will be deprecating support for vCenter Server for Windows in future releases, seriously consider using the vCenter Server Appliance instead. vCenter HA is only supported with vCSA.
vSphere Update Manager configuration is now supported from the vSphere Web Client, you no longer need the vSphere Update Manager Client, which was required in vSphere 6.0.
You can now install vCenter Server and vSphere Update Manager Server on the same Windows Server instance. In vSphere 6.0, it had to be separate.
As in previous versions, the optional vSphere Update Manager Download Service (UMDS) is used to provide a central repository for multiple vCenter Servers with vSphere Update Manager Server. UMDS is not covered in this post.
vUM and UMDS still use SQL Express for small installations and SQL Server for large. This probably has not been changed to VMware Postgres since vCenter Server on Windows will be deprecated in the future.
Prerequisites
- Virtual Machine with the Windows Server 2016 Operating System Standard Edition with Desktop Experience (vCenter Server for Windows will be installed here).
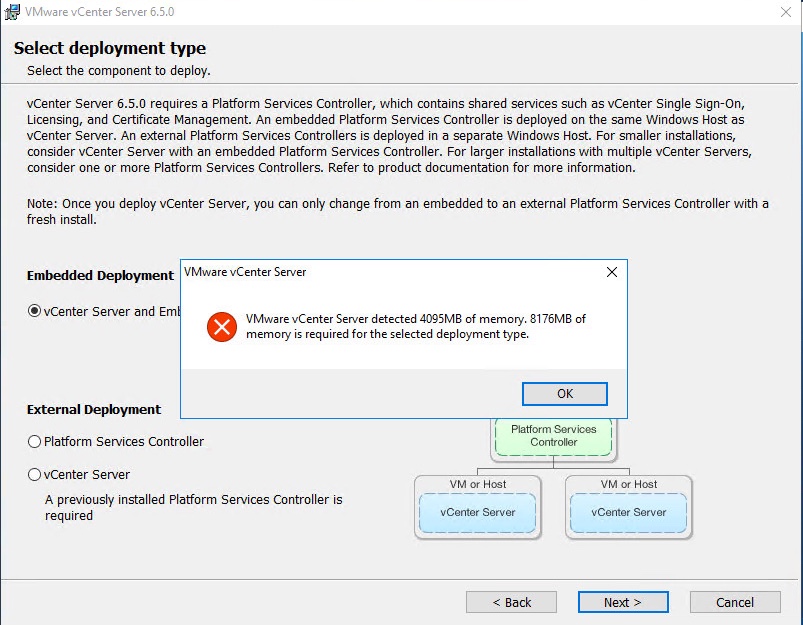
- Ensure that the Windows Server VM has 8GB of RAM or more allocated.
- Ensure that the Windows Server C Drive has 14GB of space free (vCenter Server requires 6GB and VMware Postgres requires 8GB).
- If installing the vUM option, make sure you have at least 20GB of space for downloading updates (vUM generates a warning if less than 120GB is found).
- Ensure that the System Name is a FQDN and that the Server IP Address is static (if you use DHCP, make sure the IP Address is reserved).
Install the vCenter Server
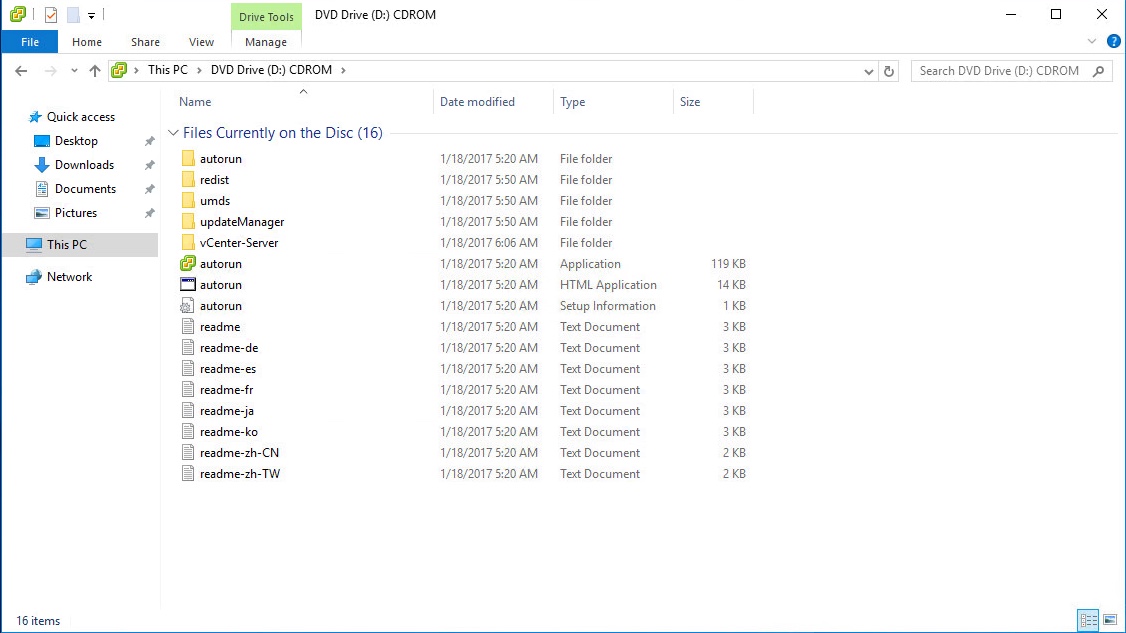
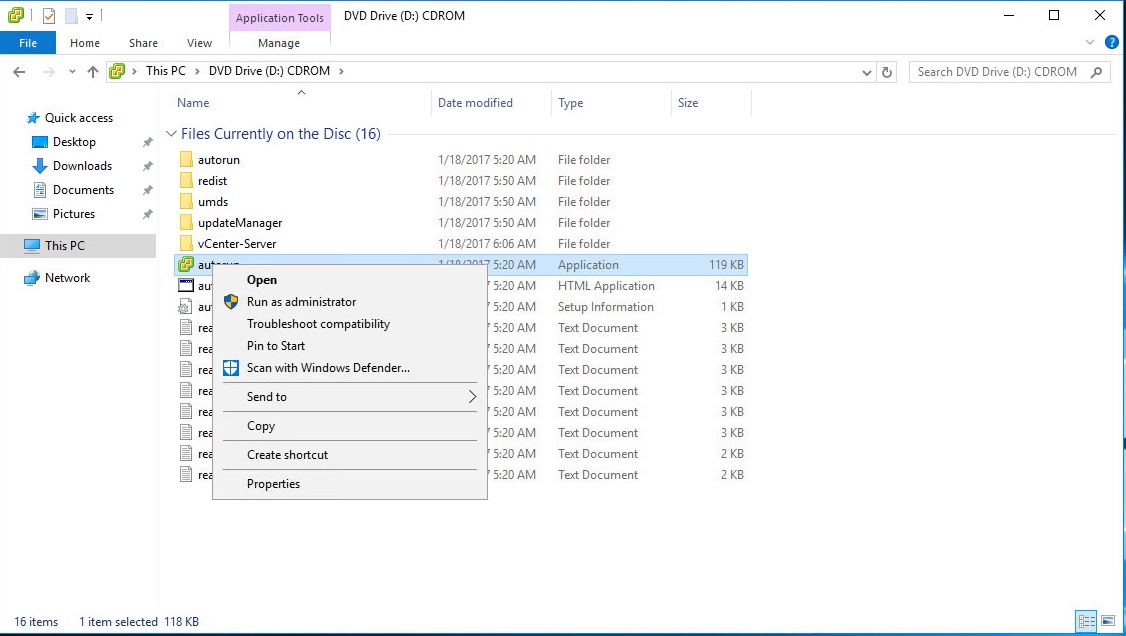
- Mount or extract the VIM 6.5 ISO image to the Microsoft Windows Server 2016 OS.
- Execute the “autorun.exe” file (select “Run as Administrator” by right clicking the binary).
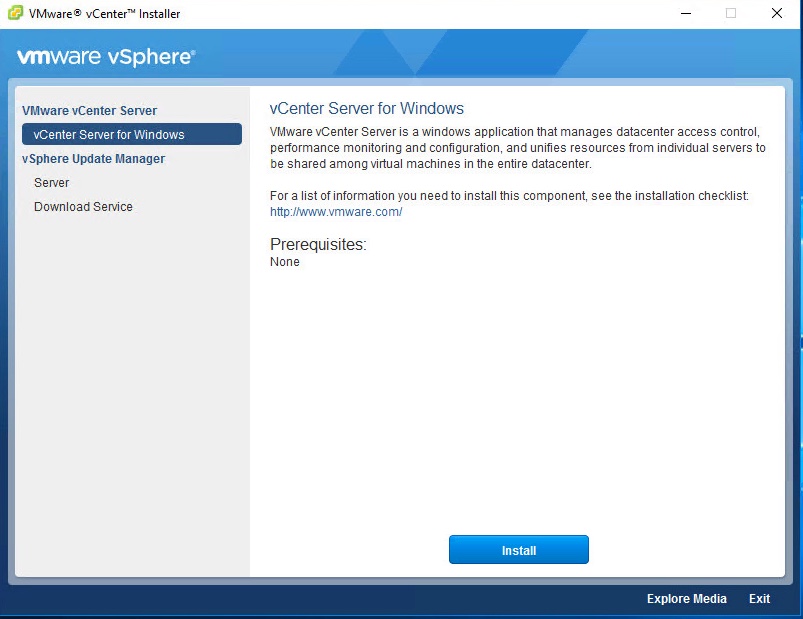
- In the “VMware vCenter Installer” window, select the “vCenter Server for Windows” object under the “VMware vCenter Server” option. Press the “Install” button.
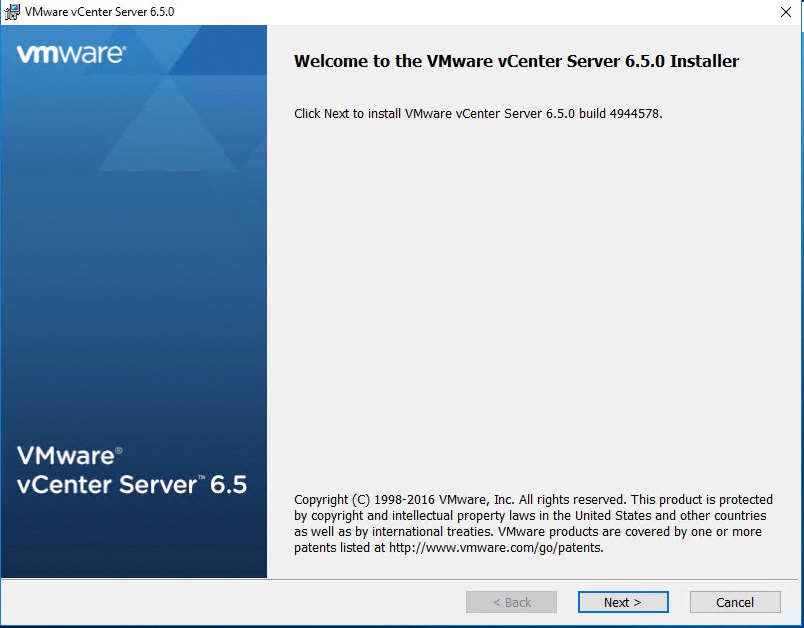
- In the “Welcome to the VMware vCenter Server 6.5.0 Installer” window, press “Next”.
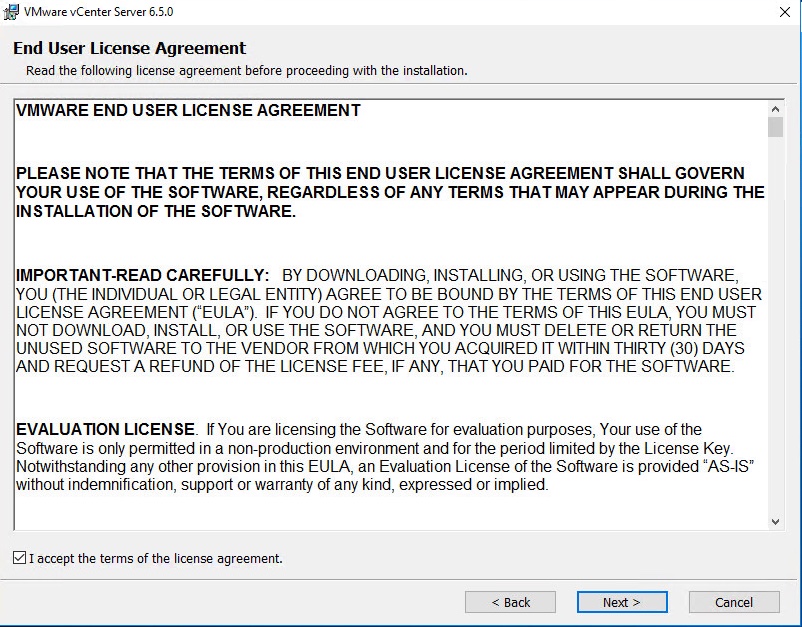
- Accept the licence agreement and select “Next”.
- Select the “Embedded Deployment” type and press “Next”.
- Enter the “System Name” (verify it is a valid FQDN) and press “Next”.
- In the “vCenter Single Sign-On Configuration” window, enter the “Domain Name”, “Password” and “Site Name”. Then press “Next”.
- In the “vCenter Service Account” window, select “Use Windows Local System Account” and press “Next”.
- In the “Database Settings” window, select “Use an embedded database (VMware Postgres)” and press “Next”.
- In the “Configure Ports” window, verify the default ports and press “Next”.
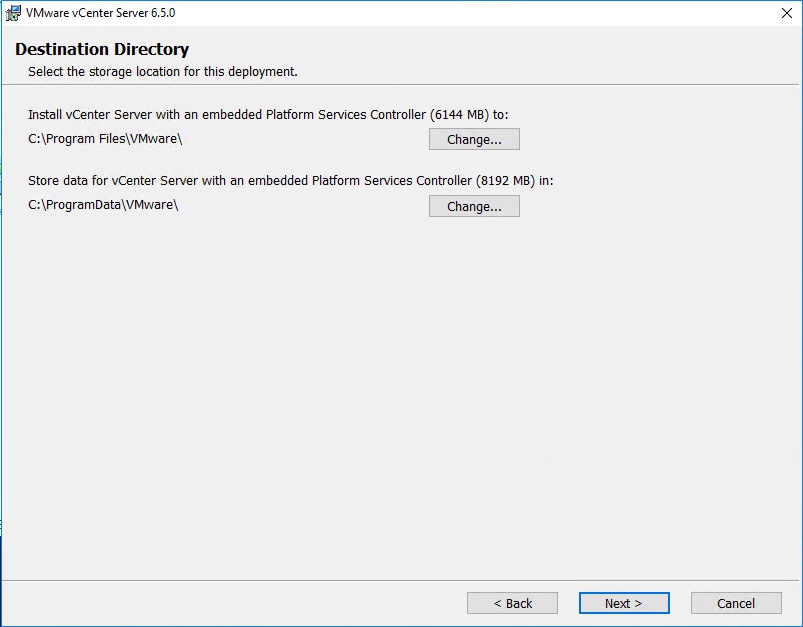
- In the “Destination Folder” window, change the destination folder if necessary and select “Next”. vCenter Server can only be installed to a location where the directory names consist of alphanumeric characters and spaces. Make sure the volumes support short names, otherwise “spaces” in the folder names will not be supported.
- In the “Customer Experience Improvement Program” window, set the Customer Experience Improvement Program policy and press “Next”.
- In the “Ready to install” window, verify the settings and then press “Install”.
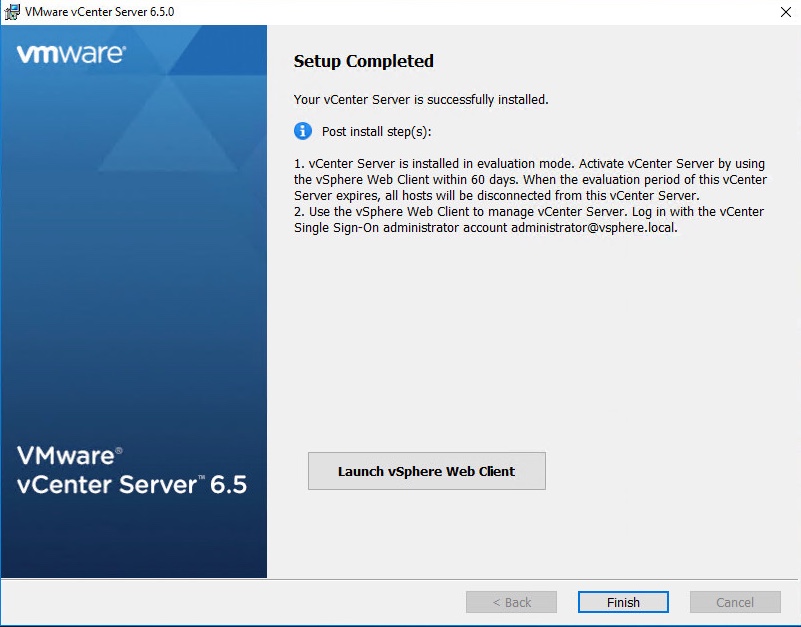
- In the “Setup Completed” window, press the “Launch vSphere Web Client” button and then select “Finish”.
- Adobe Flash Player is required for the vSphere Web Client to function.
- Open the Services application and verify that the VMware “vmware-cis-config” service and associated other services are installed and running.
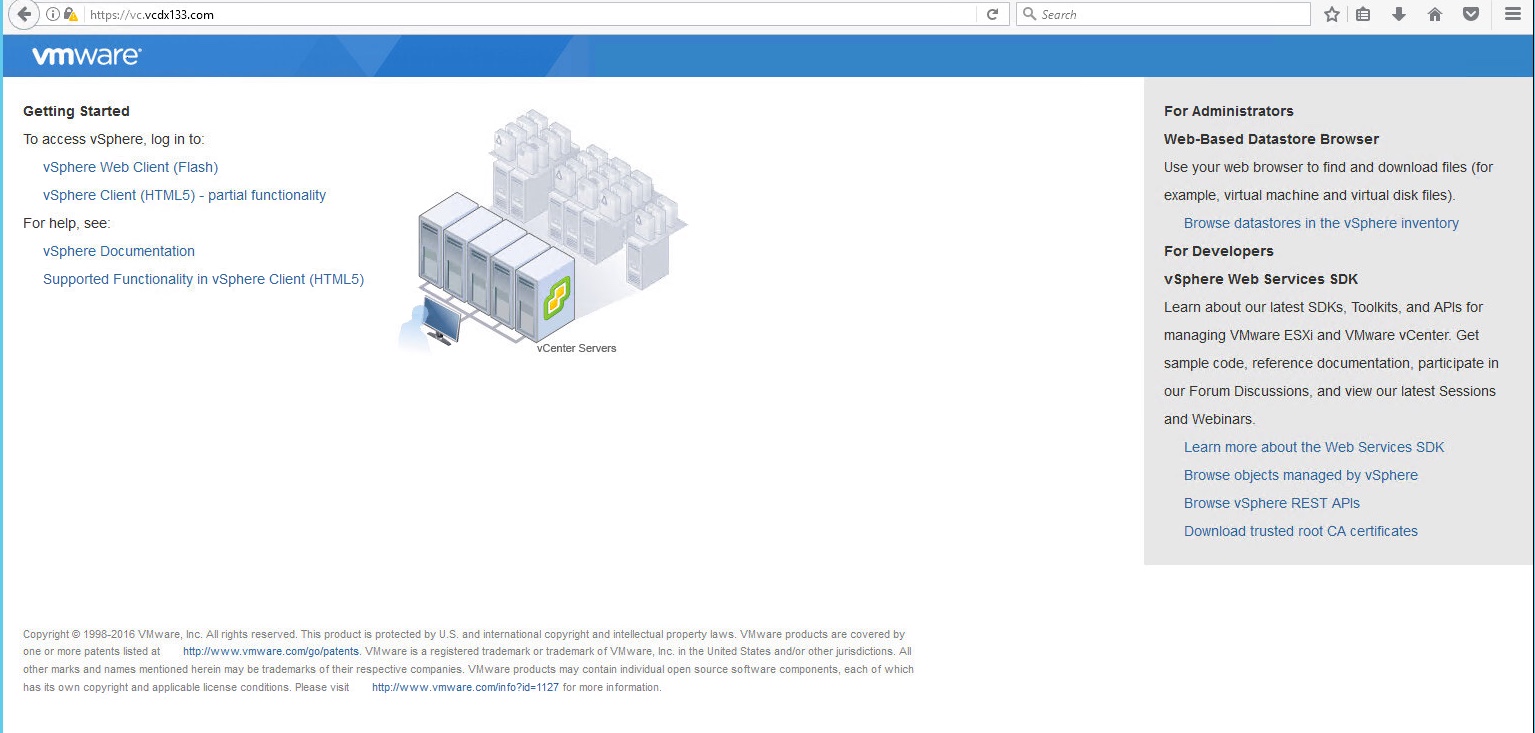
- Enter the Administrator credentials defined earlier and press “Login”. Note that you may have changed the default “administrator@vsphere.local” to something different. If you want to use “Windows session authentication”, you must install the “Enhanced Authentication Plugin” (link at bottom left of screen).
- The vSphere Web Client will open to the “Home” screen.
- NOTE: From the Getting Started Page, you can access the HTML5 vSphere Client, which is partially functional.


Optional – Install vSphere Update Manager Server (vUM)
- Mount or extract the VIM 6.5 ISO image to the Microsoft Windows Server 2016 system (use the same VM from the previous step).
- Execute the “autorun.exe” file (select “Run as Administrator” by right clicking the binary).
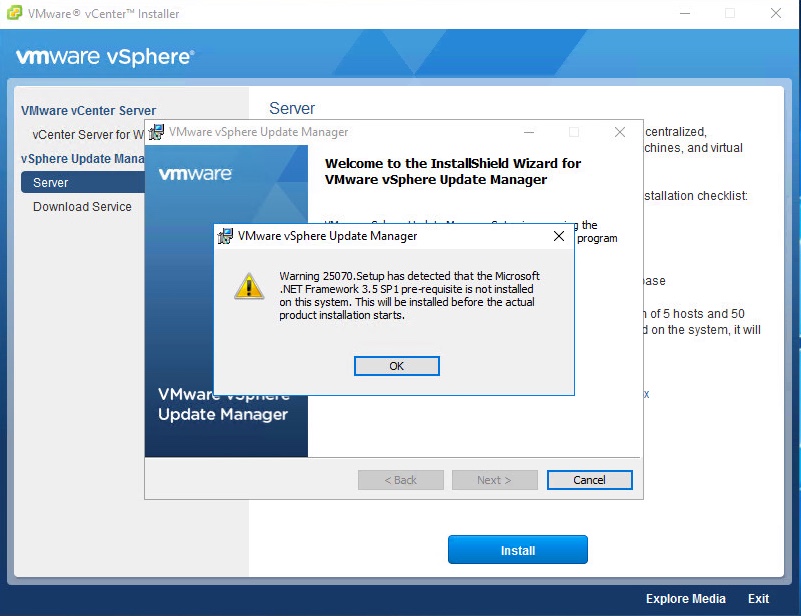
- In the “VMware vCenter Installer” window, select the “Server” object under the “vSphere Update Manager” option. Tick the “Embedded Database Option” and press the “Install” button.
- The Microsoft SQL Server 2012 Express window will appear and install automatically. You are not required to do anything.
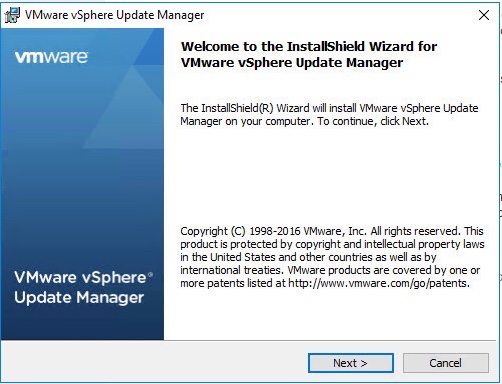
- In the vUM InstallShield Wizard, select your language (default “English (United States)”) and press “OK”.
- In the “VMware vSphere Update Manager” window, press “Next”.
- If the Microsoft .NET Framework 3.5 SP1 software is not installed, it will do so now. This is automatic, you are not required to do anything.
- Accept the licence agreement and select “Next”.
- In the “Support Information” window, deselect the “Download updates” option and press “Next”.
- In the “vCenter Server Information” window, enter the vCenter server “Name”, “HTTP Port”, “Username”, “Password” and then press “Next”.
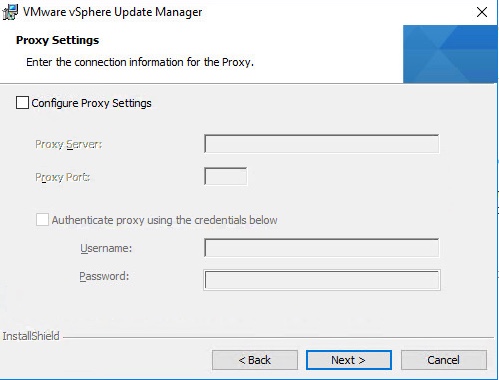
- In the “VMware vSphere Update Manager Port Settings” window, select the vUM identity, ports, proxy settings and then press “Next”.
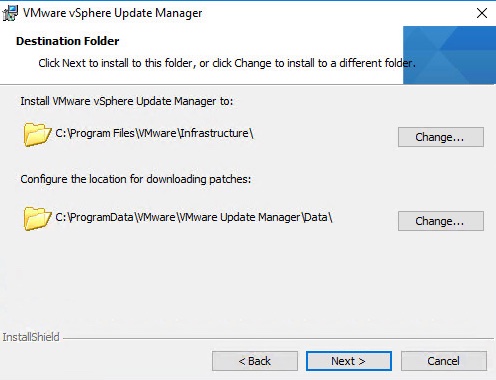
- In the “Destination Folder” window, change the destination folders if required and then press “Next”.
- Press “OK” to the “Free space on the selected drive is less than 120GB” message.
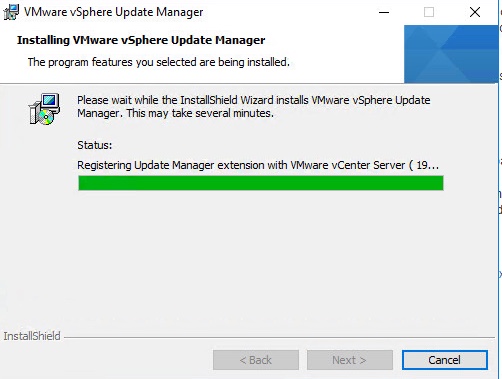
- In the “Ready to Install the Program” window, press “Install”.
- In the “InstallShield Wizard Completed” window, press “Finish”.
- Open the vSphere Web Client using a Flash enabled browser.
- Enter the Administrator credentials defined earlier and press “Login”.
- The vSphere Web Client will open to the “Home” screen.
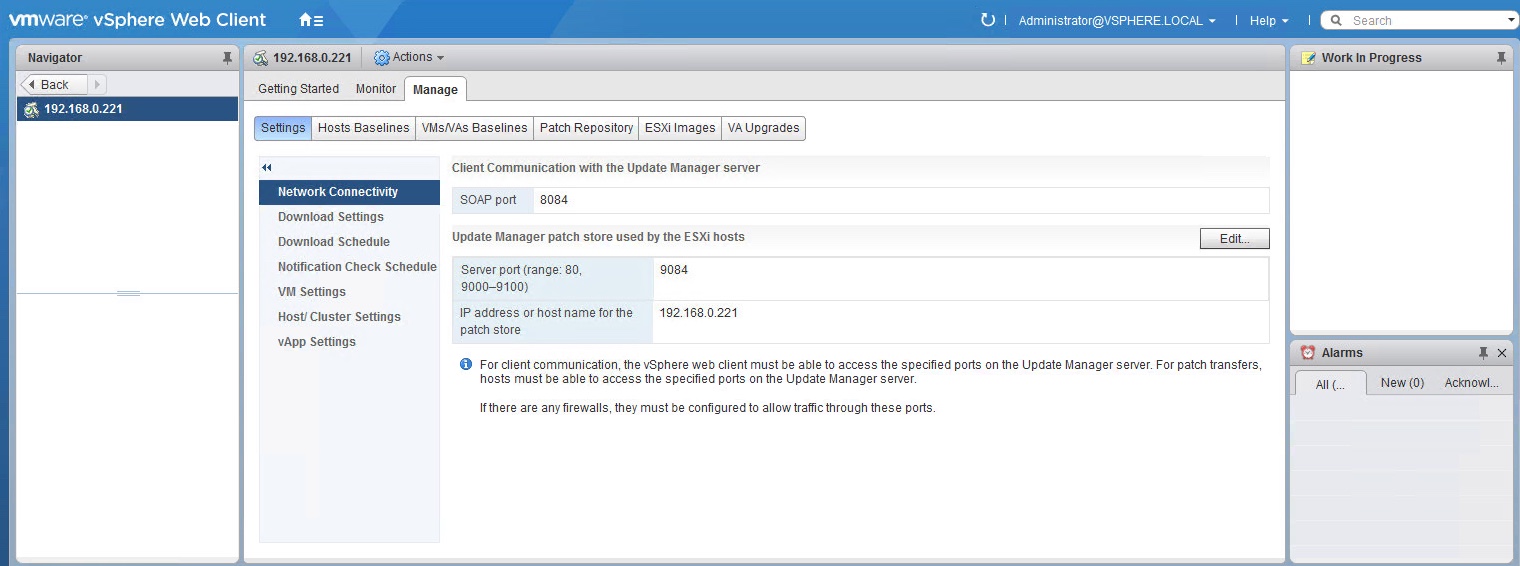
- Click the Update Manager icon and select the “Manage” tab.
- Select the “Manage” tab and configure vUM.