 This is part 1 of the NSX Manager Installation guide, describing the deployment of the NSX Manager version 6.0.4 OVA file.
This is the first post of a three part series describing the steps to install and configure VMware NSX Manager:
- NSX Manager – Part 1 – Deploy OVA
- NSX Manager – Part 2 – Upgrade to 6.1
- NSX Manager – Part 3 – Configure
Then you can move onto this five part series describing the steps to deploy DLR and ESG with OSPF:
- NSX DLR and ESG with OSPF – Part 1 – IP Pools, Host and Logical Network Prep
- NSX DLR and ESG with OSPF – Part 2 – Deploy Controller
- NSX DLR and ESG with OSPF – Part 3 – Deploy Logical Switches & DLR
- NSX DLR and ESG with OSPF – Part 4 – Deploy ESG
- NSX DLR and ESG with OSPF – Part 5 – Configure OSPF
The NSX Manager installation has the following components (NSX Controllers, NSX Logical Distributed Routers, NSX Edge Services Gateways and NSX Logical Switches are deliberately excluded for simplicity):

Overview of the process
- Preparation & Planning
- Deploy the NSX Manager OVA file
- Upgrade the NSX Manager virtual appliance from 6.0.4 to 6.1.0
- Configure the NSX Manager virtual appliance to integrate with vCenter Server 5.5
Preparation & Planning
- Download the Binaries for NSX Manager 6.0.4 (“VMware-NSX-Manager-6.0.4-1752381.ova”) and the upgrade bundle for NSX Manager 6.1.0 (“VMware-NSX-Manager-upgrade-bundle-6.1.0-2107742.tar.gz” – make sure you rename this file to include the “.tar.gz”). These binaries are not publicly available for evaluation at this time, contact your VMware Account manager.
- Copy the OVA and zip files to a folder that is accessible from the vSphere Web Client.
- Source the associated licence keys for the downloaded software, which is normally provided if you register and download the evaluation versions of the software above.
Assumptions
- You know what you are doing and have the ability to make changes to vCenter, Active Directory, DNS, etc. (directly or indirectly).
- You have a fully functioning vSphere environment that has resources for NSX Manager.
- You are interested in the upgrade process (6.0.4 to 6.1.0), otherwise download and deploy the NSX Manager 6.1.0 OVA file.
- You are building this configuration for a lab environment and are content to use the “minimum” configuration methodology described here.
Deploy the NSX Manager OVA file
- Select “Deploy OVF Template” from the vSphere Web Client.
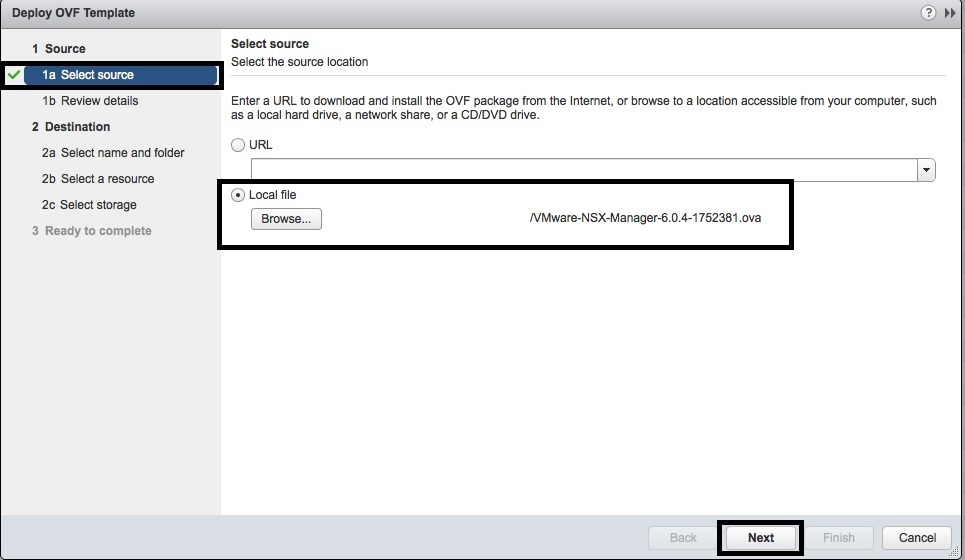
- In the “1a Select Source” window, select “Browse”, locate the “VMware-NSX-Manager-6.0.4-1752381.ova” file and press “Next”.
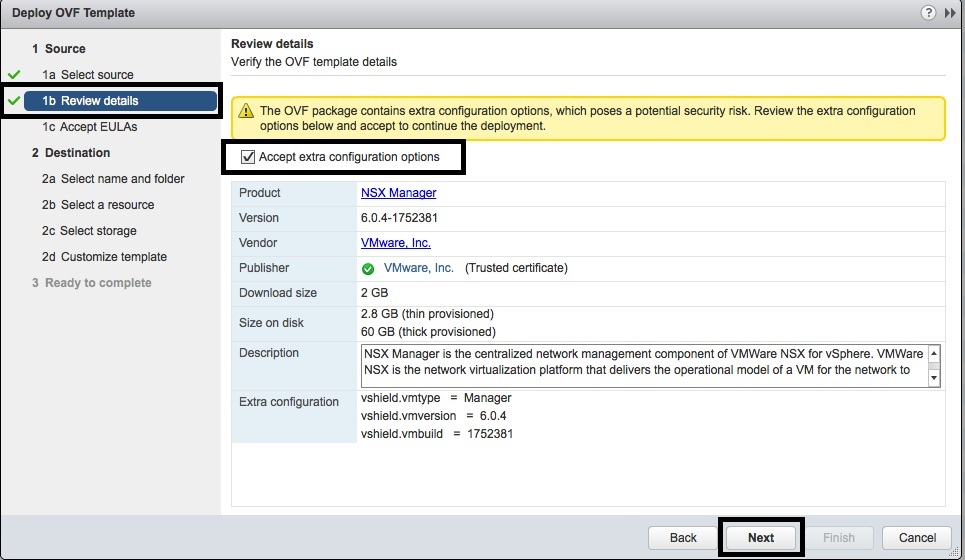
- In the “1b Review Details” window, select the “Accept extra configuration options” and then press “Next”.
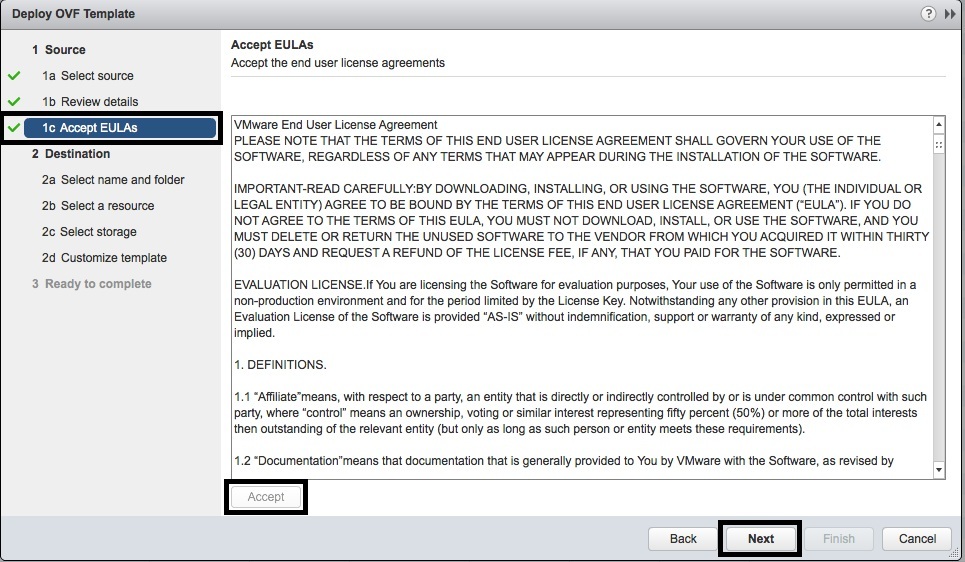
- In the “1c Accept EULAs” window, press the “Accept” button and then press “Next”.
- In the “2a Select name and folder” window, enter the name of the NSX Manager in the “Name” field and select the “Datacenter” to deploy the virtual appliance. Then press “Next”.
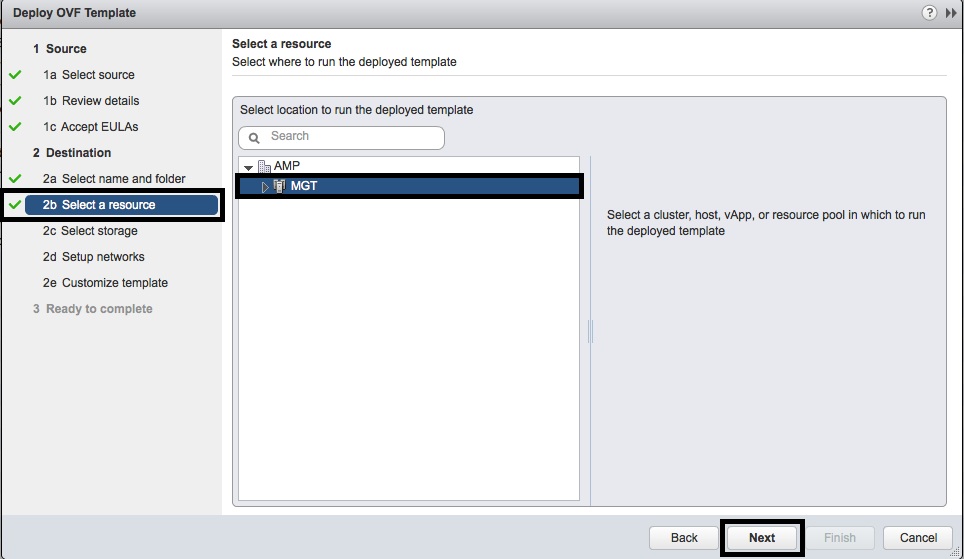
- In the “2b Select a resource” window, select the “Resource” to run the NSX Manager virtual appliance. Then press “Next”.
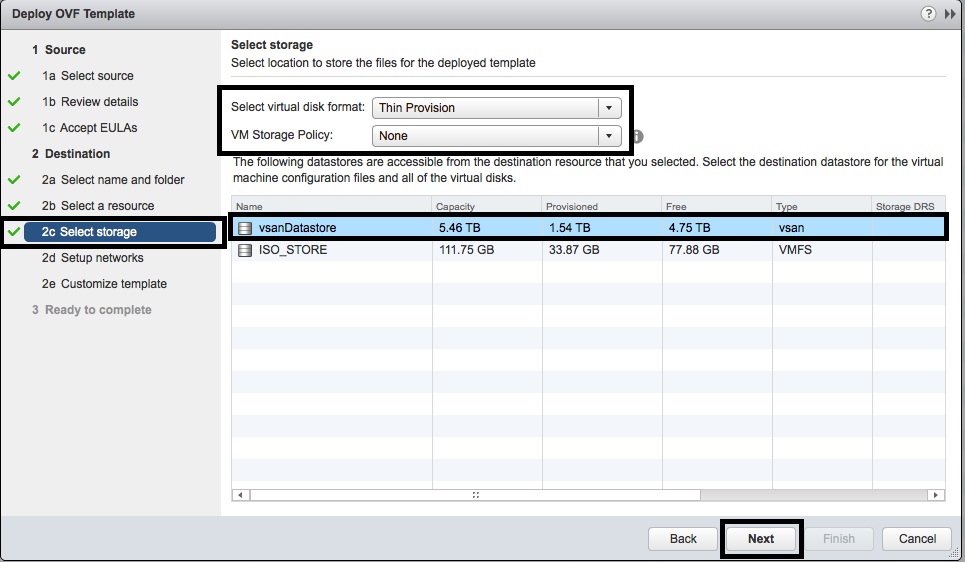
- In the “2c Select storage” window, select the “VM Storage Policy” and the “Destination Datastore” for the NSX Manager virtual appliance. Then press “Next”.
- In the “2d Setup networks” window, select the Network Portgroup and then press “Next”.
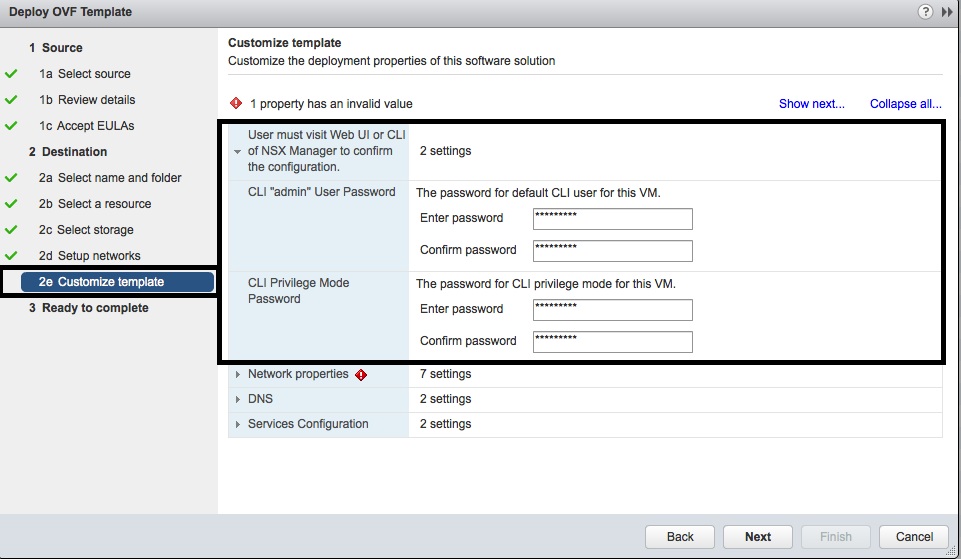
- In the “2e Customise template” window, enter the “CLI Admin User” and “CLI Privilege Mode” passwords and then expand the “Network properties” object.
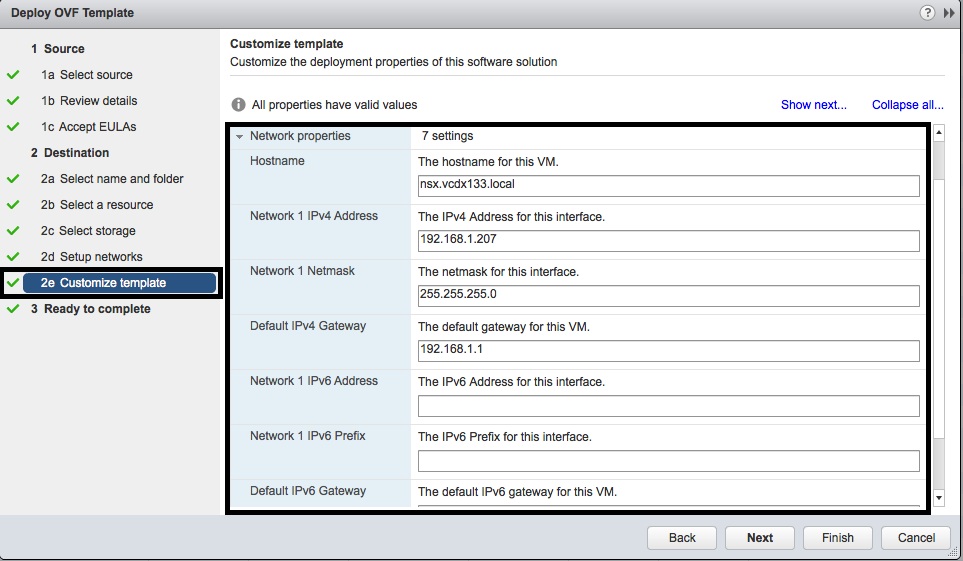
- In the “2e Customise template” window, enter the “Hostname”, “Network 1 IPv4 Address”, “Network1 Netmask” and “Default IPv4 Gateway” and then expand the “DNS” object. IPv6 settings are deliberately skipped since it is a lab environment.
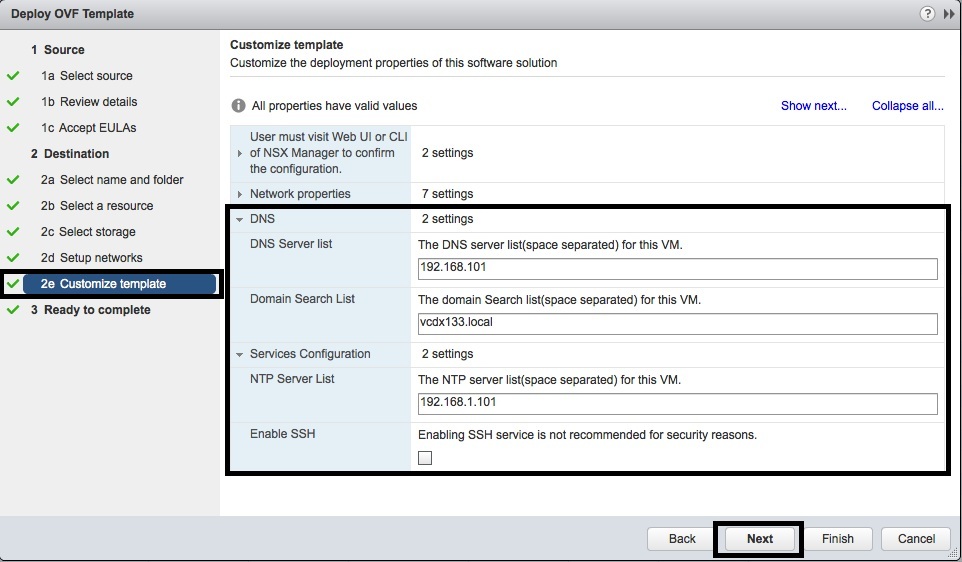
- In the “2e Customise template” window, enter the “DNS Server list”, “Domain Search list” and then expand the “Services Configuration” object.
- In the “2e Customise template” window, enter the “NTP Server list” and then press the “Next” button. You could “Enable SSH” for lab experimentation.
- In the “Ready to complete” window, review the configuration, select “Power on after deployment” and then press “Finish”.
- After the NSX Manager OVA file has deployed, vCenter Server will power it on.
- You are now ready to begin the upgrade with Part 2.


Other Resources

One thought on “NSX Manager – Part 1 – Deploy OVA”
Comments are closed.