 This is part 2 of the NSX Manager Installation guide, describing the upgrade of NSX Manager from version 6.0.4 to 6.1.0.
This is the second post of a three part series describing the steps to install and configure VMware NSX Manager:
- NSX Manager – Part 1 – Deploy OVA
- NSX Manager – Part 2 – Upgrade to 6.1
- NSX Manager – Part 3 – Configure
Then you can move onto this five part series describing the steps to deploy DLR and ESG with OSPF:
- NSX DLR and ESG with OSPF – Part 1 – IP Pools, Host and Logical Network Prep
- NSX DLR and ESG with OSPF – Part 2 – Deploy Controller
- NSX DLR and ESG with OSPF – Part 3 – Deploy Logical Switches & DLR
- NSX DLR and ESG with OSPF – Part 4 – Deploy ESG
- NSX DLR and ESG with OSPF – Part 5 – Configure OSPF
Upgrade the NSX Manager Virtual Appliance from 6.0.4 to 6.1.0
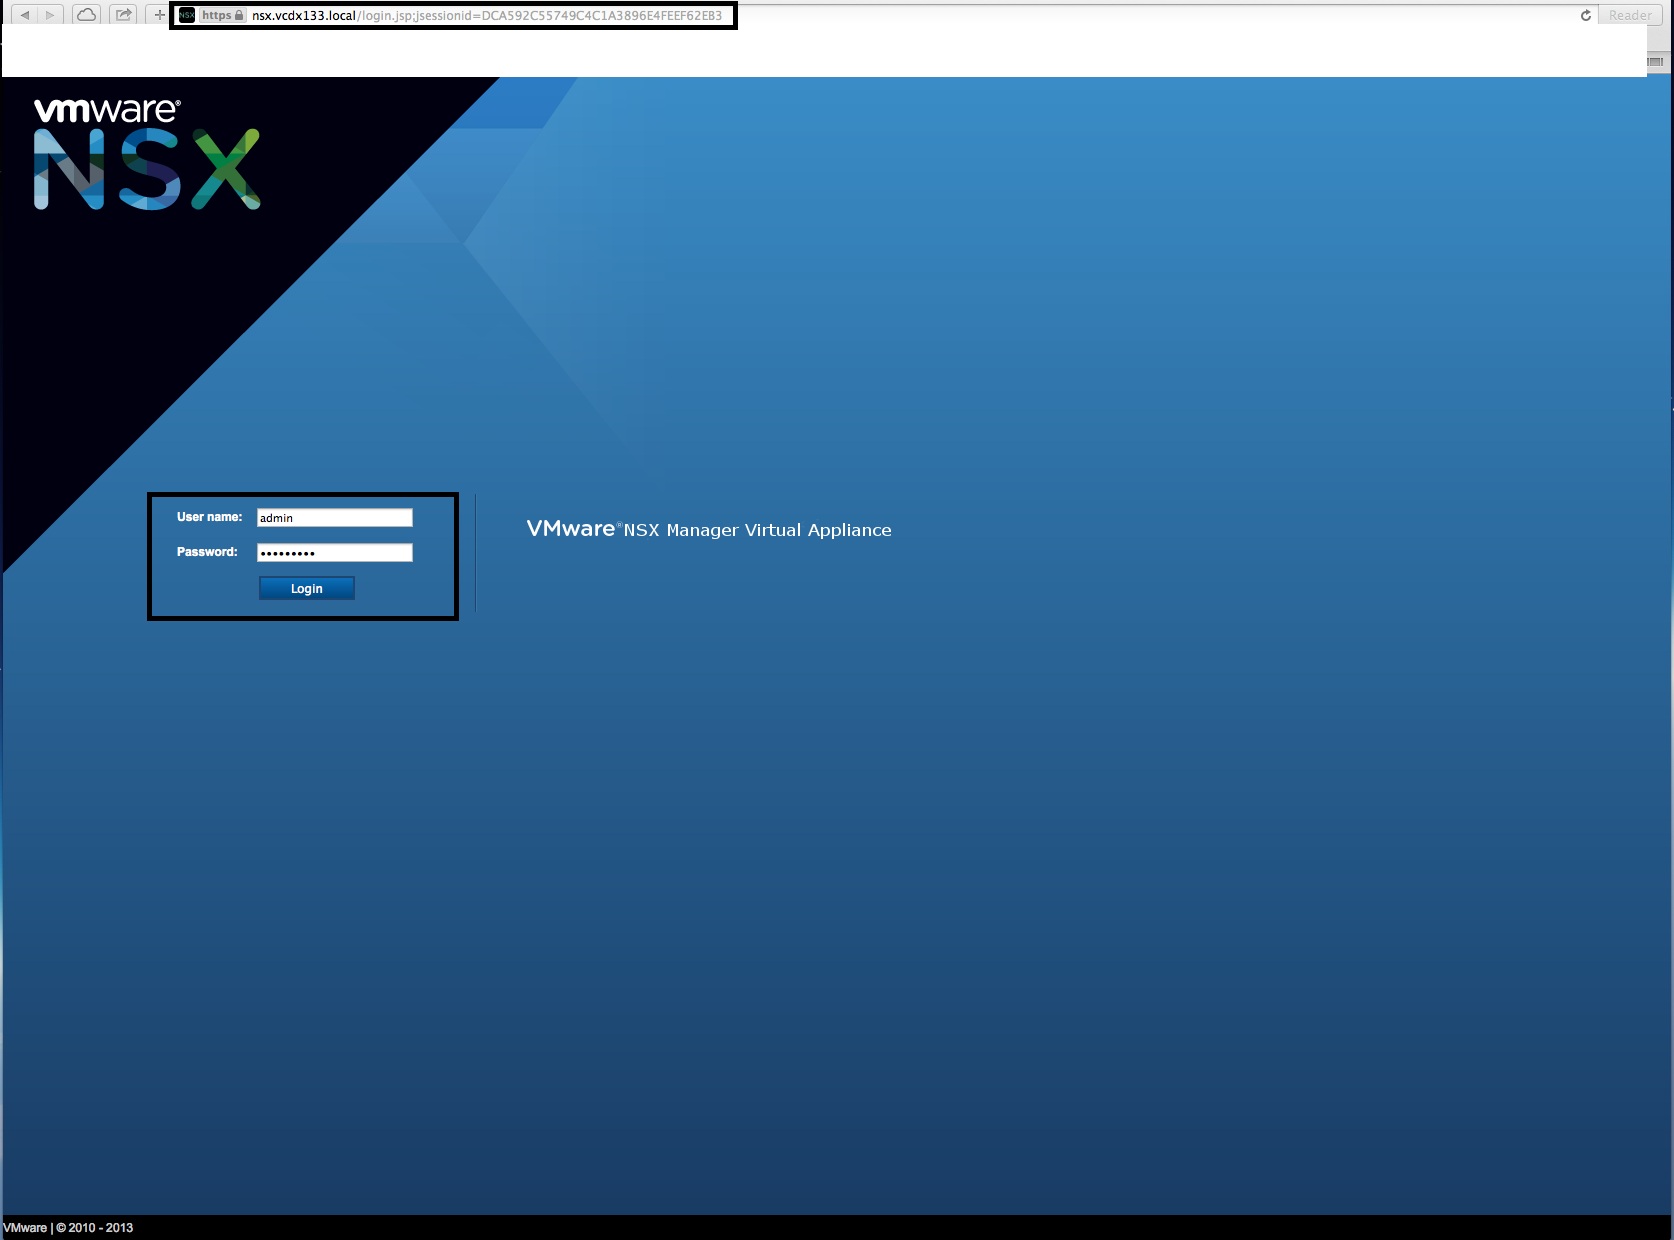
- Access the NSX Manager Web Interface with the URL: https://<NSX Manager DNS or IP Address/
- Login as “admin” and the password configured in Part 1.
- In the “NSX Manager Virtual Appliance Management” window, select the “Upgrade” icon.
- In the “Upgrade NSX Management Service” window, verify that the “Current Software Version” is “6.0.4 Build 1752381” and then press the “Upgrade” button.
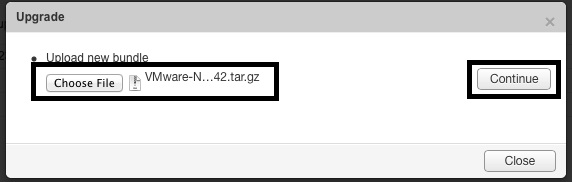
- In the “Upgrade” window, press “Choose File”, browse to “VMware-NSX-Manager-upgrade-bundle-6.1.0-2107742.tar.gz” (make sure the file was renamed with “.tar.gz”) and then press the “Continue” button.
- The “Upgrade” window will now display the message “Upload Status: Please wait…” and a graphic will start to cycle. This process takes about 5 minutes.
- Once the NSX upgrade bundle has been uploaded, the “Upgrade” window then display the message “Steps to Upgrade from 6.0.4 to 6.1.0”. Select “Yes” or “No” for “Do you want to enable SSH?” and then press the “Upgrade” button.
- The “Upgrade” window will then display the “Overall Upgrade Status” as “Running”. Wait for it to complete. NSX Manager will then reboot and you can access the NSX Manager Web Interface again.
- Access the NSX Manager Web Interface with the URL: https://<NSX Manager DNS or IP Address/
- Login as “admin” and the password configured in Part 1.
- In the “NSX Manager Virtual Appliance Management” window, select the “View Summary” icon. Note the “Version: 6.1.0 Build 2107742” message in the top right hand corner of the screen.
- In the “Summary” window, verify the “Version” is “6.1.0 Build 2107742”, the “Common components” (vPostgress & RabbitMQ) are running and the “NSX Management Service” is running.
- You are now ready to begin the configuration and integration with vCenter in Part 3.


Other Resources
