 This is part 2 of the NSX Distributed Logical Router (DLR) and Edge Services Gateway (ESG) with OSPF configuration guide, describing the deployment of the NSX Controller virtual appliance.
Update: The term “LDR” has been corrected to “DLR”.
This is a five part series describing the steps to deploy DLR and ESG with OSPF:
- NSX DLR and ESG with OSPF – Part 1 – IP Pools, Host and Logical Network Prep
- NSX DLR and ESG with OSPF – Part 2 – Deploy Controller
- NSX DLR and ESG with OSPF – Part 3 – Deploy Logical Switches & DLR
- NSX DLR and ESG with OSPF – Part 4 – Deploy ESG
- NSX DLR and ESG with OSPF – Part 5 – Configure OSPF
Deploy the NSX Controller
- Login to the vSphere Web Client with an account that has NSX and vCenter Admin privileges.
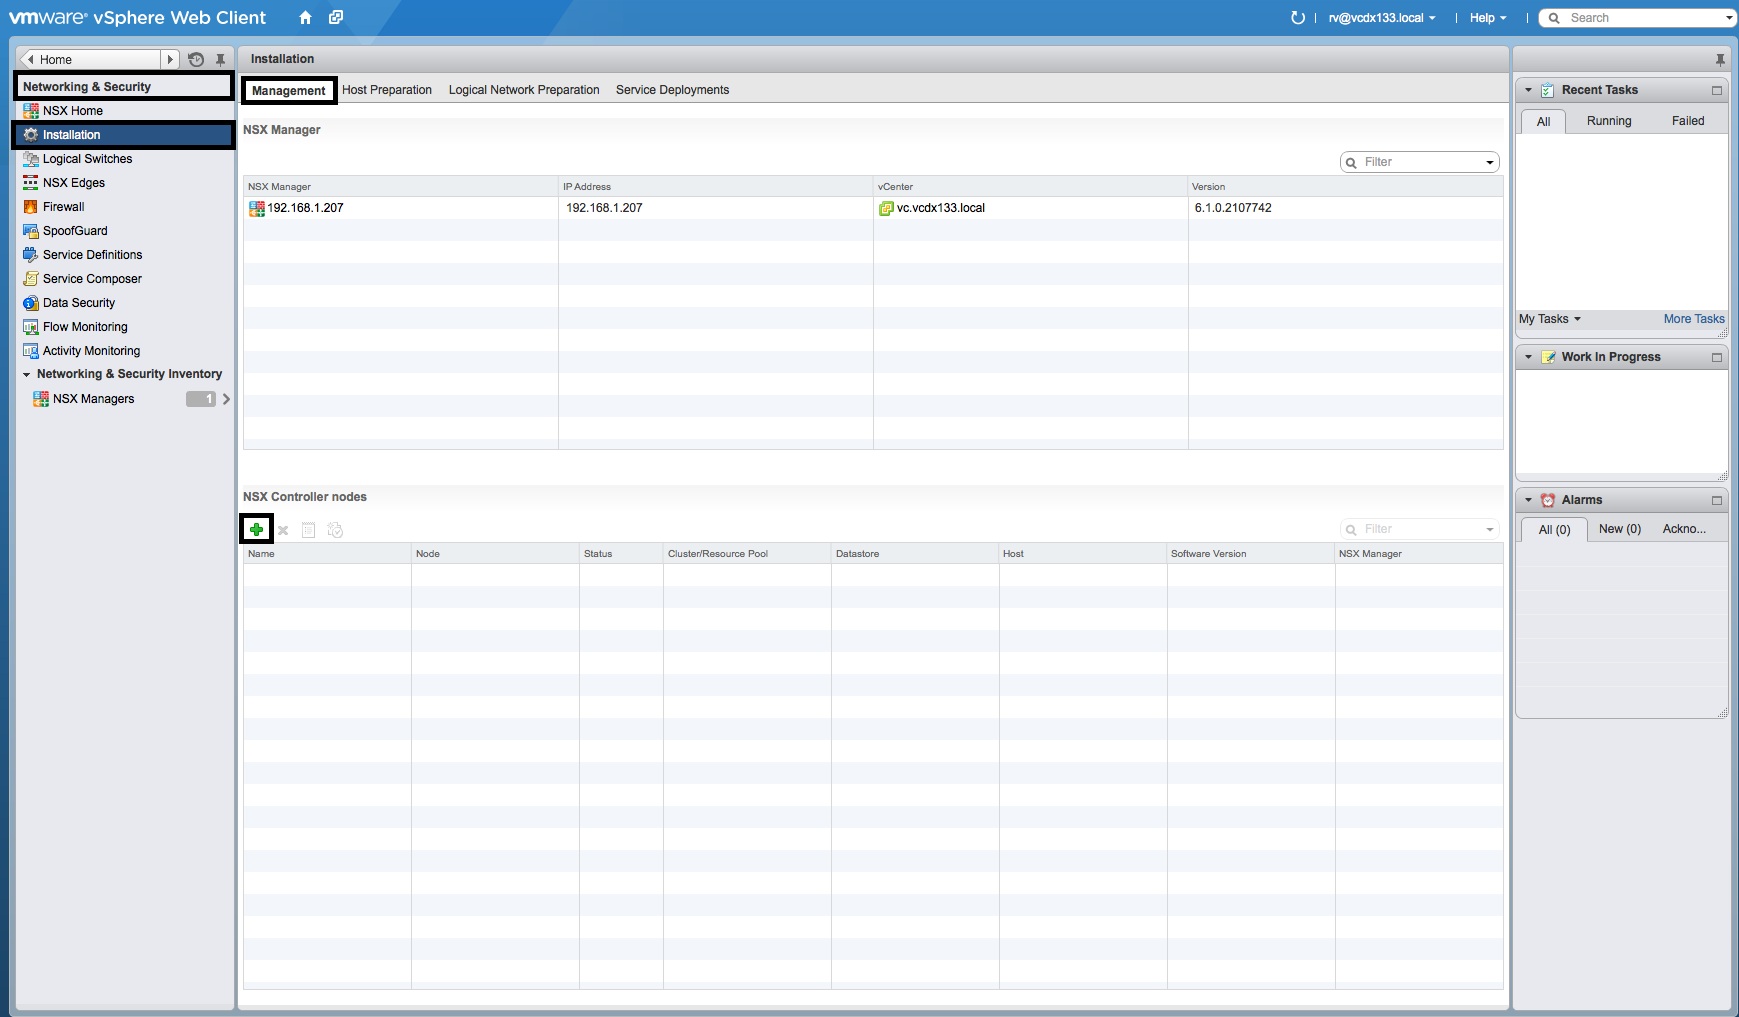
- Select “Home” and then the “Networking & Security” icon to access “NSX Home”.
- Select “Installation”, the “Management” tab and then the green “+” object under “NSX Controller nodes”.
- In the “Add Controller” window, select the “NSX Manager”, “Datacenter”, “Cluster/Resource Pool” and “Datastore”. Set “Connected To:” to the vDS Management Portgroup and set the “IP Pool” to the “NSX_Controller_IP_Pool” configured earlier. Then set the “Password” and press “OK”.
- Make sure you meet the NSX controller password complexity requirements: 12-255 characters in length, containing at least one uppercase character, one lowercase character and at least one special character. It also cannot contain the world “admin” and any character cannot be consecutively repeated 3 or more times. This will be true for DLR and ESG passwords also.
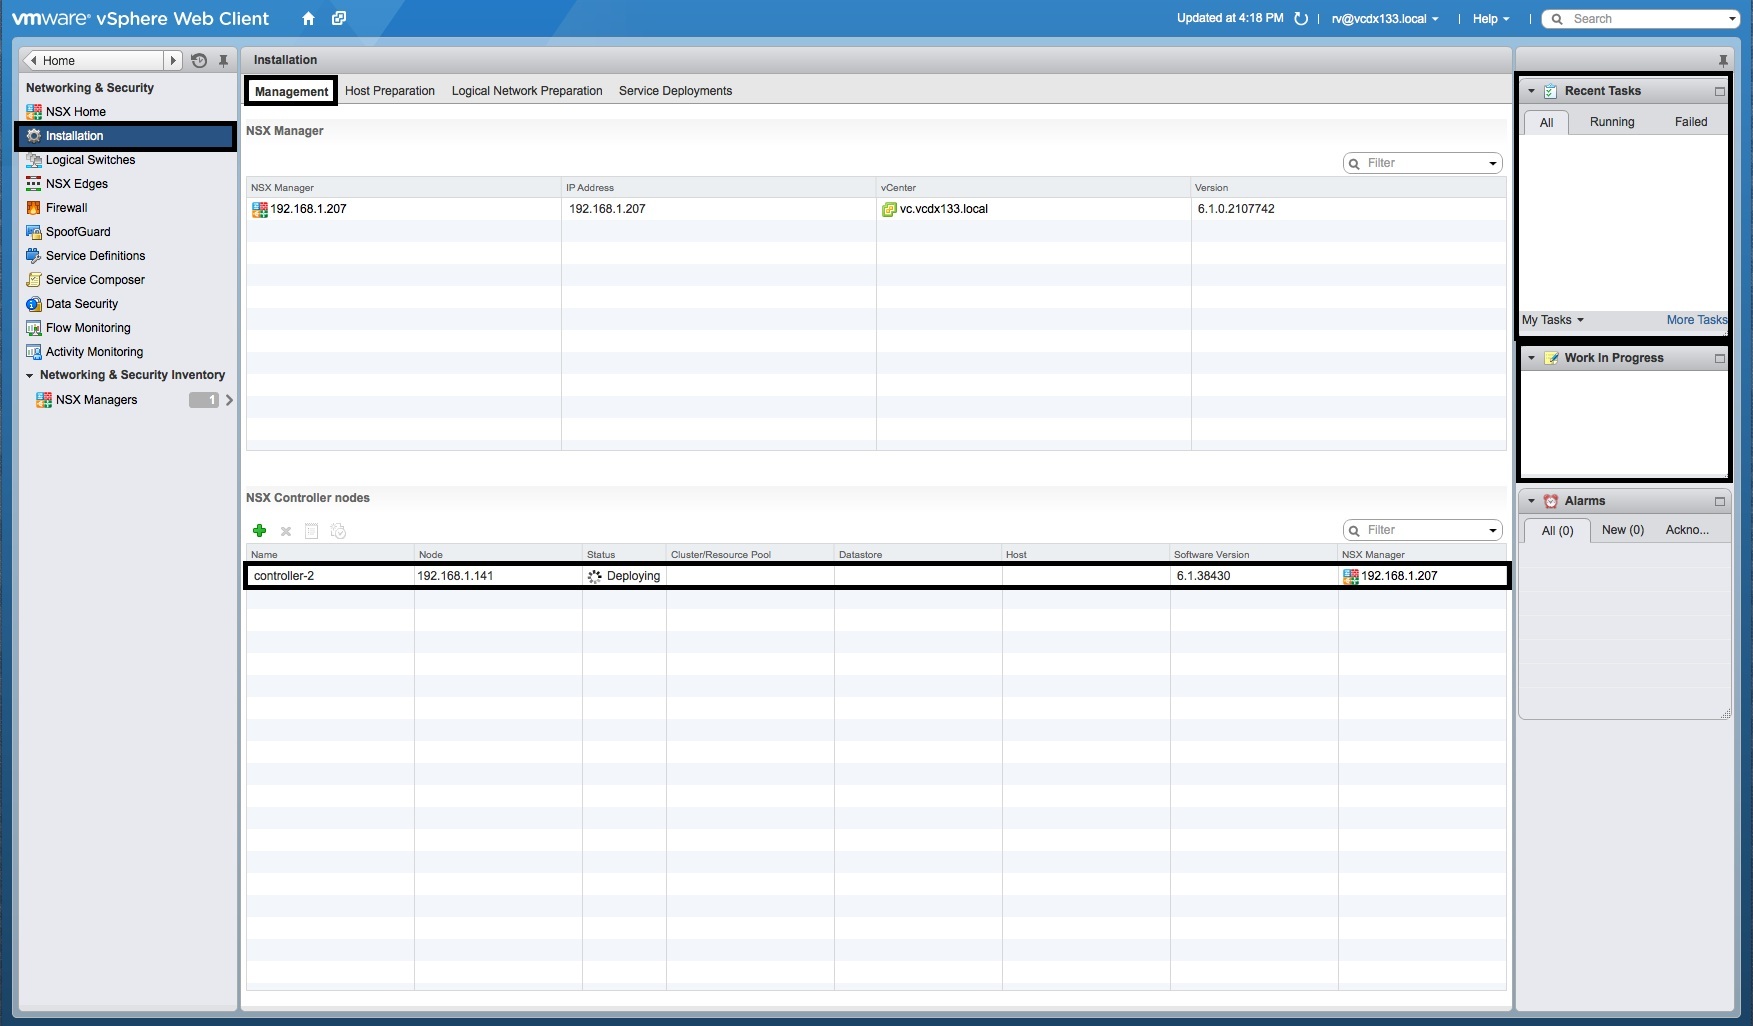
- In the “NSX Controller nodes” screen, a new “controller-n” object will appear with “Status” “Deploying”. NSX Manager is deploying and configuring the “NSX Controller” virtual appliance via vCenter. Note that the “Recent Tasks” and “Work in Progress” windows do not display any NSX activity.
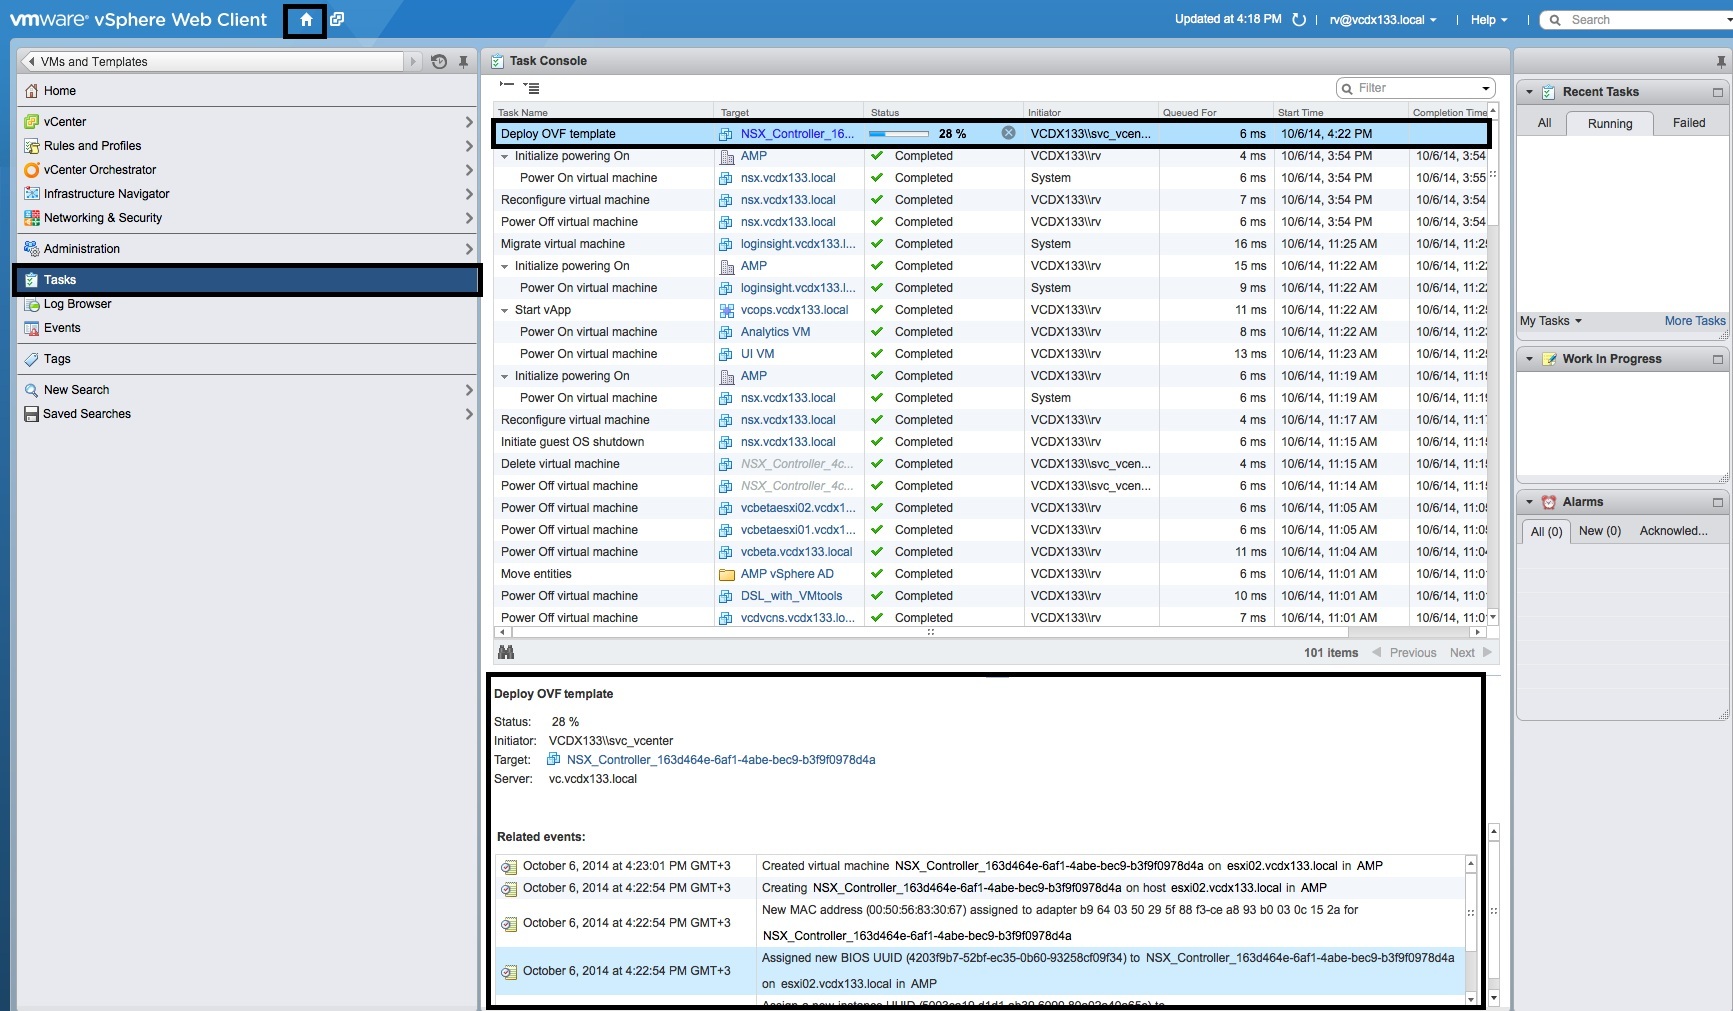
- To view the progress of the “NSX Controller” deployment, select the “Task Console” object from the “Home” location.
- To view the “NSX Controller” virtual appliance within vCenter, select the “VMs and Templates” tab and locate the “NSX_Controller_XXXXXX” virtual appliance. You can open the console to login as “admin” once the deployment process has finished.
- From the VM Summary tab, you can see that the NSX controller is deployed with the default VM Hardware resources of 4 vCPU, 4GB RAM and 20GB Hard Disk. Note that vCenter will not allow you to use “Edit Settings” to reduce the resources. I have not tried editing the “vmx” file to modify the vCPU and RAM settings yet, let me know if it works. Also note that only a single Console session can exist concurrently and vSphere Infrastructure Navigator has no visibility of the NSX Controller.
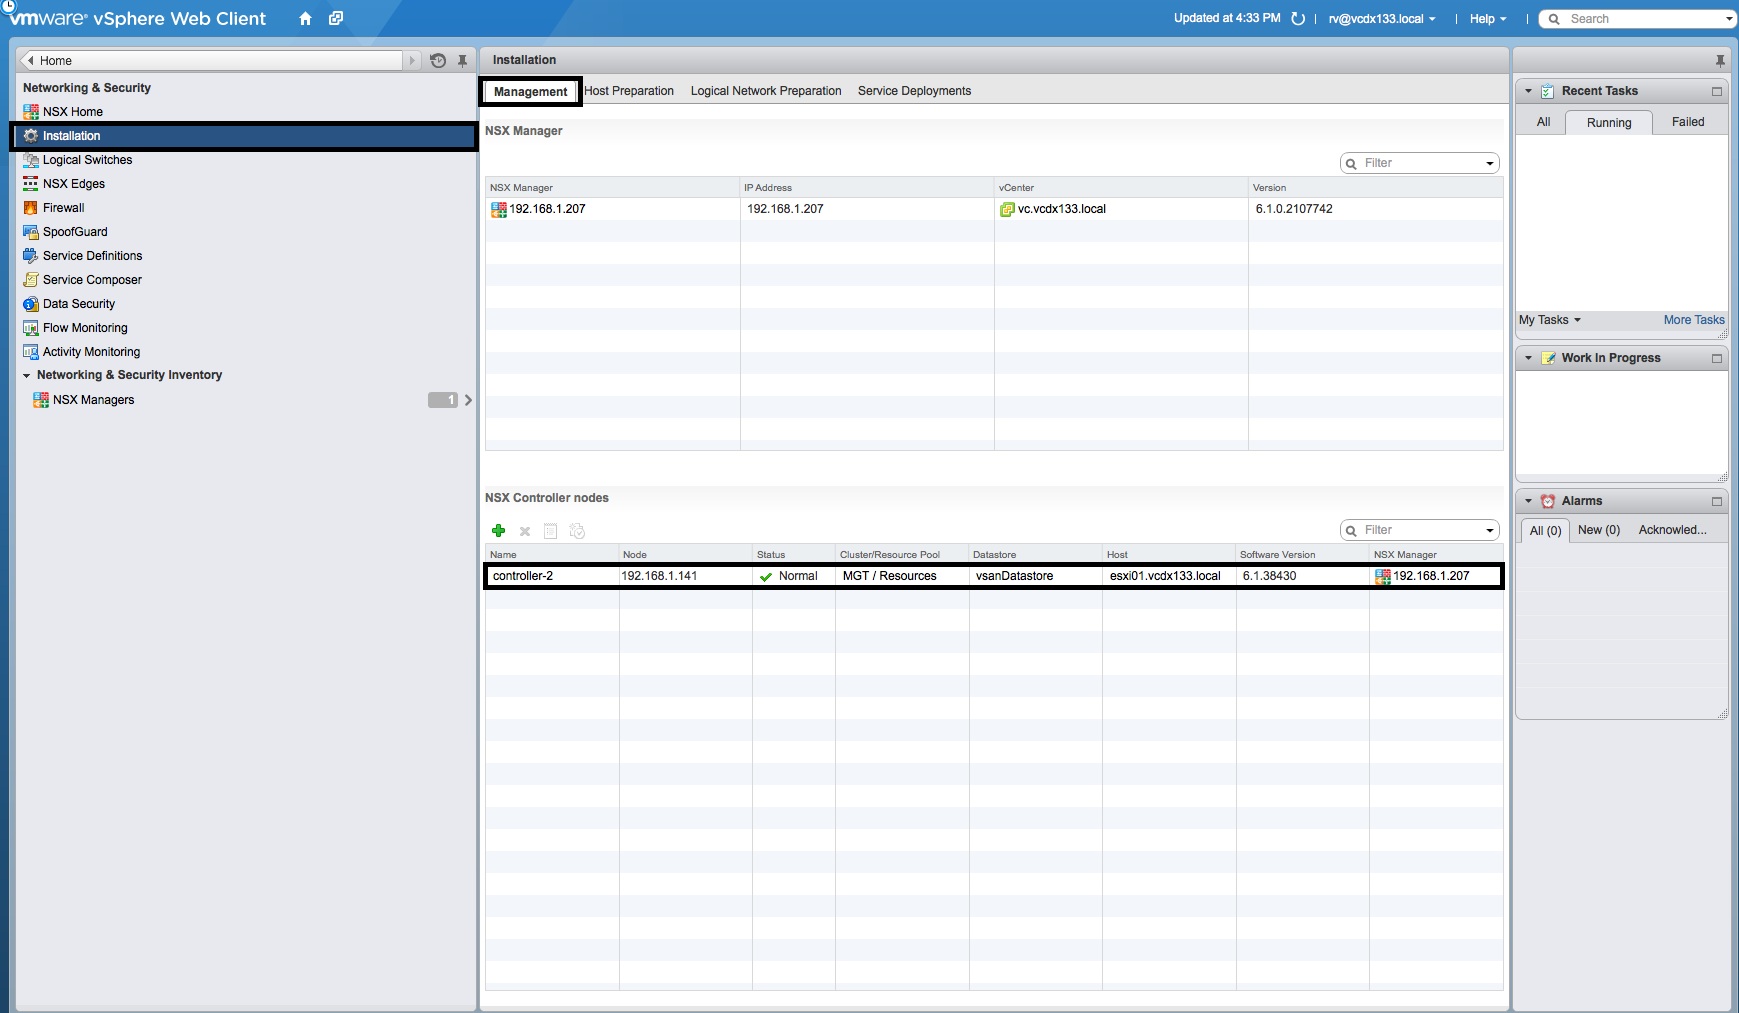
- From “NSX Home”, select the “Installation”, the “Management” tab and then verify that the “NSX Controller” “Status” has changed from “Deploying” to “Normal”.
- You have completed the “NSX Controller” deployment process. Note that in a Production environment, you would deploy two or more NSX Controllers for availability.
- You are now ready to begin the Logical Switch and LDR deployment in Part 3.


Other Resources

vNIC of NSX Controller is connected to which vDS Port Group type. Is it VMkernel Port Group or Virtual Machine Port Group.
Here you are connecting to vDS Management Port Group which i think is a VMkernel Port Group.
Hello Hari, The NSX Controllers are connected to a Virtual Machine Port Group that is also the same network for the vSphere Management VMkernels. Cheers, Rene.